Aladamus Enhancer CGB Mir [Creative Strong] v1.0
First, we recommend that you read the Instructions for the correct algorithm for using AI Upscaler & Enhancer on Aladamus.
Aladamus Enhancer CGB Mir [Creative Strong] v1.0Price: 50-250 Credits per 10%. More details. — this is a tool for local improvement (generation) of elements or objects by mask on an image, focused on premium quality. It significantly transforms the original object, creating a new, improved variant.
It is impossible to determine the exact cost of generation in advance — it is calculated based on the actual volume of resources expended and becomes known only after generation is complete. When starting generation, for every 10% of the image area, a deposit of 250 Credits is temporarily reserved. After generation is complete, the actually unused Credits are automatically returned to the balance. Thus, the final cost for every 10% of the image area can range from 50 to 250 Credits. The reserved, minimum necessary amount to start the tool, even if the selected area is less than 10% of the total image area, is 250 Credits (after generation, a recalculation is performed and unused credits are returned to the balance).
Unlike Aladamus Enhancer CGB Mir [Creative Medium + Saving geometry] v1.0, this tool does not strive to precisely replicate the medium and small geometry shapes of objects from the uploaded image (Upload image), but rather prioritizes working with the general, large shapes of groups of objects. Nevertheless, in most cases it preserves the overall similarity with the geometry of medium and sometimes even small shapes of objects with the original shapes.
The key feature of Aladamus Enhancer CGB Mir [Creative Strong] v1.0 is that sometimes it can accidentally generate objects that match the original in meaning but differ noticeably in silhouette contours for medium and small geometry shapes of the object.
It is important to consider that if the tool Aladamus Enhancer CGB Mir [Creative Strong] v1.0 determines that the resolution of the uploaded image is insufficient for high-quality elaboration of small details, generation will be automatically canceled. In this case, the tool will report the need to prepare the image beforehand. For preparation, you must first process it using any model of your choice that works with the entire image area:
- Aladamus AI Upscaler [Power of Creative All Light Creativity] v1.0
- Aladamus AI Upscaler [Standard quality] v1.0
After enlarging and improving the original image, it can be re-uploaded to Aladamus Enhancer CGB Mir [Creative Strong] v1.0 for further processing.
The tool Aladamus Enhancer CGB Mir [Creative Strong] v1.0 is primarily focused on and produces the best graphics when working with the following types of objects:
- Furniture
- Objects
- Various elements of the natural environment:
- Plants
- Landscapes
- Mountains
- Sky
- Sea
- Waterfalls
- Glaciers
- Fabrics
- Animals
Aladamus Enhancer CGB Mir [Creative Strong]] v1.0 can work with any other objects (for example: people, materials, etc.), but we cannot guarantee the same high level of graphics as when applied to the above-listed objects.
Example #1
Let's select the area of the image we want to improve:
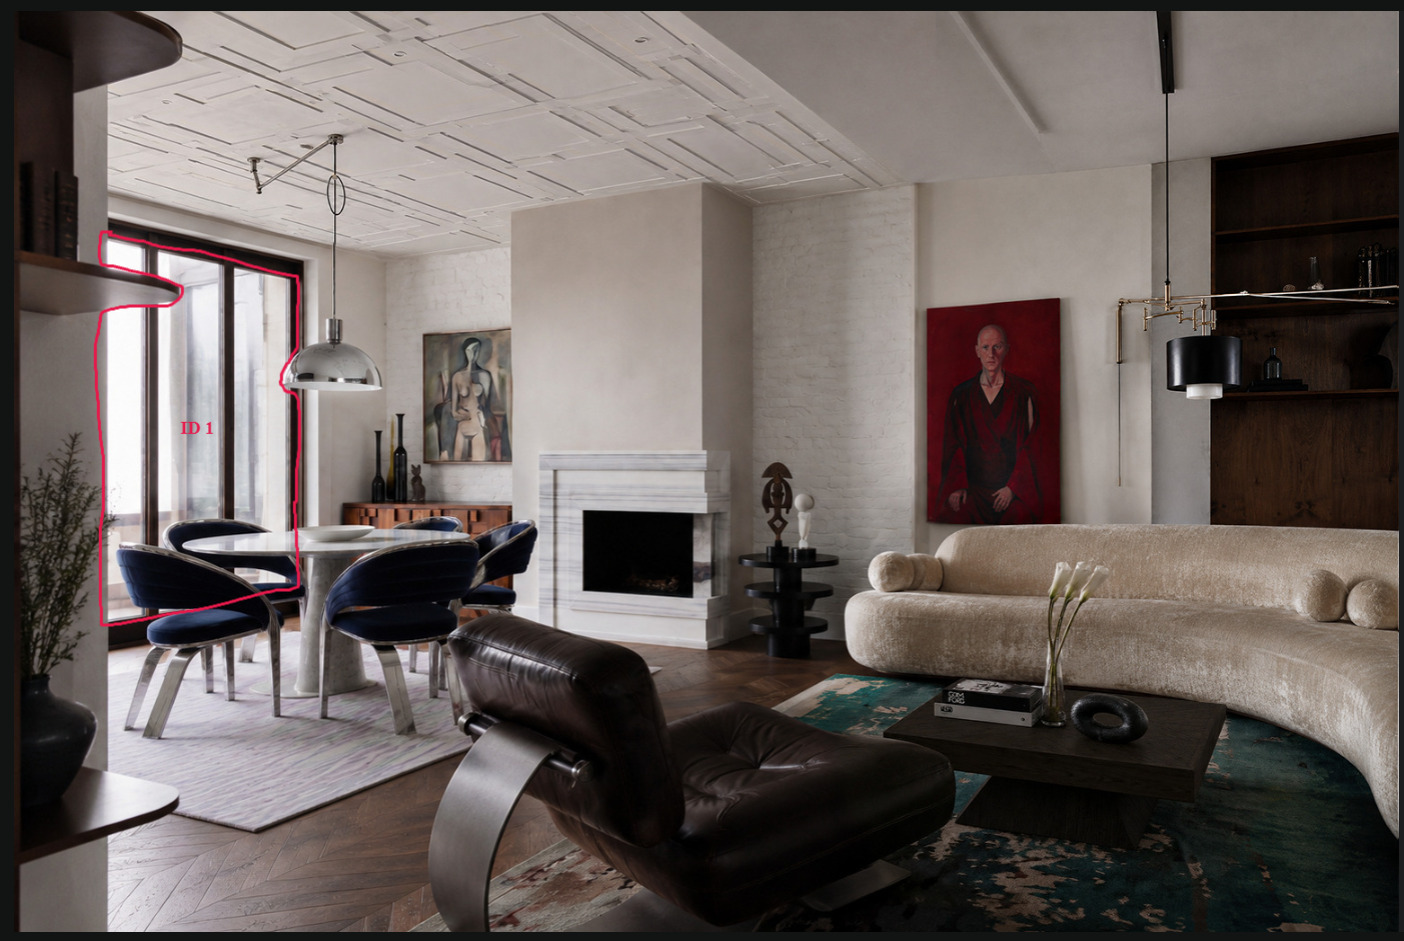
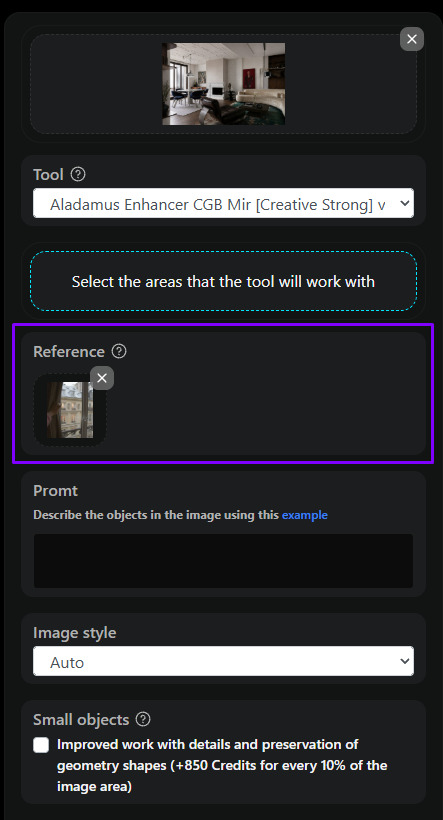
Let's upload a reference:
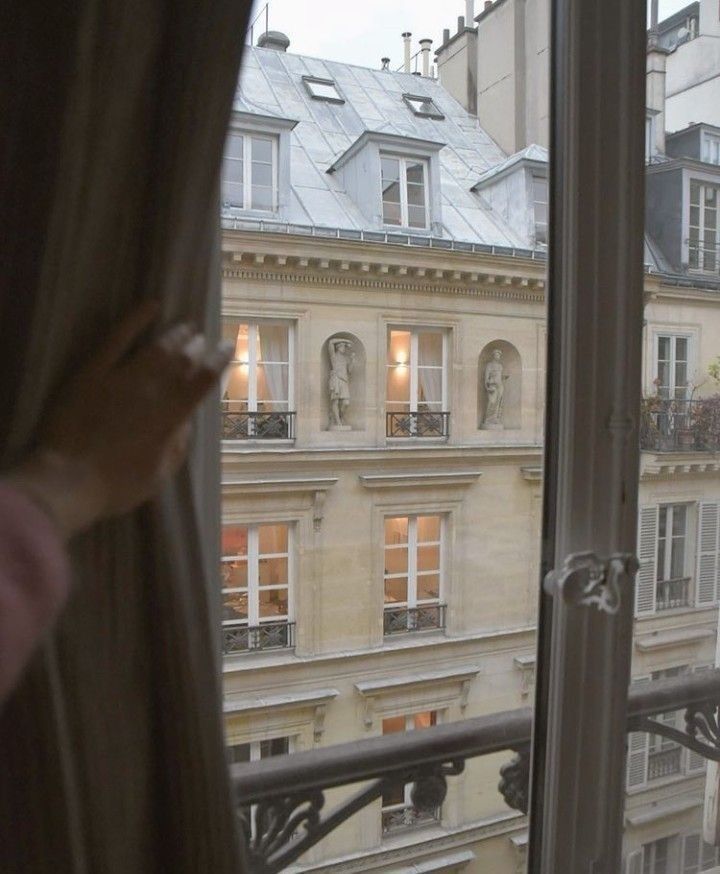
Generation result:
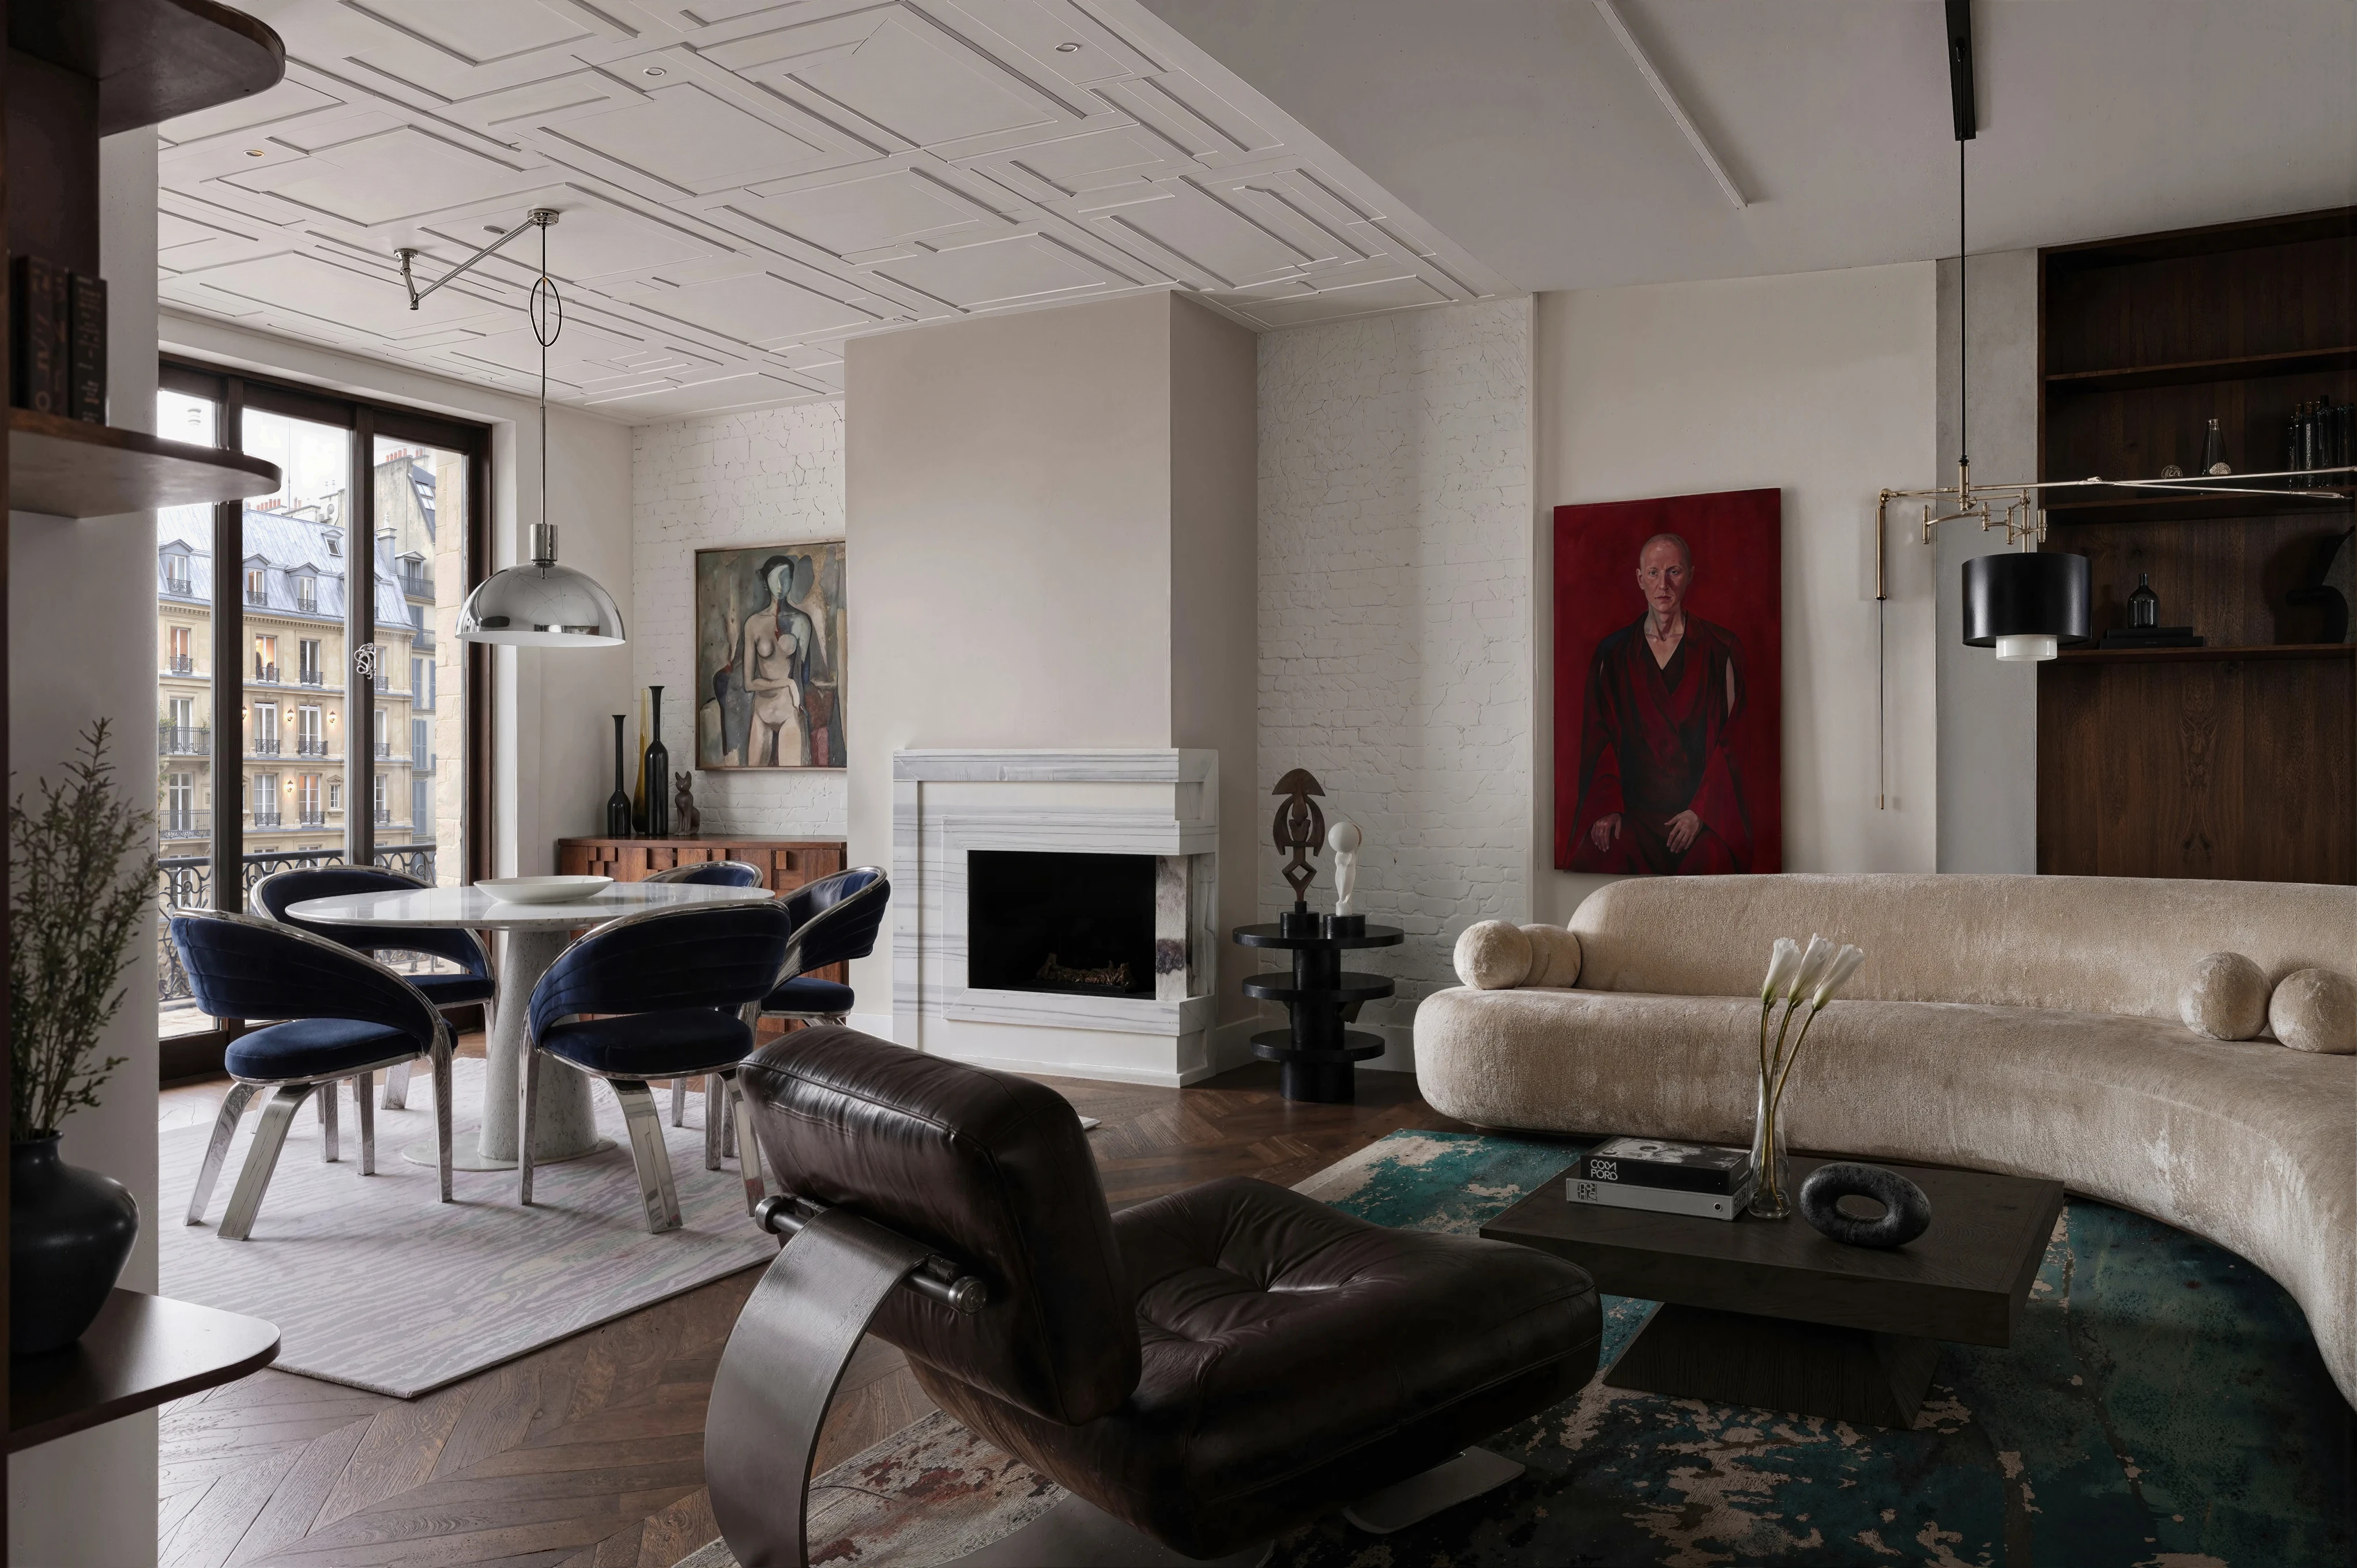
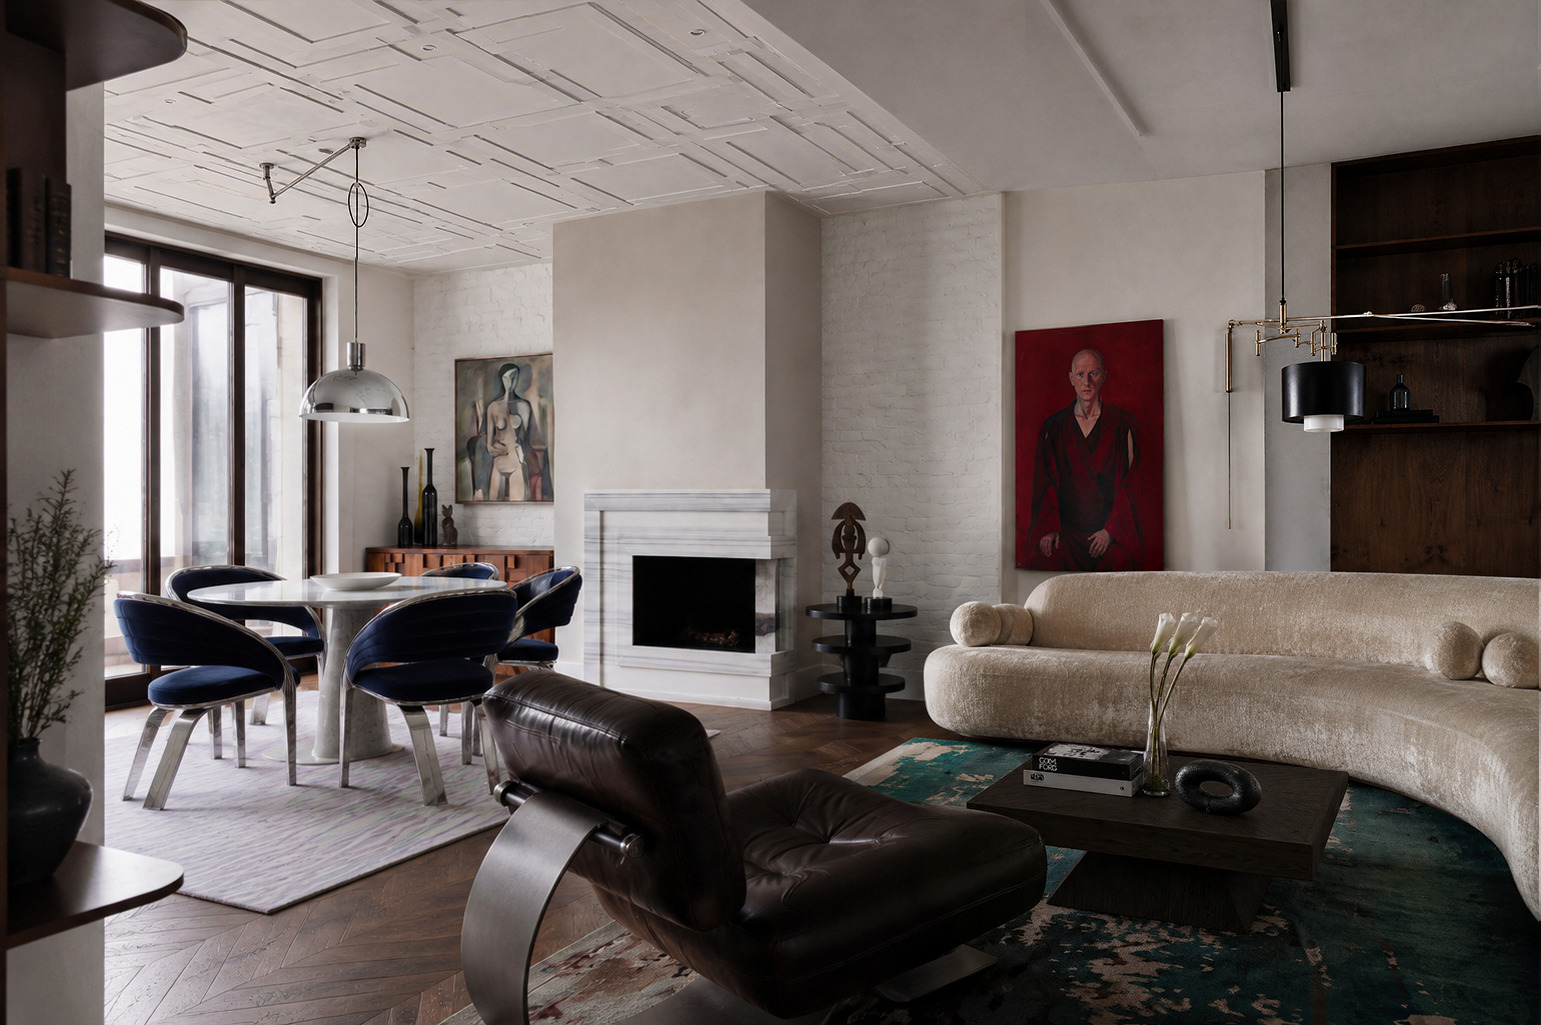
As can be seen in the image, the view from the window has been improved.
Example #2
Let's select the area of the image we want to improve:
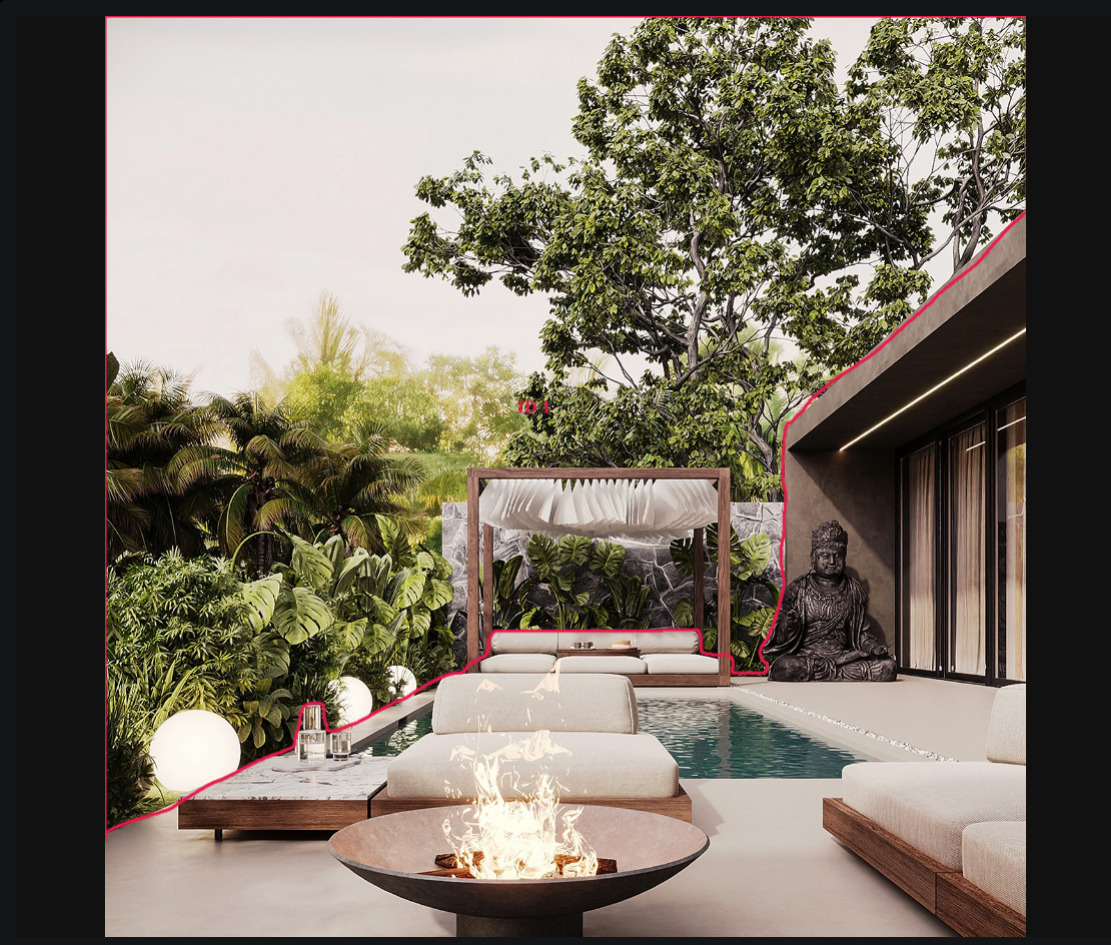
Generation result:
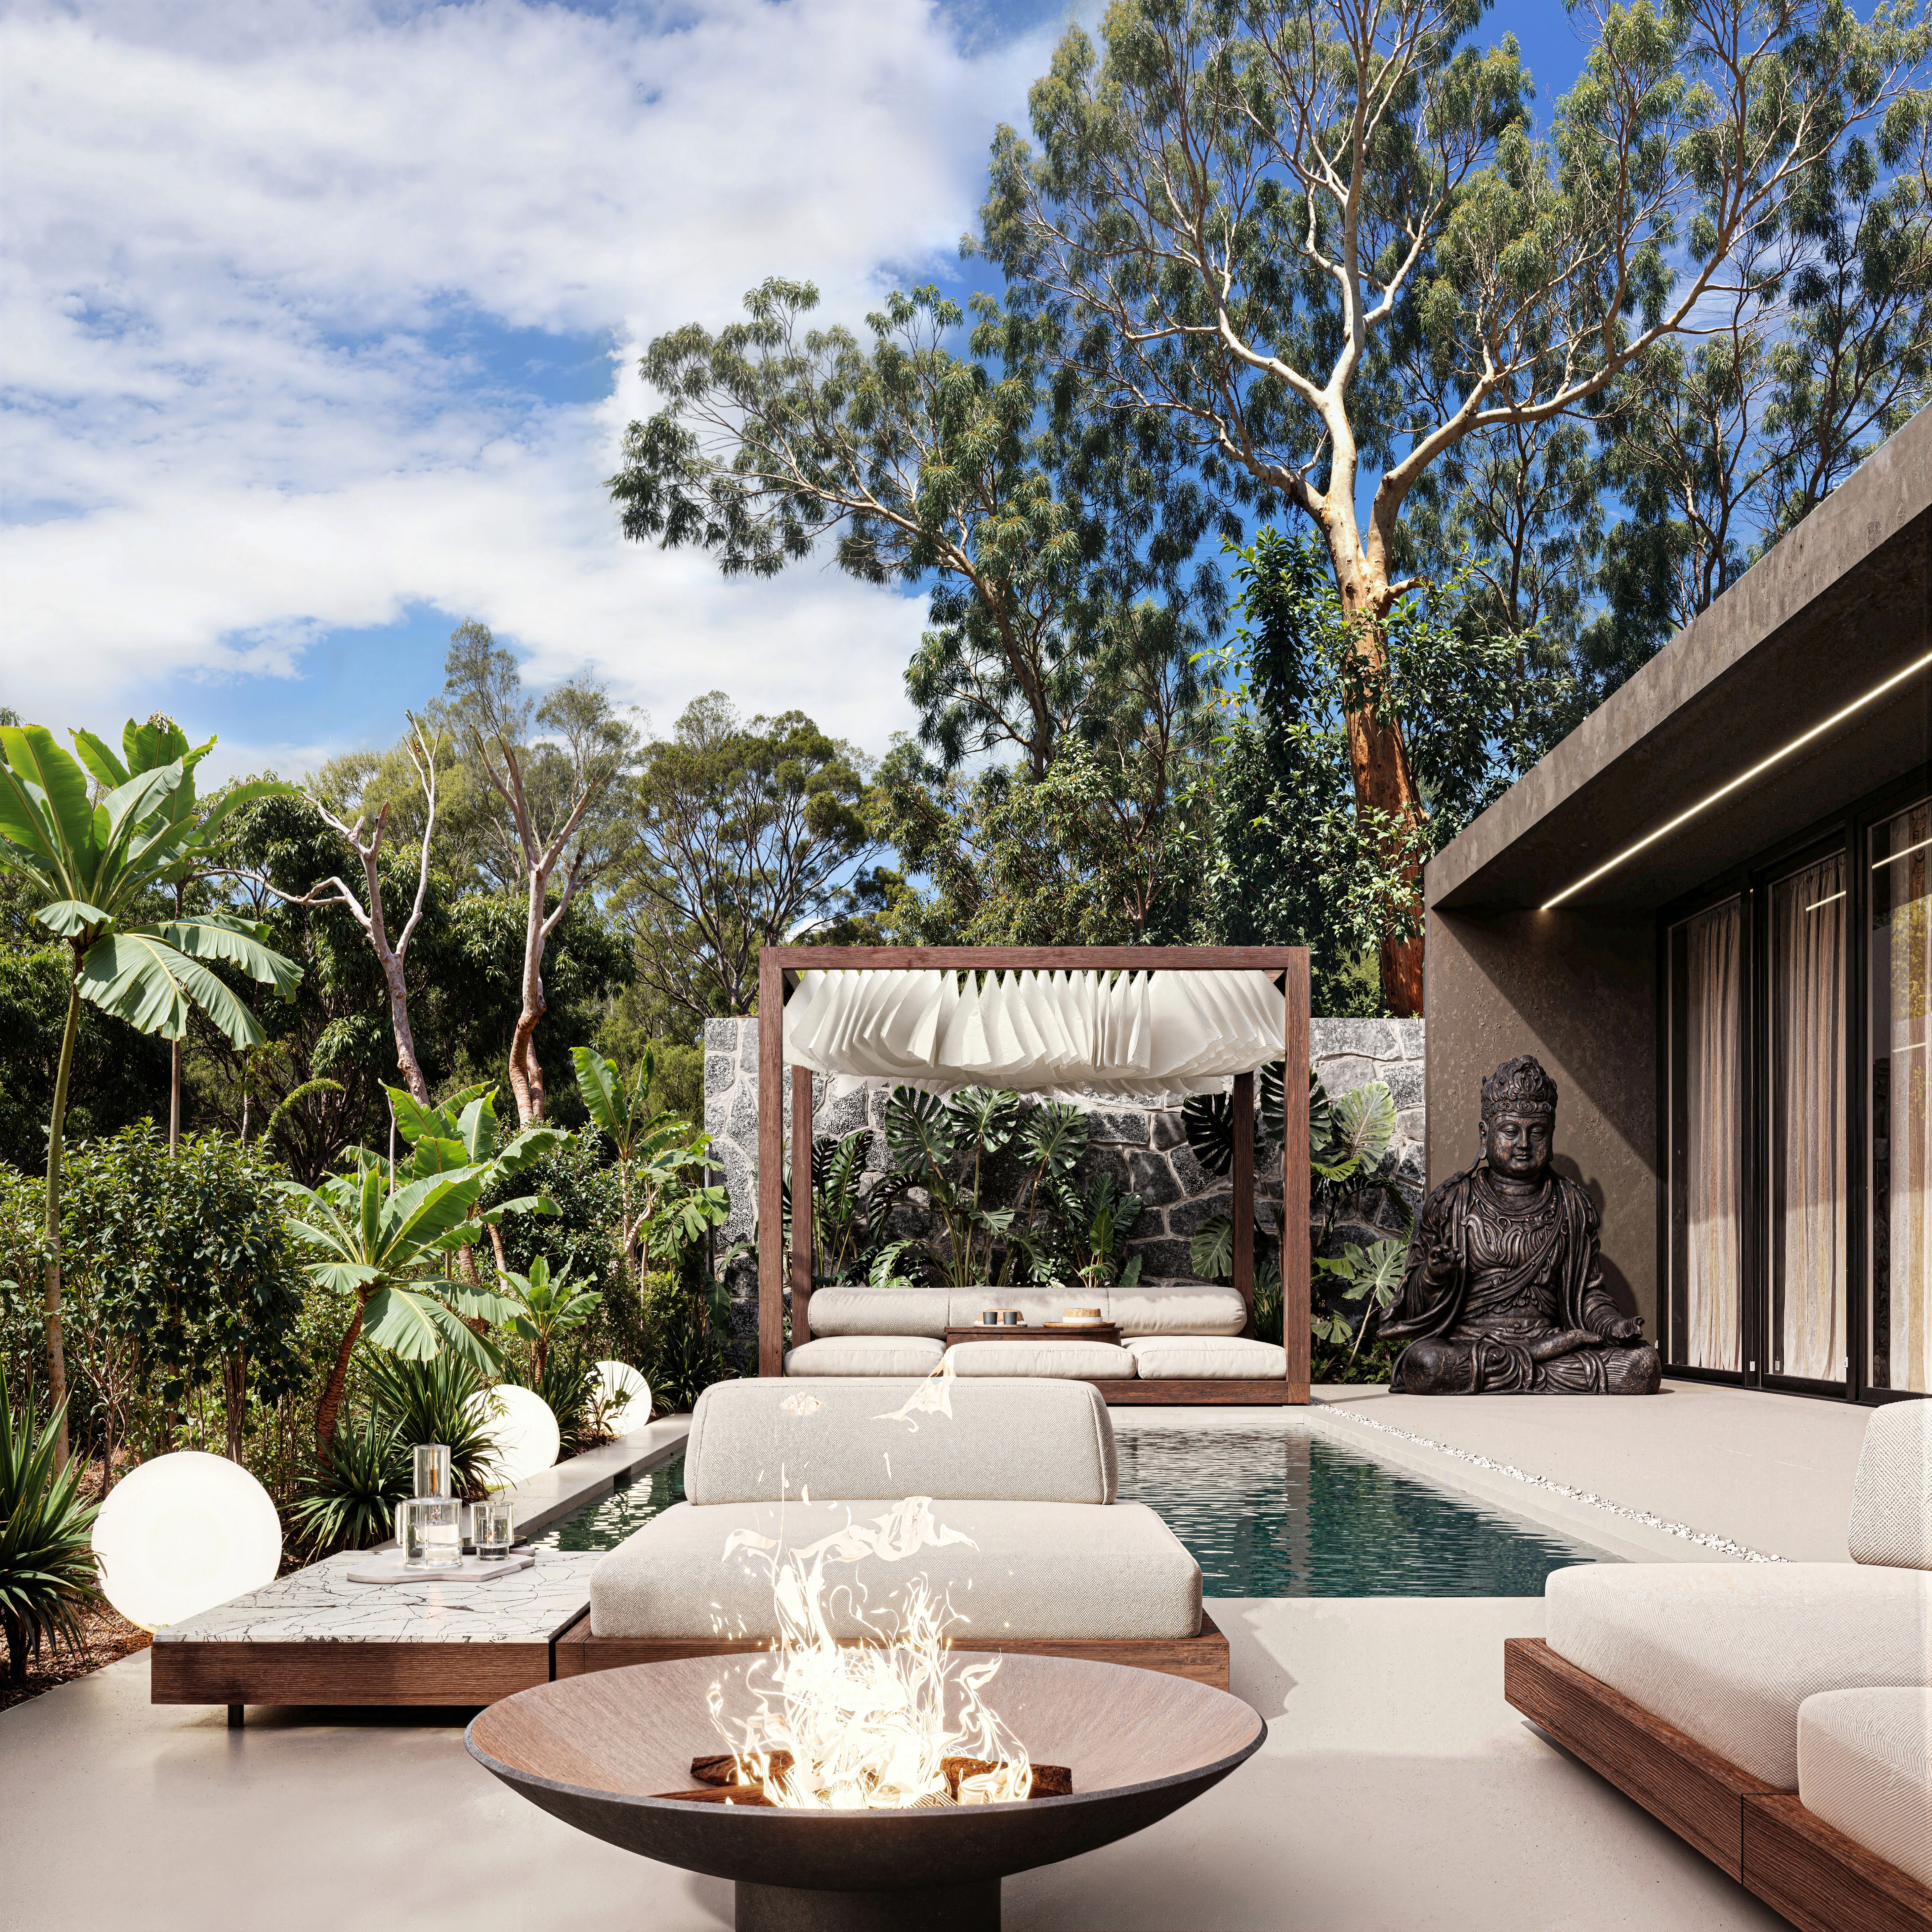
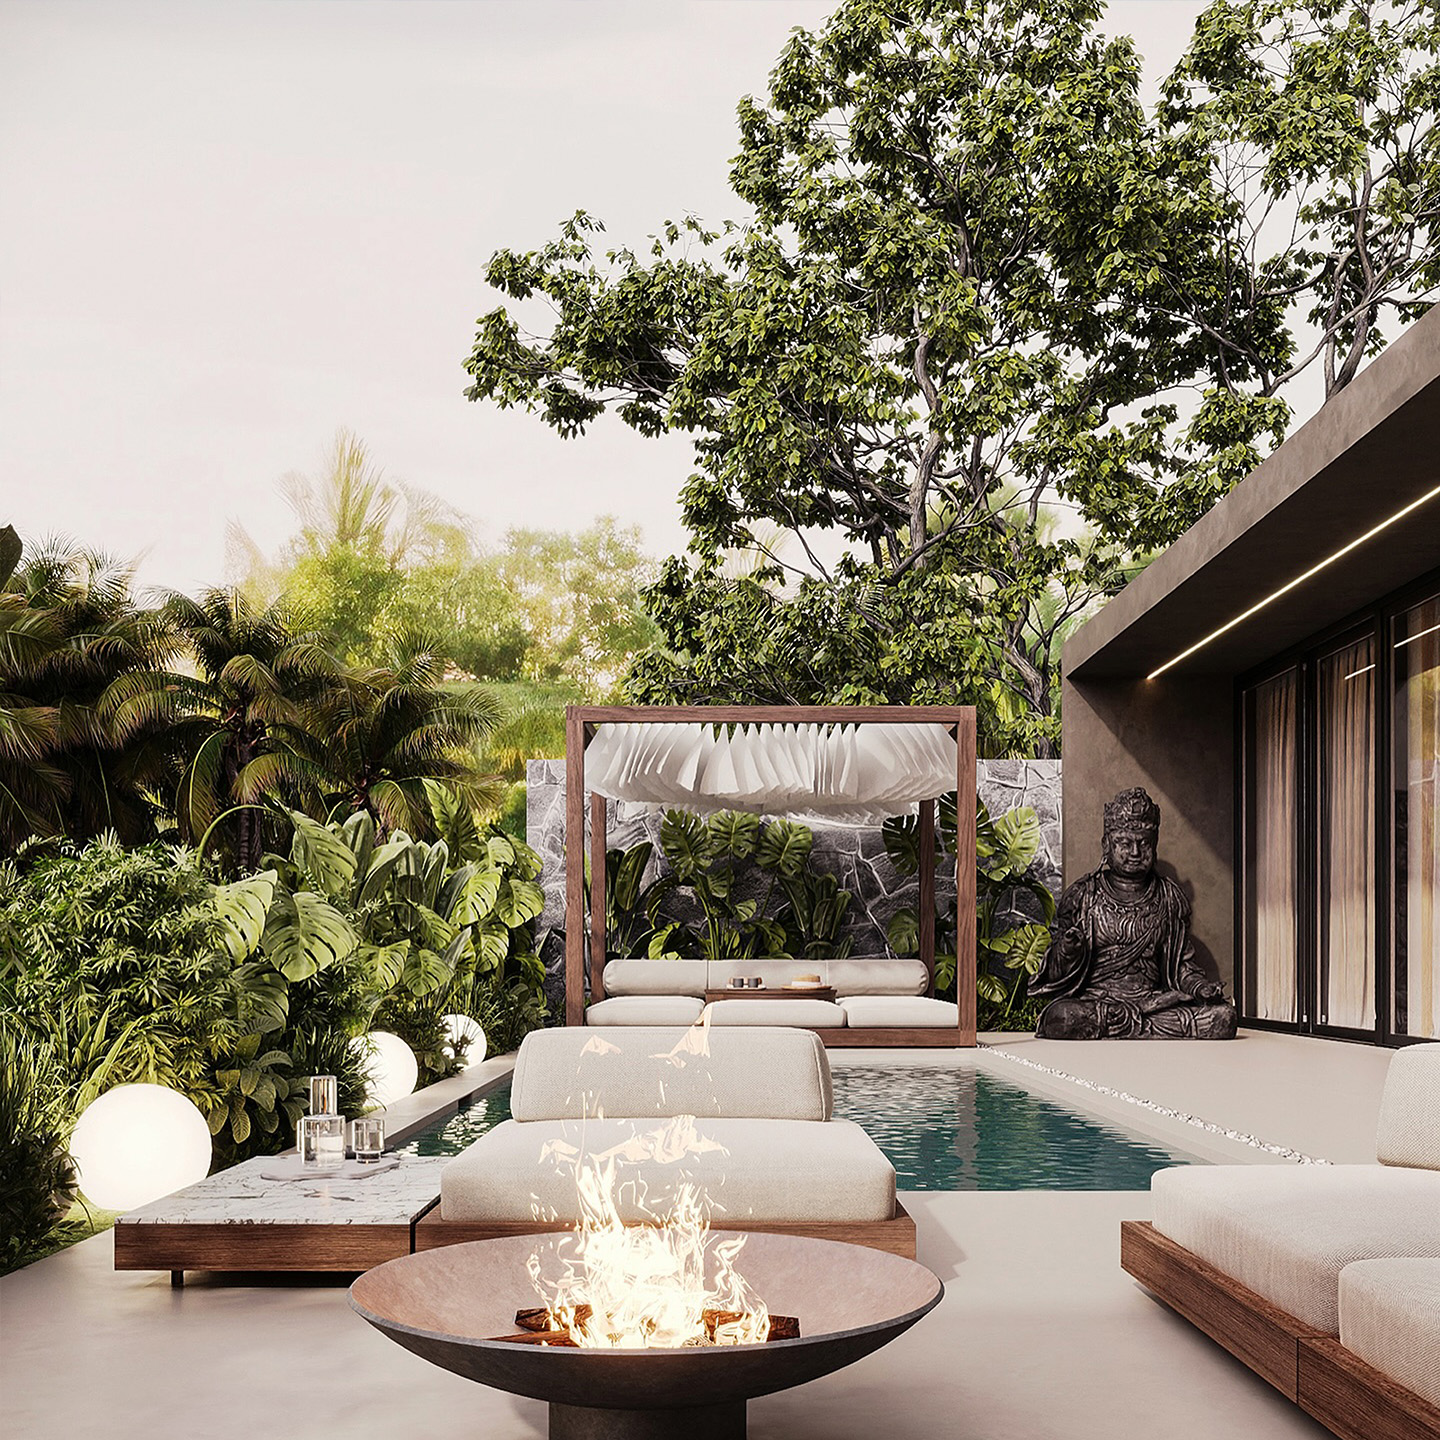
As can be seen in the image, the tree in the upper right corner was generated without strictly preserving the medium and small silhouette shapes and contours of the original object. Exact replication of contours was not maintained, however in the area where the tree was originally located, the neural network still generated a tree. This gives it more freedom to create new, impressive objects.
Example #3
Let's select the area of the image we want to improve:
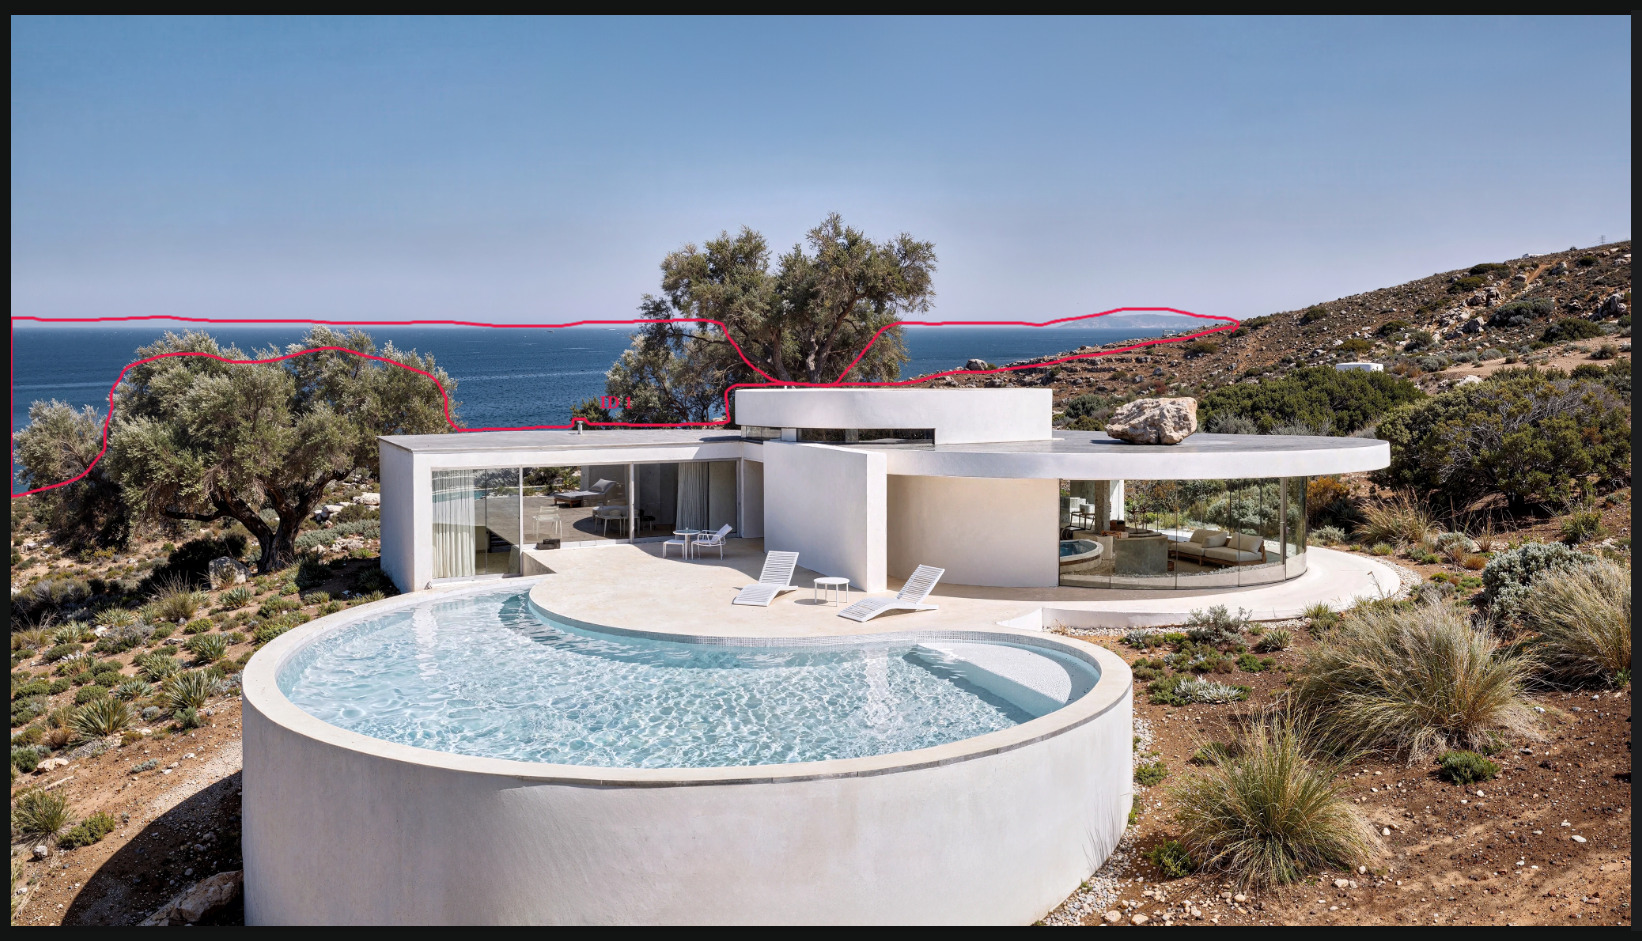
Generation result:
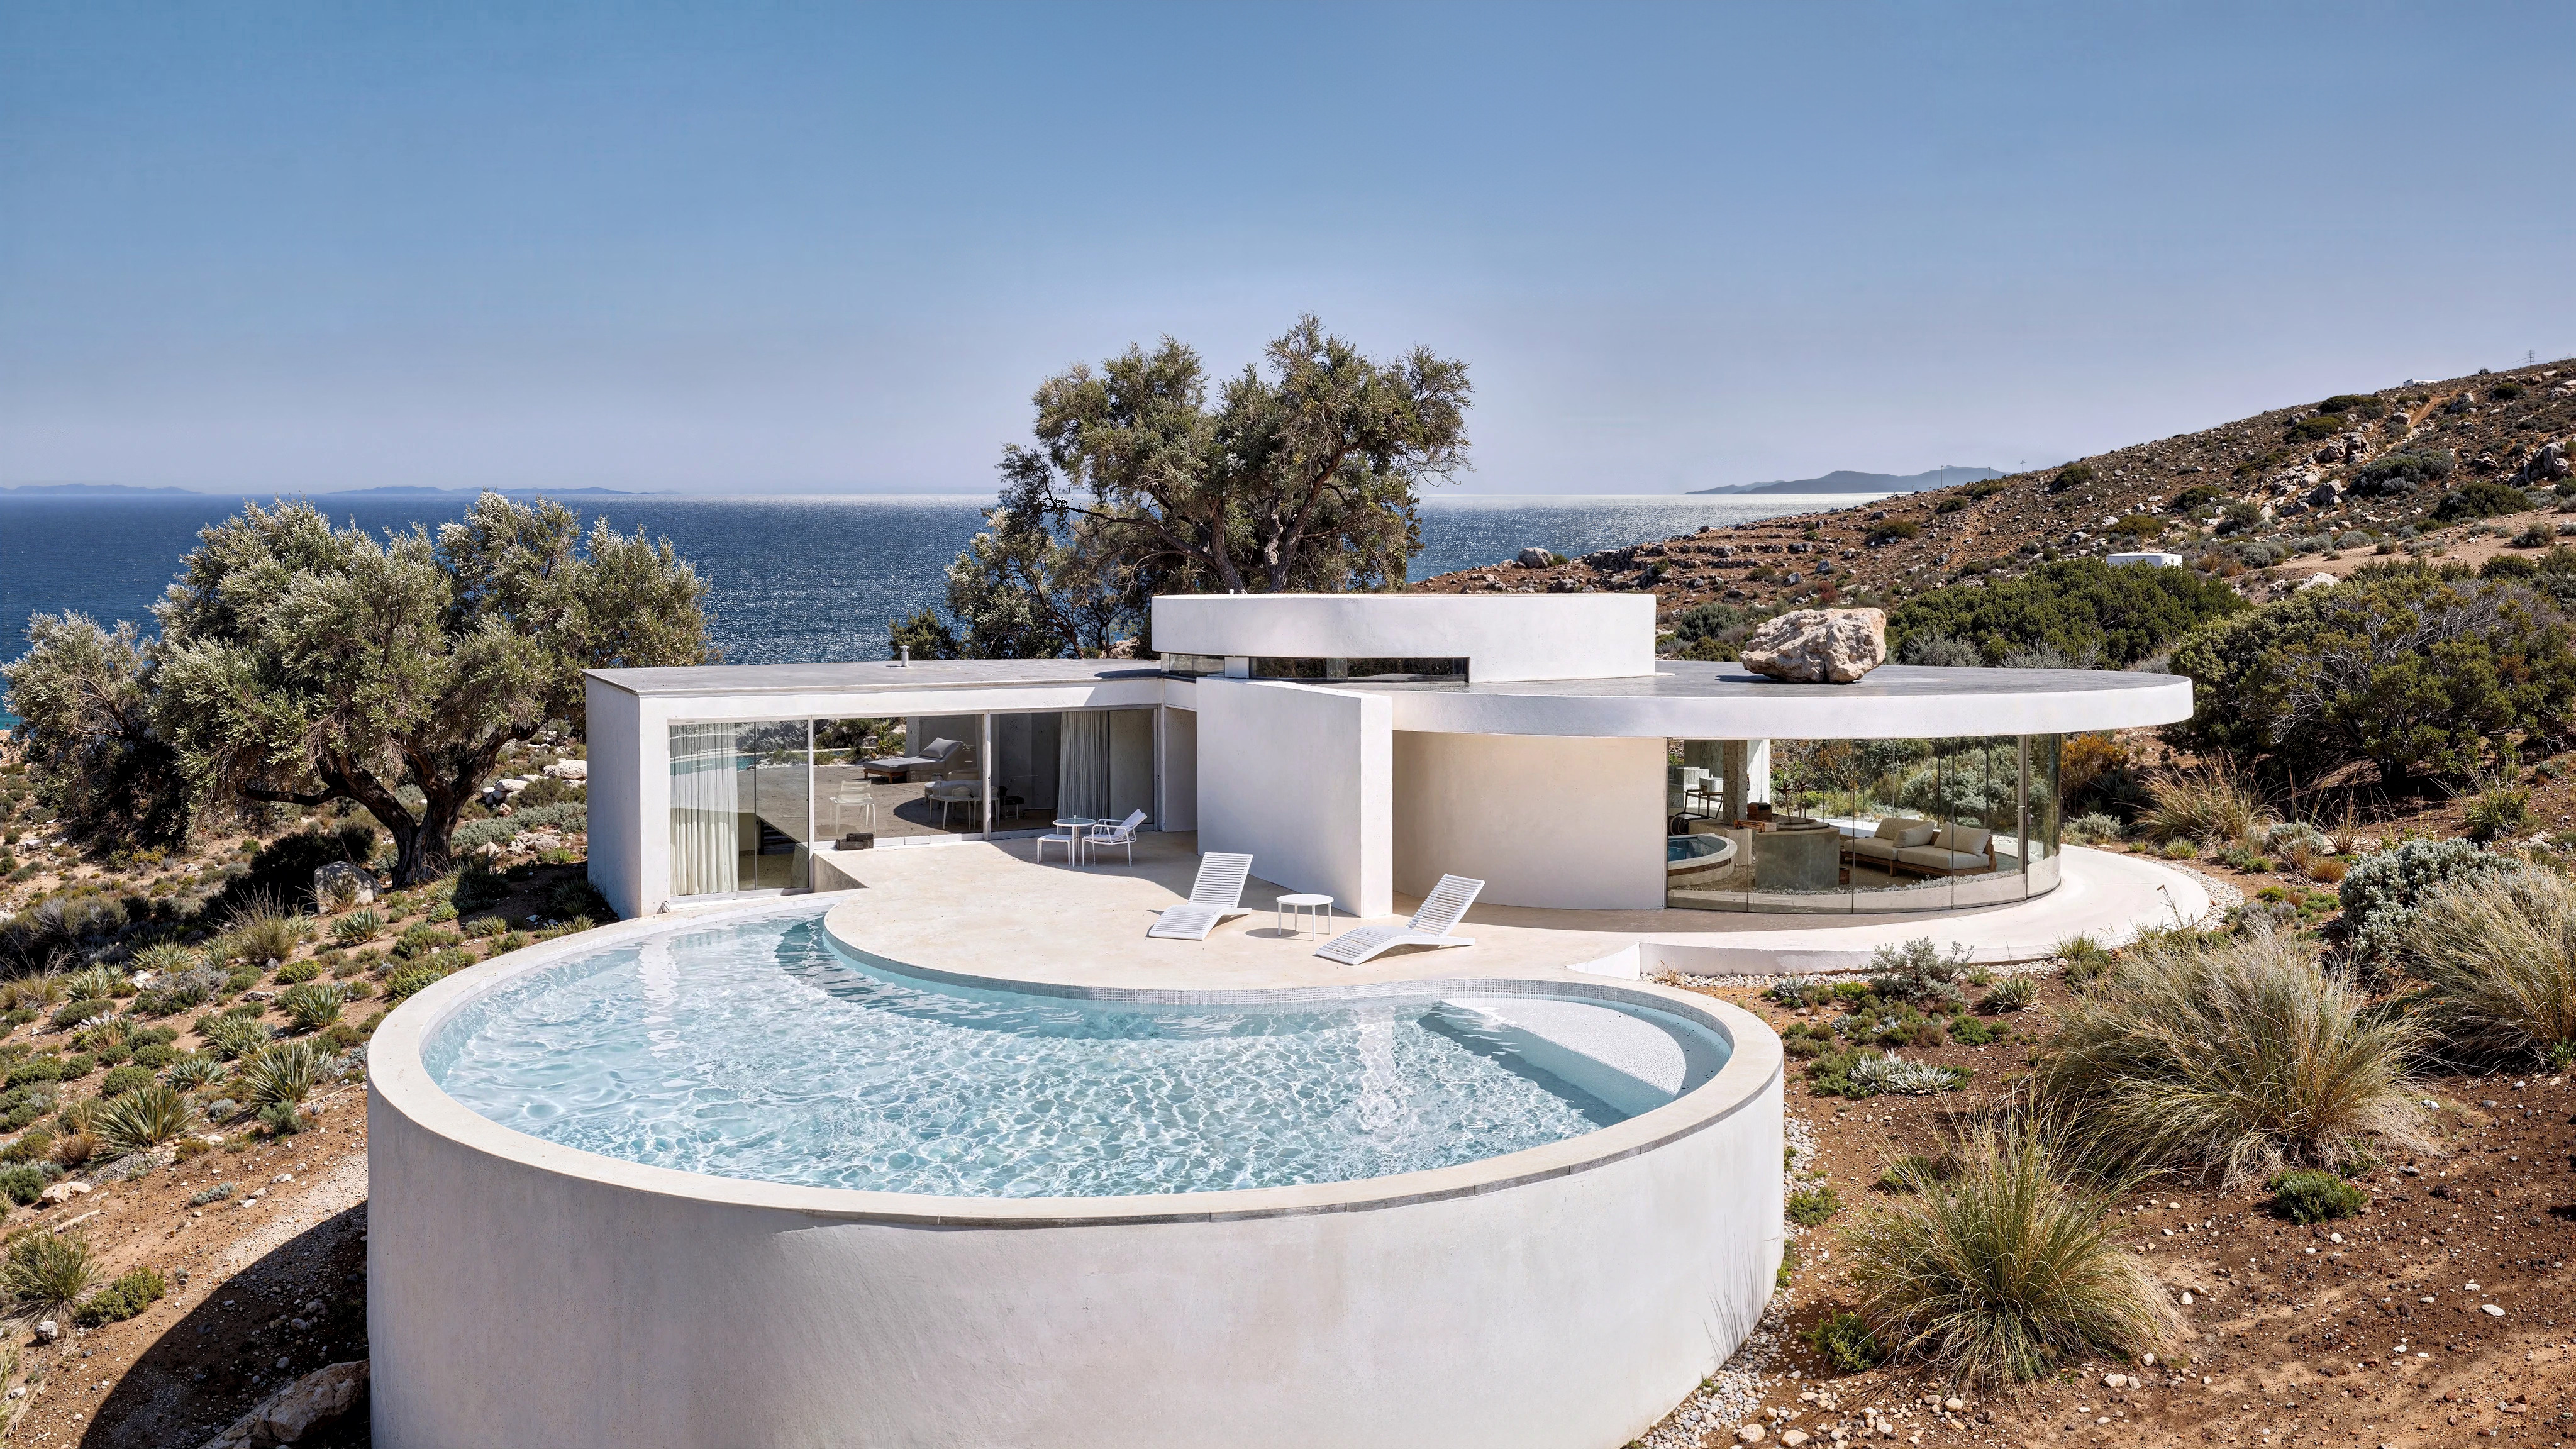
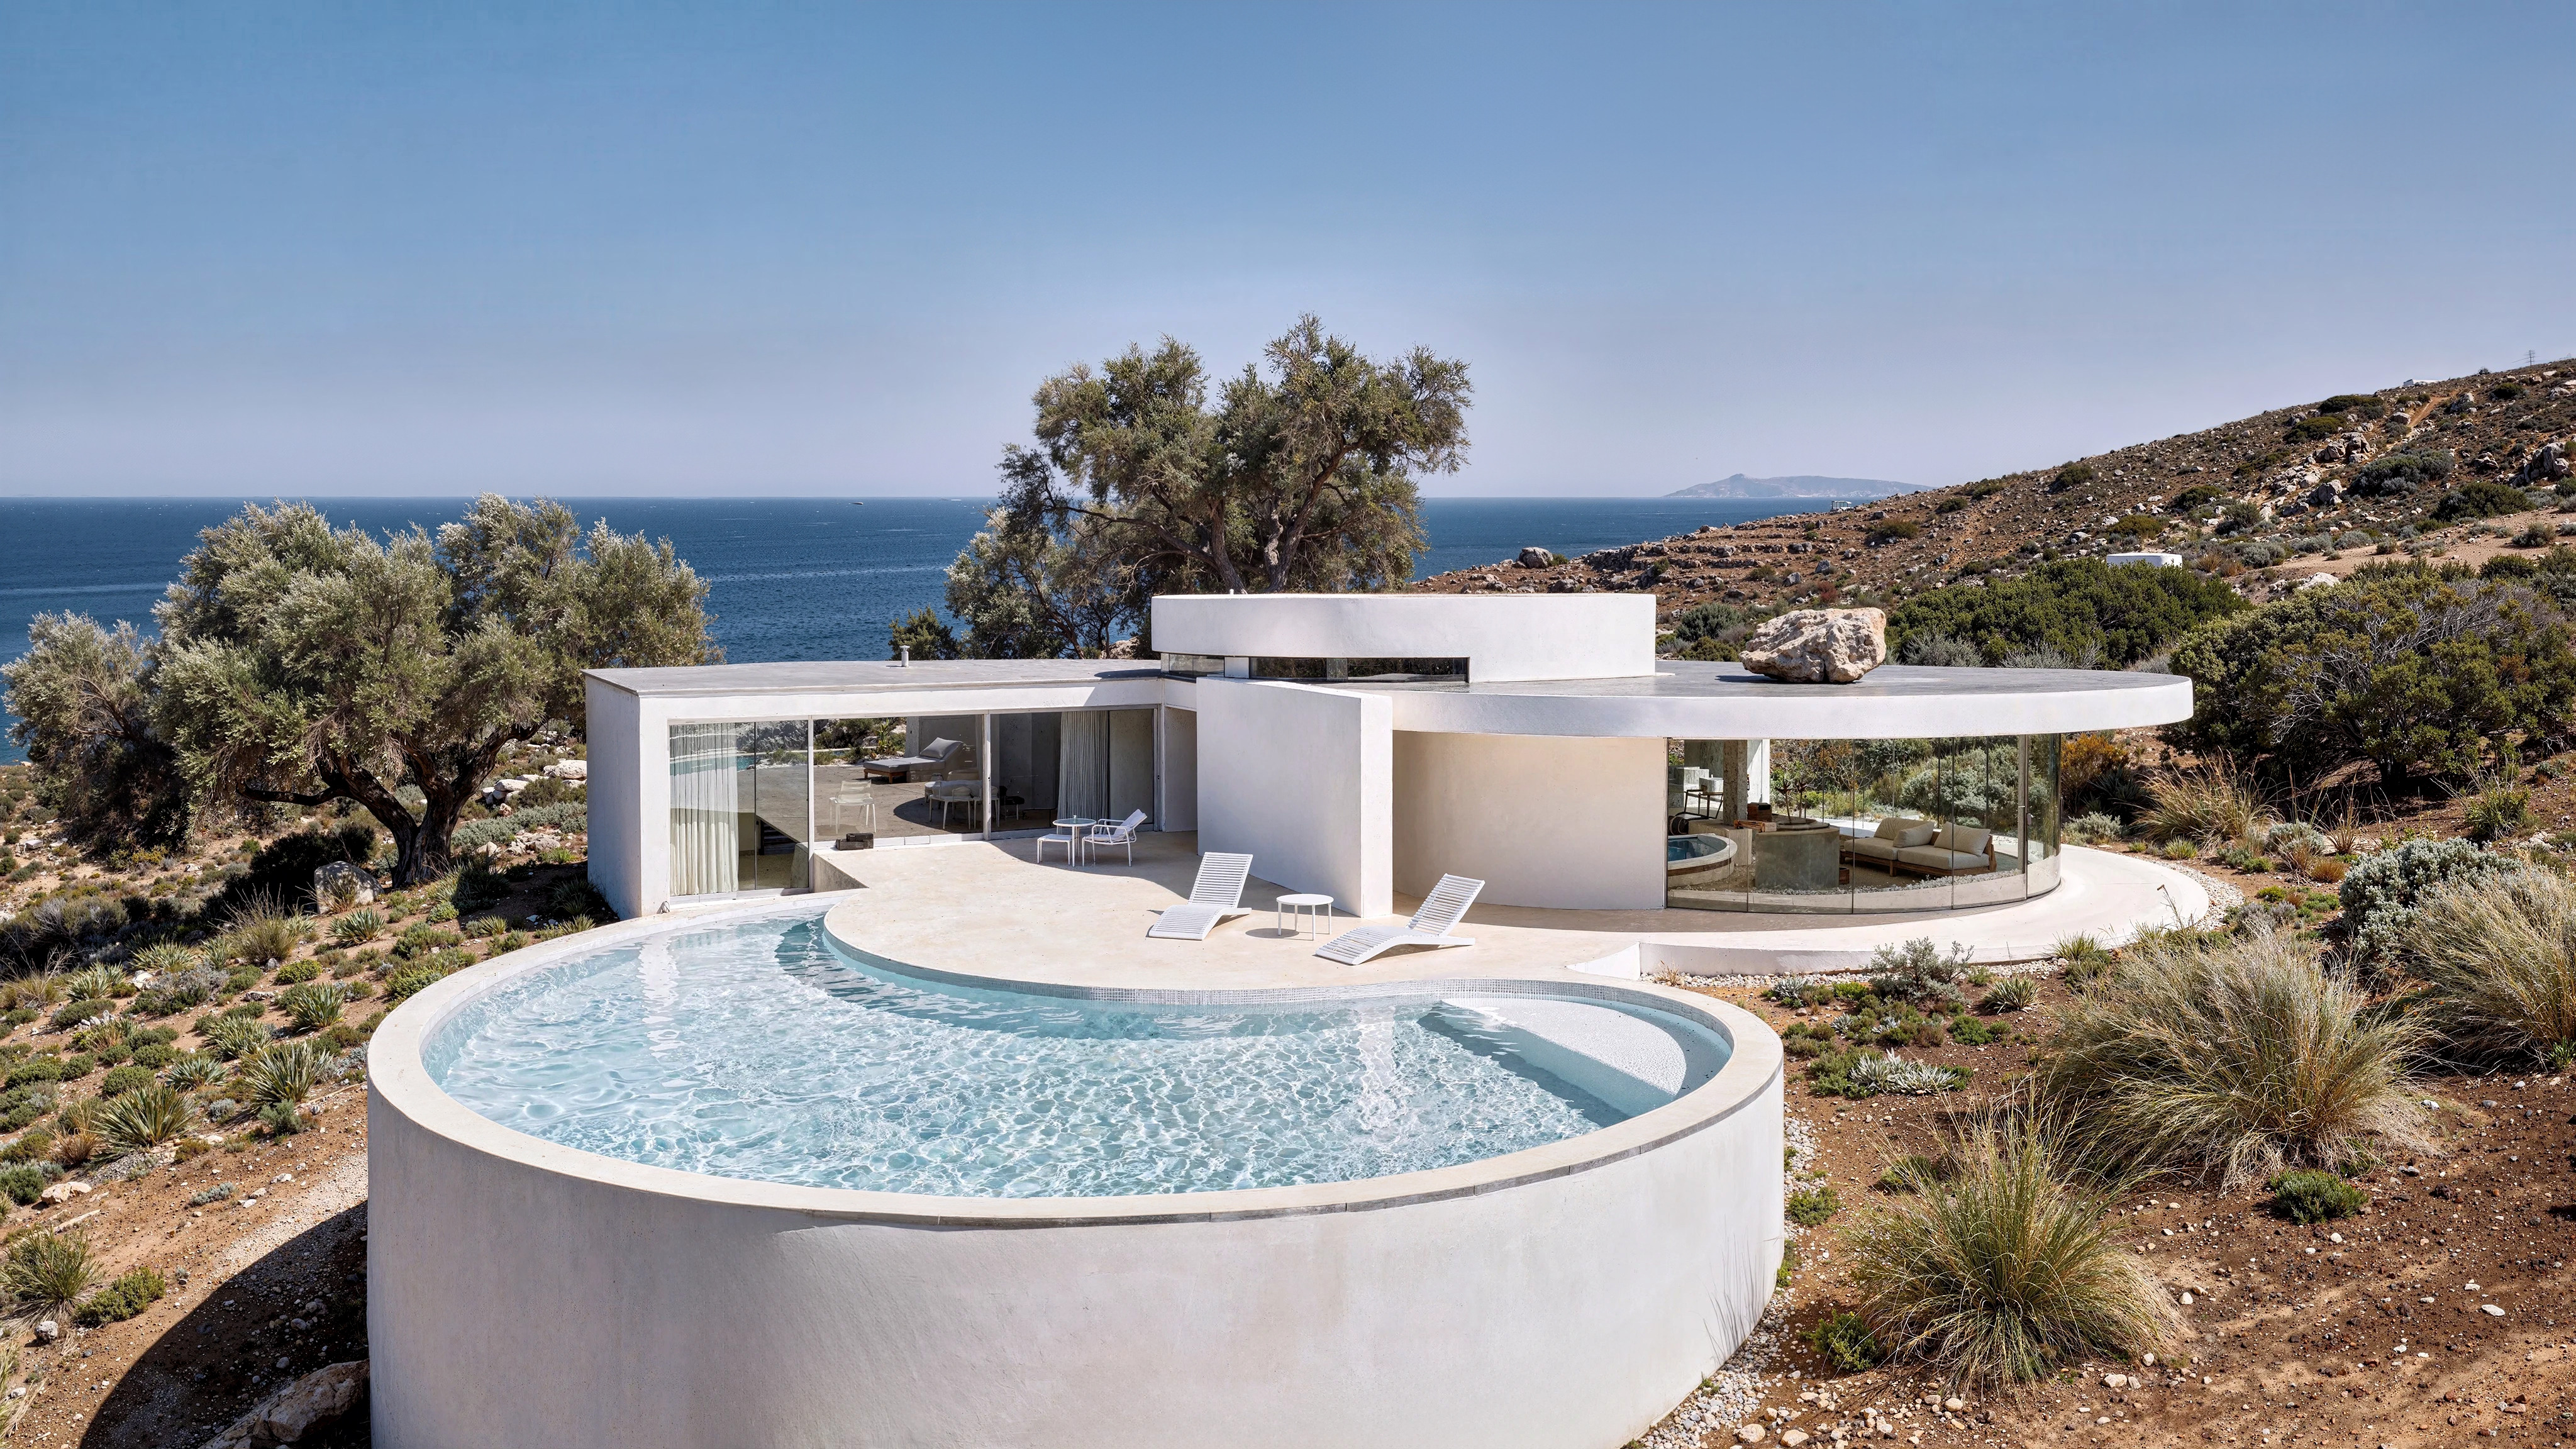
As can be seen in the image, the sea has been improved.
Aladamus Enhancer CGB Mir [Creative Strong] v1.0 can be used as a standalone tool, independently of others. However, to maximize its potential, it is recommended to first prepare the image by processing it with Aladamus AI Upscaler [Standard quality] v1.0, to create more favorable conditions for subsequent generation.
Step-by-step instructions for setting up the tool
1. AI Upscaler & Enhancer
Go to the AI Upscaler & Enhancer section
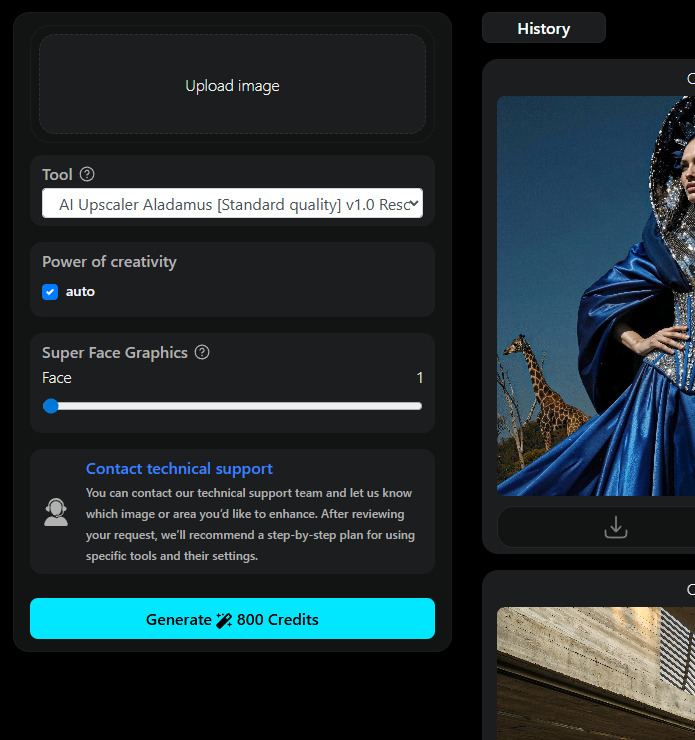
2. Upload Image
Upload your image that you want to improve.
Note: JPEG, WEBP, PNG formats are supported. Maximum image resolution up to 10000px
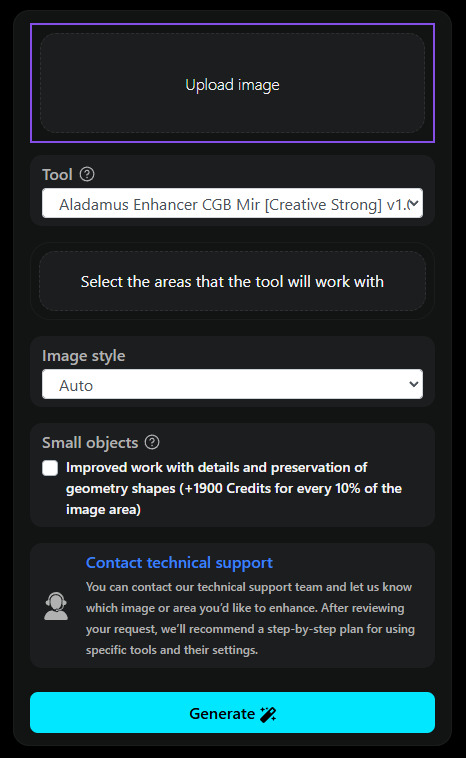
3. Tools
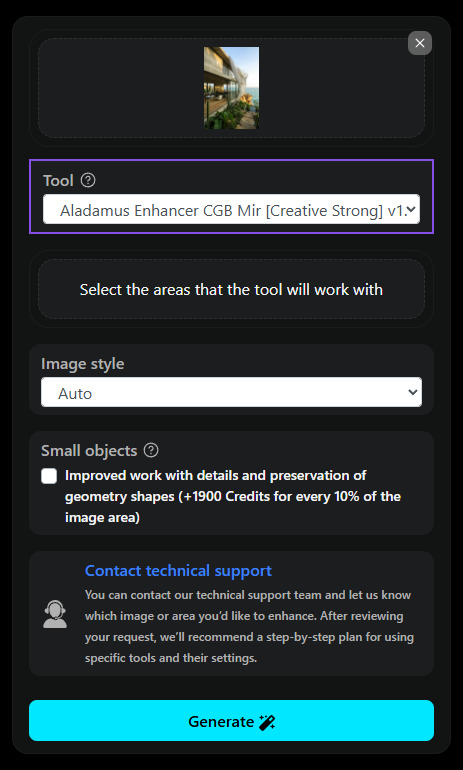
Select the tool Aladamus Enhancer CGB Mir [Creative Medium + Saving geometry] v1.0 [Price: 250 Credits for 10% of the image area].
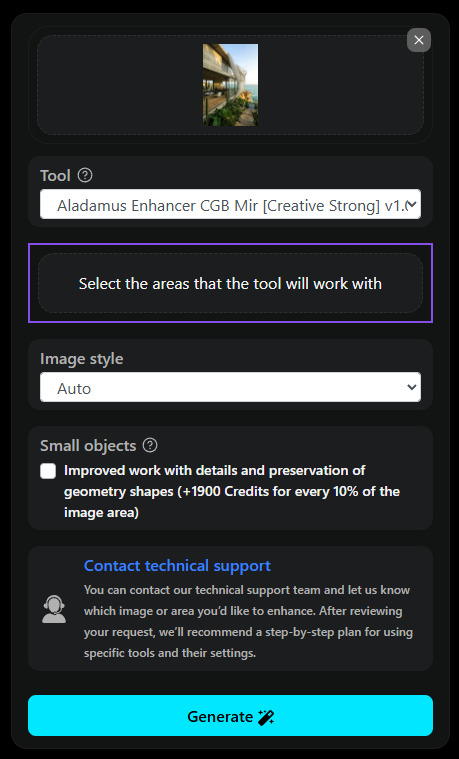
4. Select the areas that the tool will work with
Let's specify the local area to which the tool will be applied. Click the Select the areas that the tool will work with button.
When you click the Select the areas that the tool will work with button, a window opens for selecting objects, areas of the image that you want to improve.
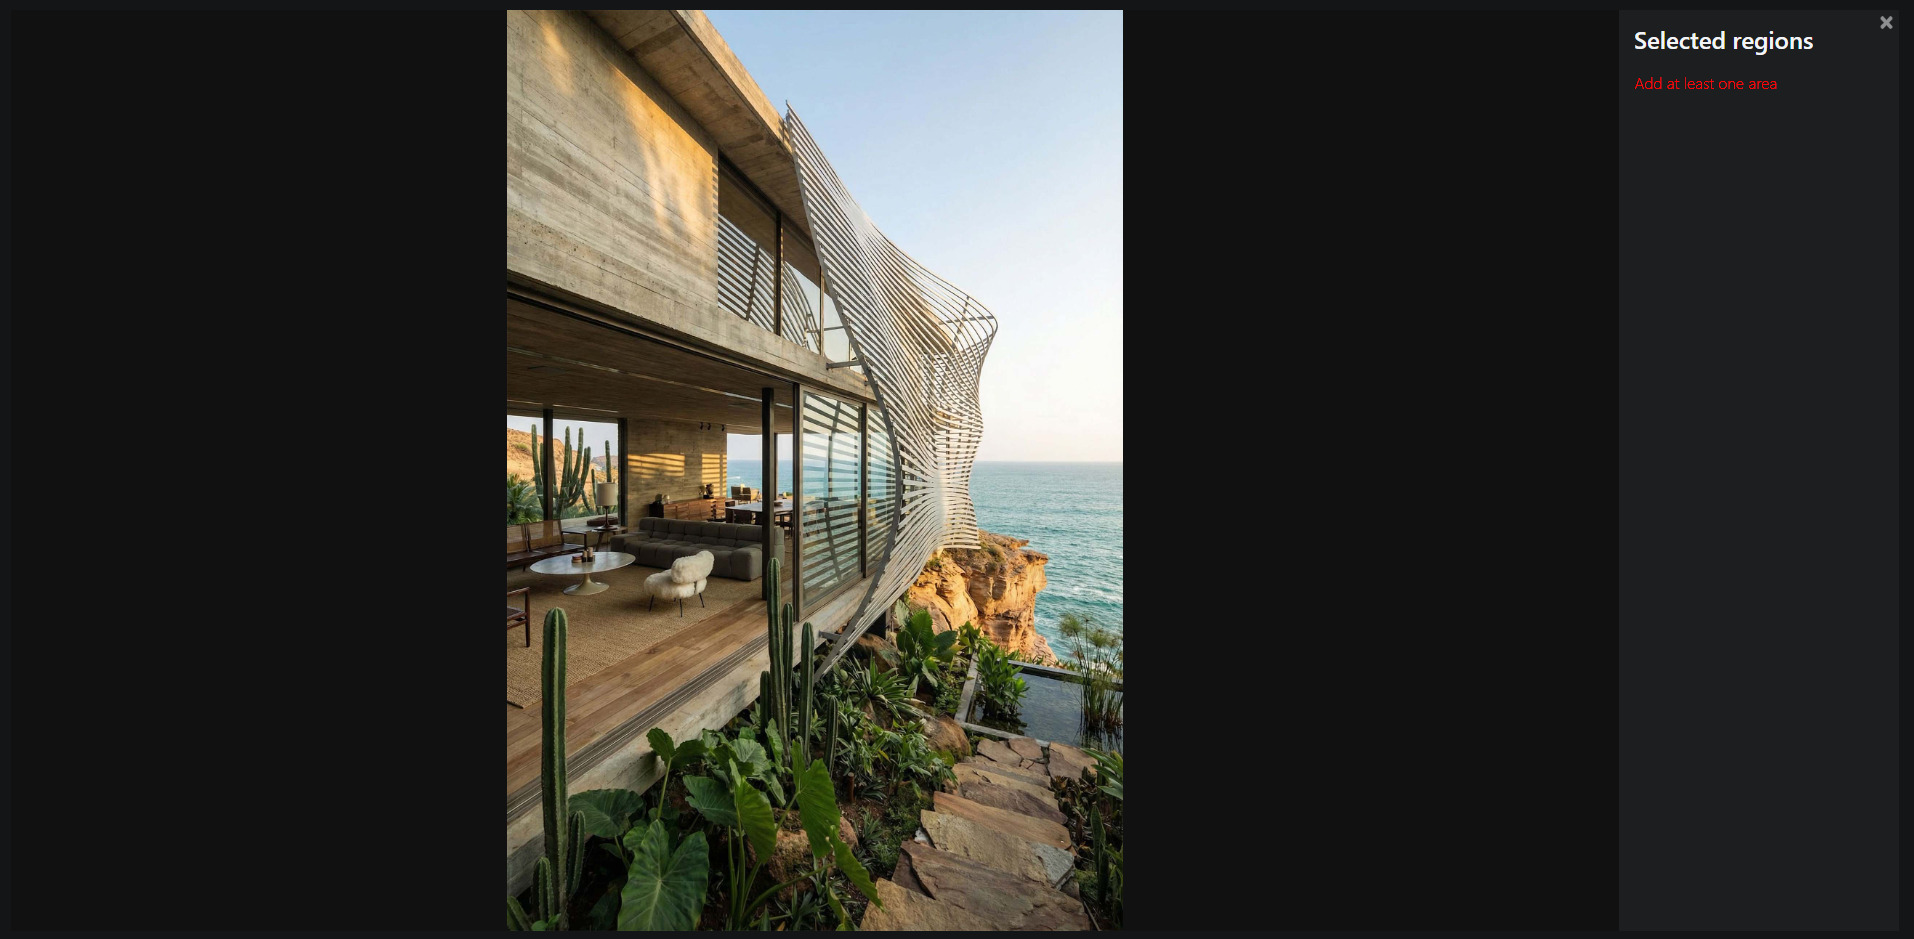
Working with areas:
- Hold down the left mouse button and outline an area (preferably along the contour of the silhouette/shapes). You can create many areas. Each is highlighted in its own color.
- Each area can be deleted by clicking the cross, or you can delete all areas at once Delete all regions
- The cost of generation is calculated automatically according to the following principle: the total
area of the bounding boxes of all selected areas is summed up.
In addition to the total area, 20 Credits are added to the total cost of the entire generation for each
additional selection (any subsequent selection after the first is considered additional).
The minimum cost to start generation is 100 Credits. Even if you do not reach the
total area of selections and the sum of additional selections, in any case
the minimum start cost will be no less than 100 Credits (you can see the cost in the example
below, highlighted with a purple frame).
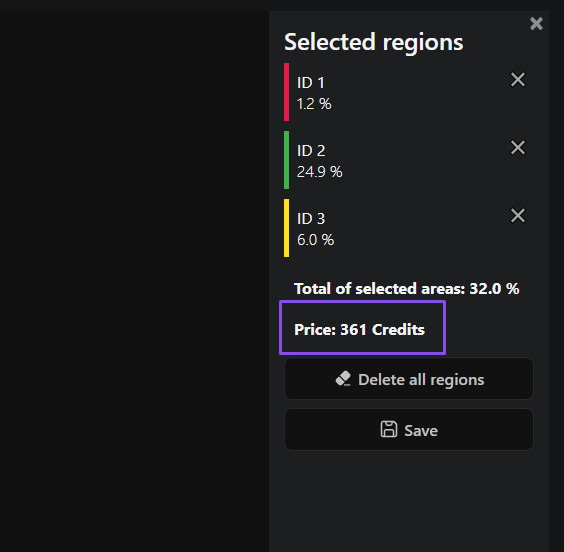
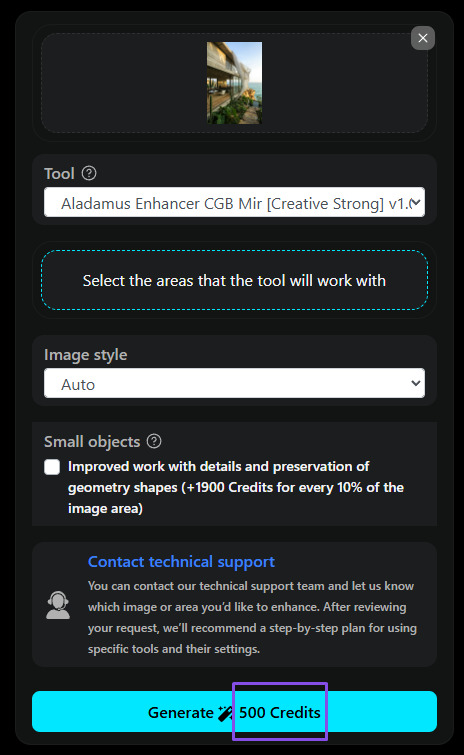
The price is also displayed on the "Generation" button.
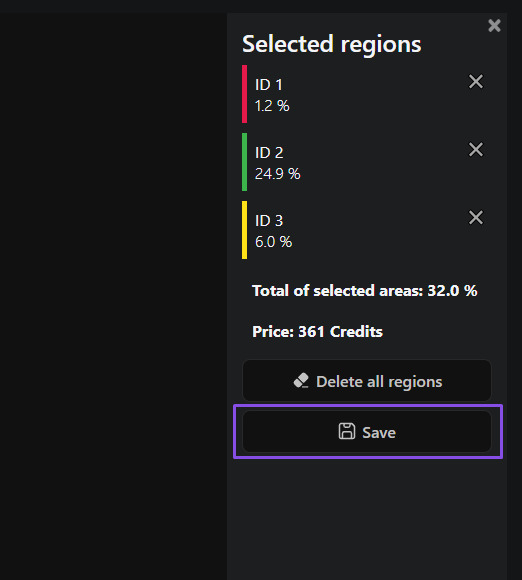
- Save — save the result (If you close the window by clicking the cross in the upper
right corner, you will not save the selected areas).
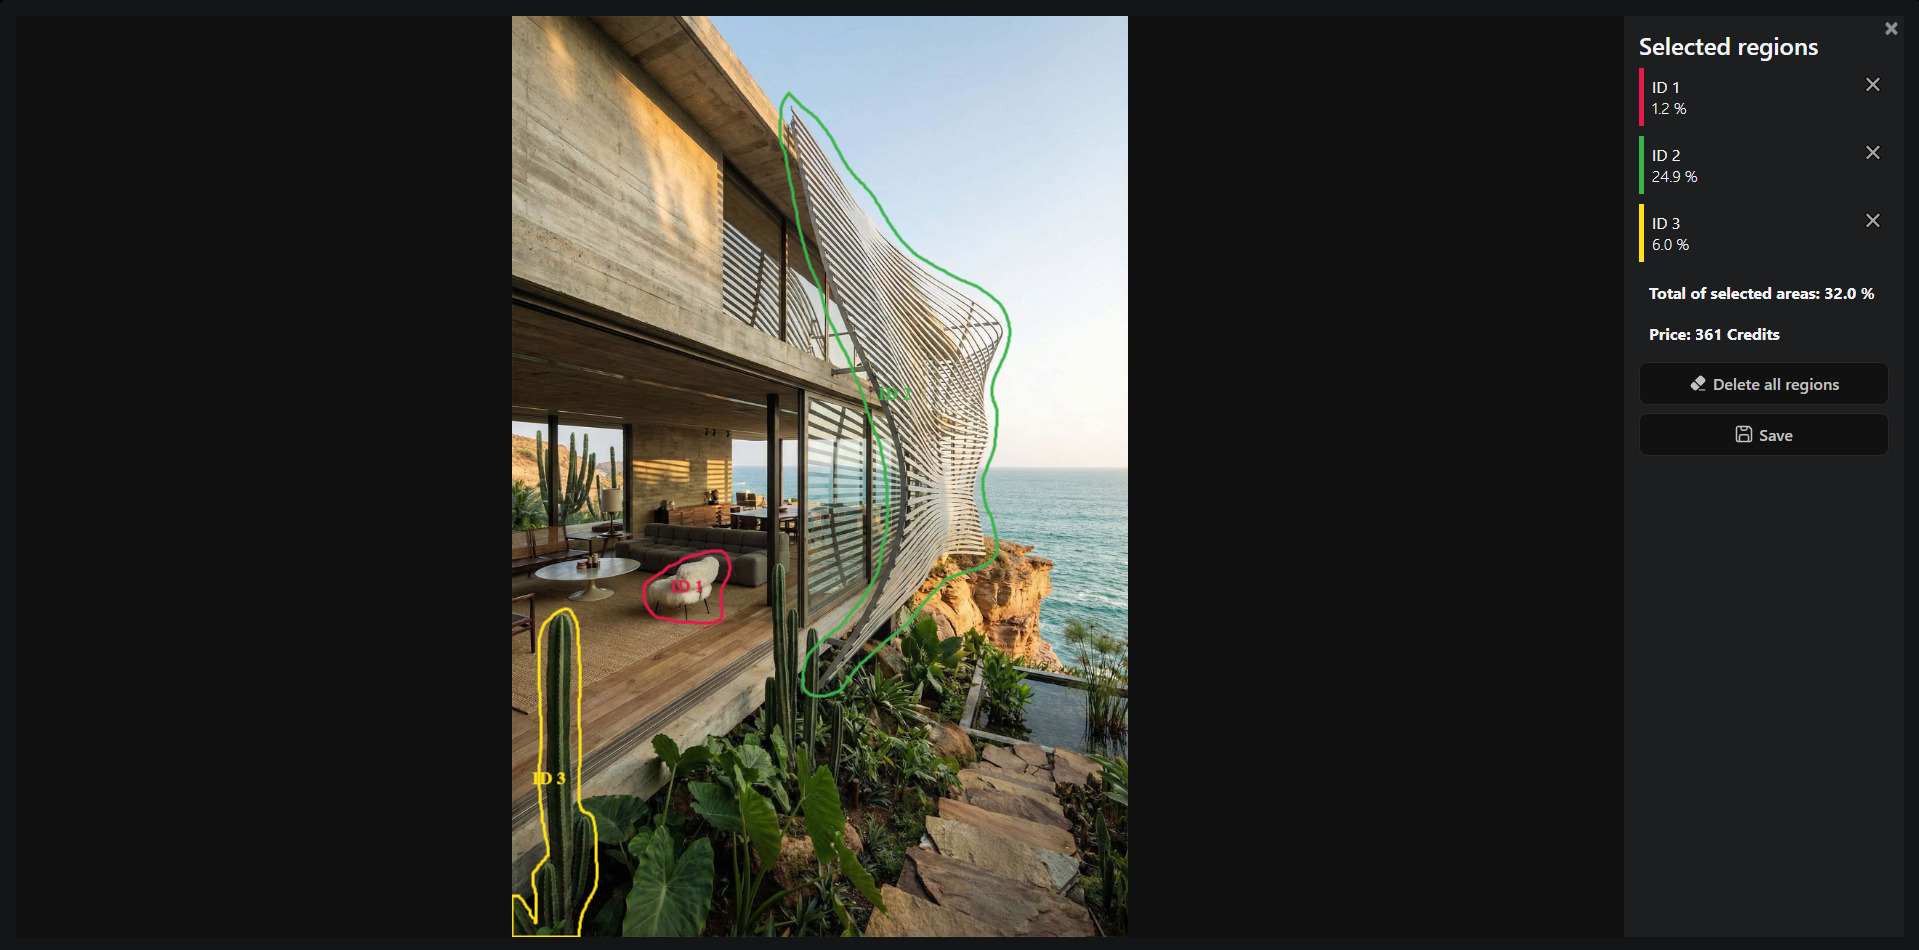
Let's provide an example of correct selection, from the point of view of improving graphics and at the same time advantageous, from the point of view of price. Here the total selection area is 32%. We recommend selecting objects or elements as a whole:
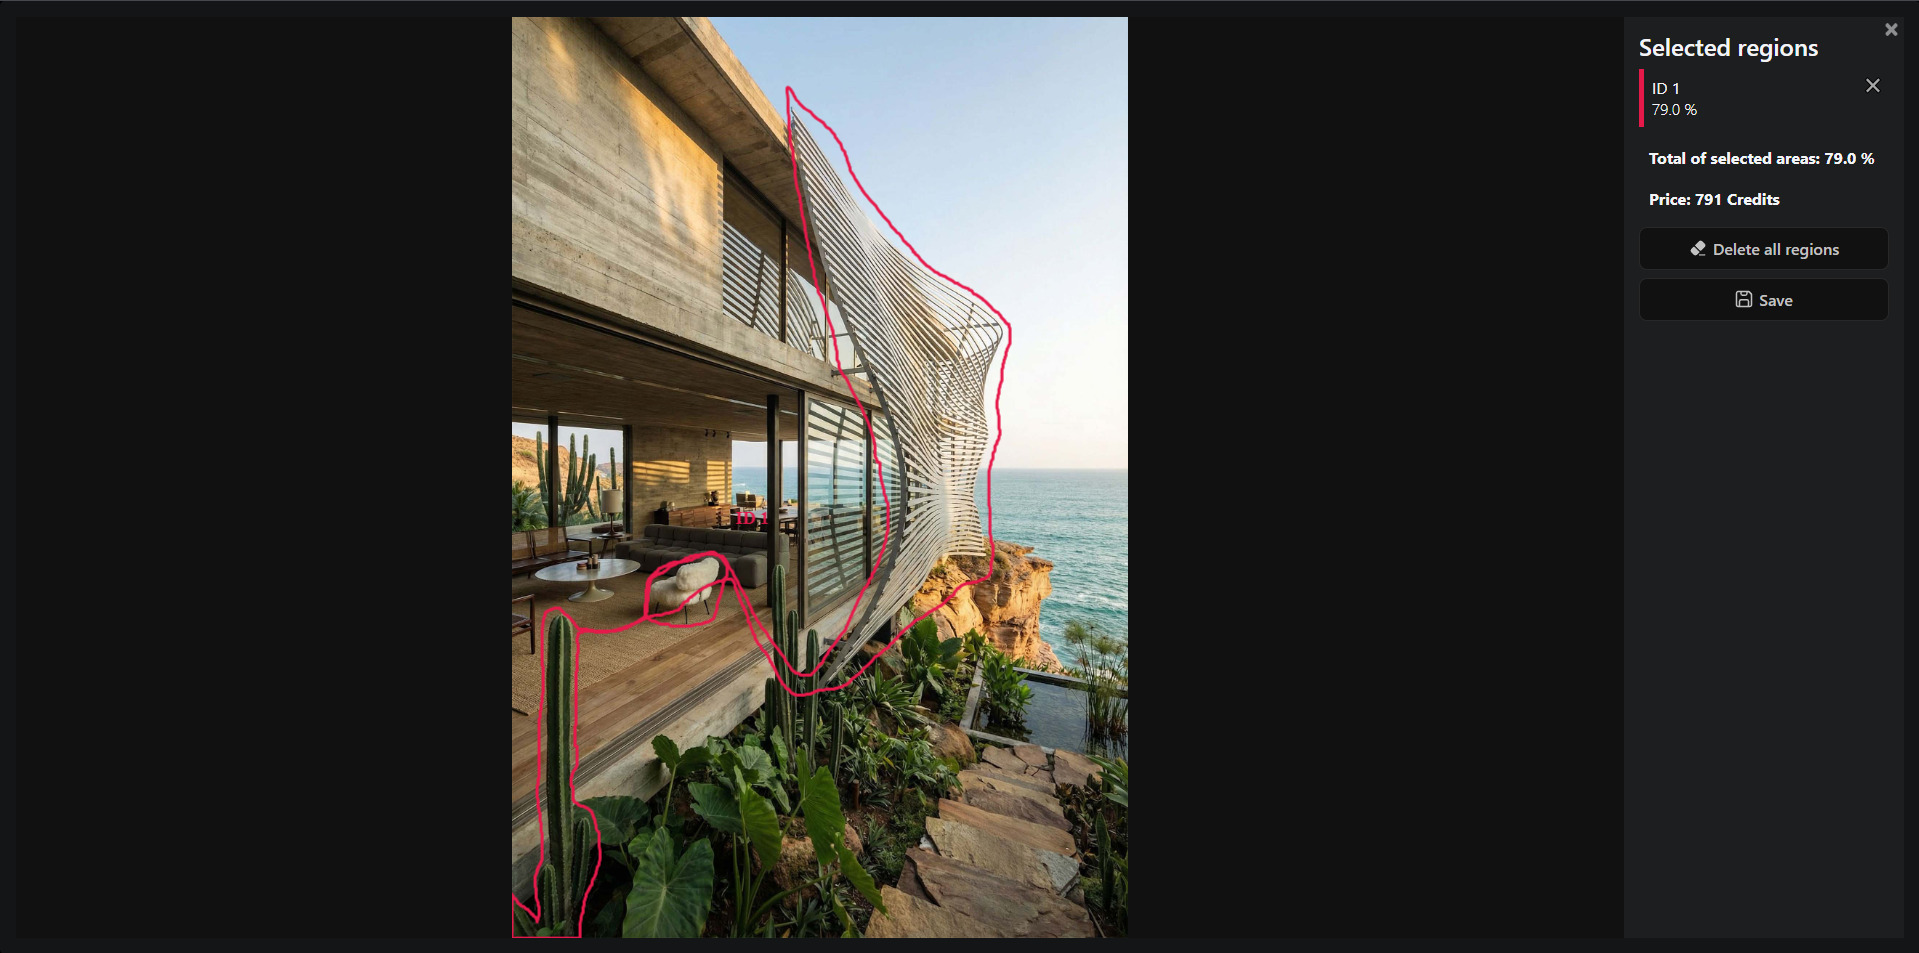
Let's provide an example of an unprofitable selection of areas from the point of view of cost. As we can see in the screenshot, the total selection area is 79%, while in the upper correct example it is 32%, and therefore it is more advantageous in terms of price. The automatic generation cost counter calculates the price based on the entire area of the bounding box of the selection.
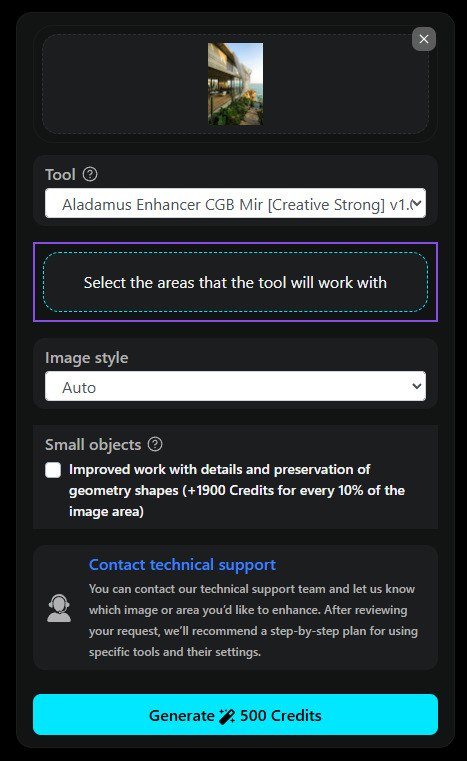
After saving the selected areas, the Select the areas that the tool will work with button changes appearance:
After you have saved the selected areas, you can open them again to check or edit them (if you do not click Save and close the window, your changes will not be saved).
When switching the tool to another one (for example, when moving from Aladamus Enhancer CGB Mir [Creative Medium + Saving geometry] v1.0 to Aladamus Enhancer CGB Mir [Creative Strong] v1.0 or Aladamus Local Micro-Detail Clarity Improver v1.0), all previously selected and saved areas will be used for the selected tool.
5. Reference
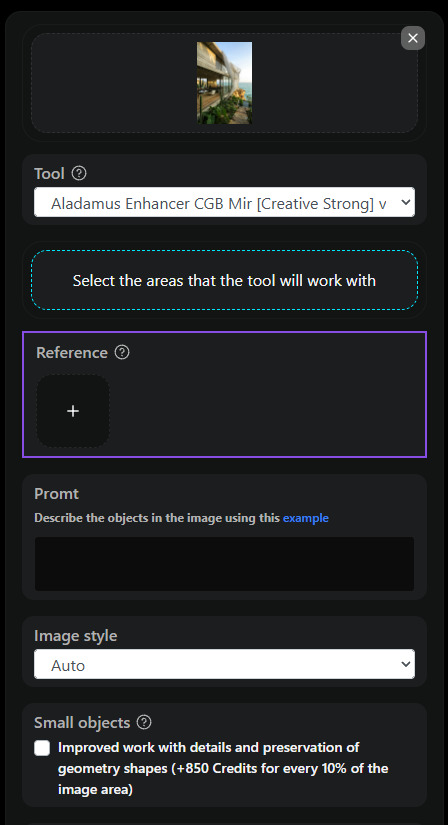
In the Reference section, you can (optionally) upload a reference image. The tool Aladamus Enhancer CGB Mir [Creative Medium + Saving Geometry] v1.0 will use it as a guide when generating the result and strive to achieve something similar. At the same time, the reference is used as a guide; at the current version of the tool, we cannot guarantee an exact match.
6. Prompt
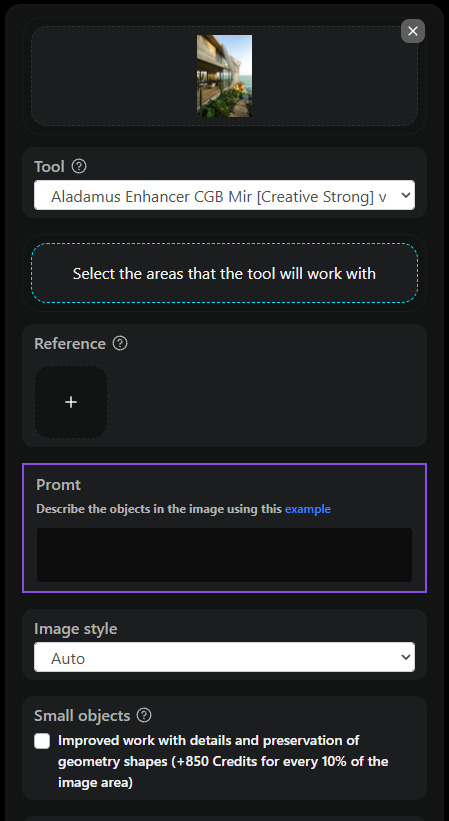
This tool has a Promt parameter. Describe the image you uploaded with ordinary sentences, you can add details (see below for an example of correct Promt construction). To save time when writing the prompt, use ChatGPT, Gemini or similar services. Send them the image you want to improve, along with this prompt:
Write a prompt in English for generating this image on the ChatGPT model (GPT-4o / GPT-5)
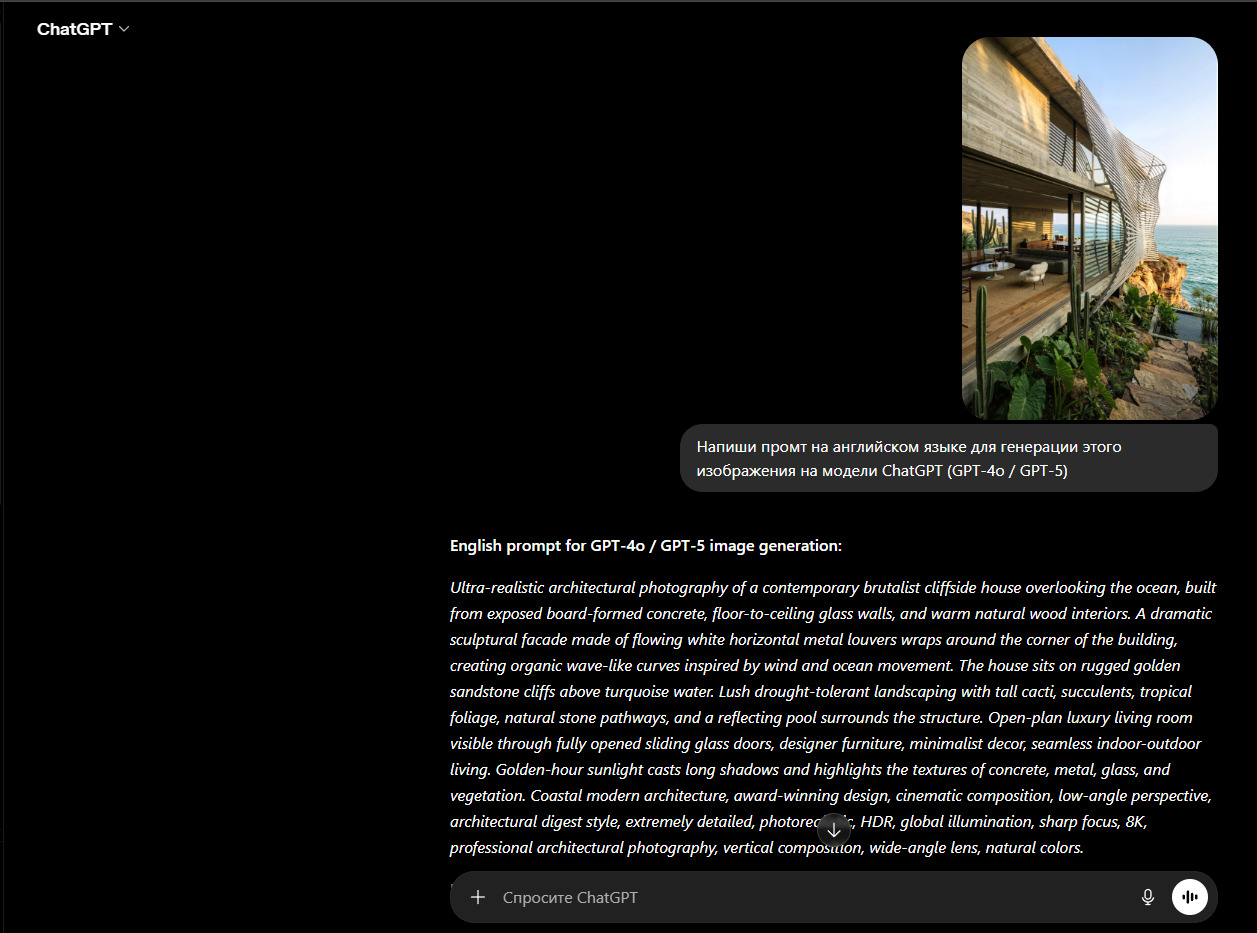
Insert the resulting prompt text into the Promt section and start generation.
7. Improved work with details and preservation of geometry shapes
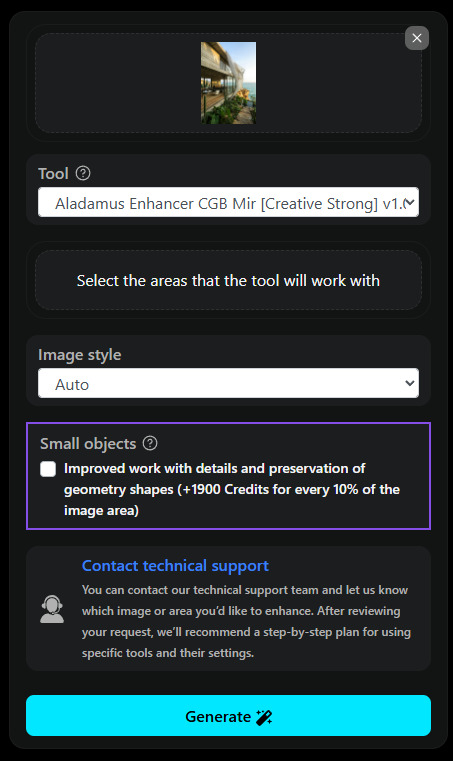
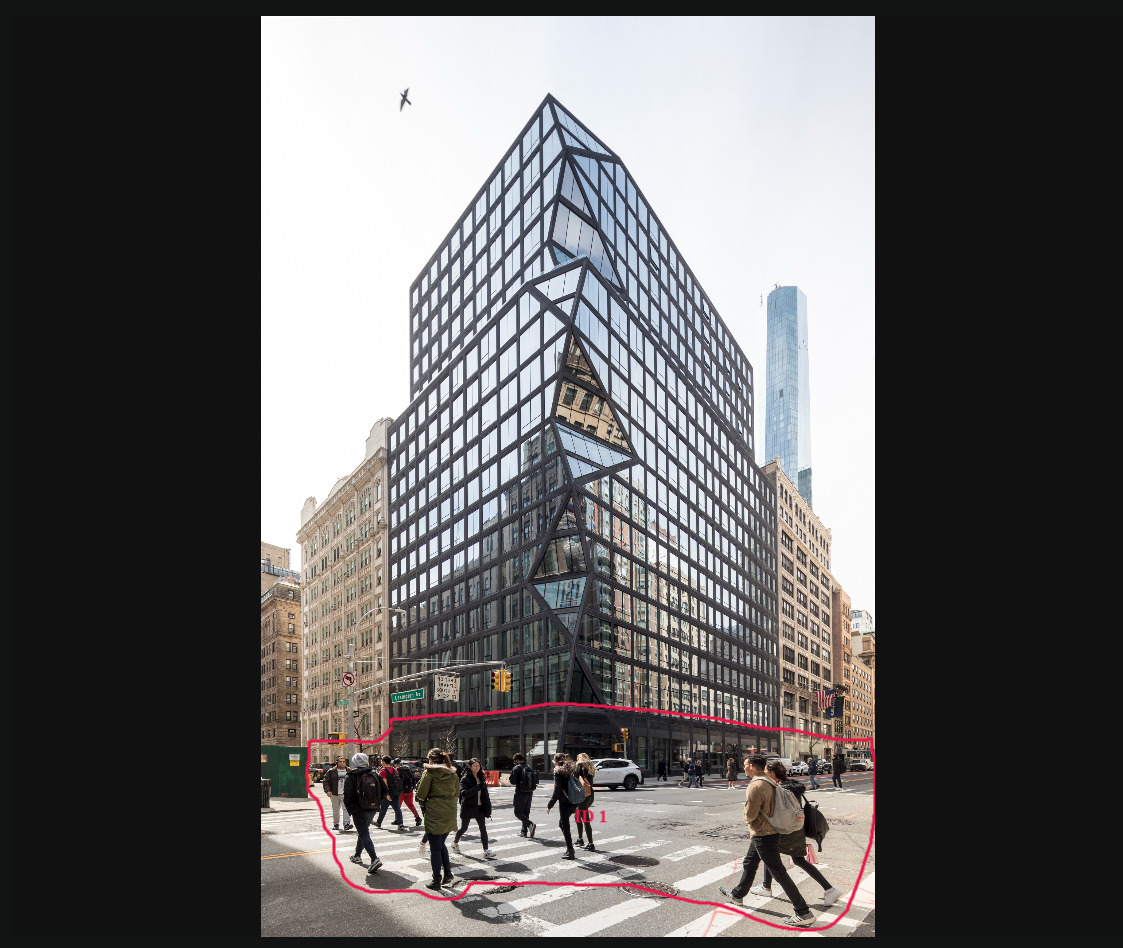
If within the selected image area that needs to be improved, there are small objects (for example, on the facade of a residential complex or other images — people, cars, trees and other small-scale elements) and the task is to preserve maximum similarity to the original image (geometry of shapes, color, materials) while improving them, then "Improved work with details and preservation of geometry shapes" must be applied to them.
In such cases, it is mandatory to use the "Improved work with details and preservation of geometry shapes" setting. Without activating it, generation may be canceled with the corresponding reason indicated. In this case, you will need to re-create the generation task with the specified setting enabled.
The cost of the "Improved work with details and preservation of geometry shapes" option is an additional 250 to 950 Credits for every 10% of the image. Since the final cost when using this option is determined only after generation is complete, before starting, in addition to the cost of the selected model, a deposit of 950 Credits for every 10% of the image is reserved. If the actual processing cost turns out to be lower, the difference is automatically returned to the user's balance.
Let's provide an example of an image with small objects, when this option needs to be enabled:
8. Generation
After completing the settings, start the process with the "Generation" button. The finished result will appear in your History section.