Aladamus AI Upscaler [Standard quality] v1.0
This is our best, flagship model from the section "Tools that work with the
entire image area".
We recommend starting work with this tool while in the AI Upscaler &
Enhancer section in order to improve your image.
In most
cases, Aladamus AI Upscaler [Standard quality] v1.0
Price: 99 Credits for the entire image area
is enough for improving all
types of images. It works fully with the entire image
area.
It increases the resolution of the image being improved to approximately 4096-5300px on the longer side.
Depending on various factors, the resolution of the improved image will not always be stable
(For example: 4096px on the longer side of the image). Sometimes improved images are generated at a
resolution greater than 4096px, and in some cases can reach up to 5300px.
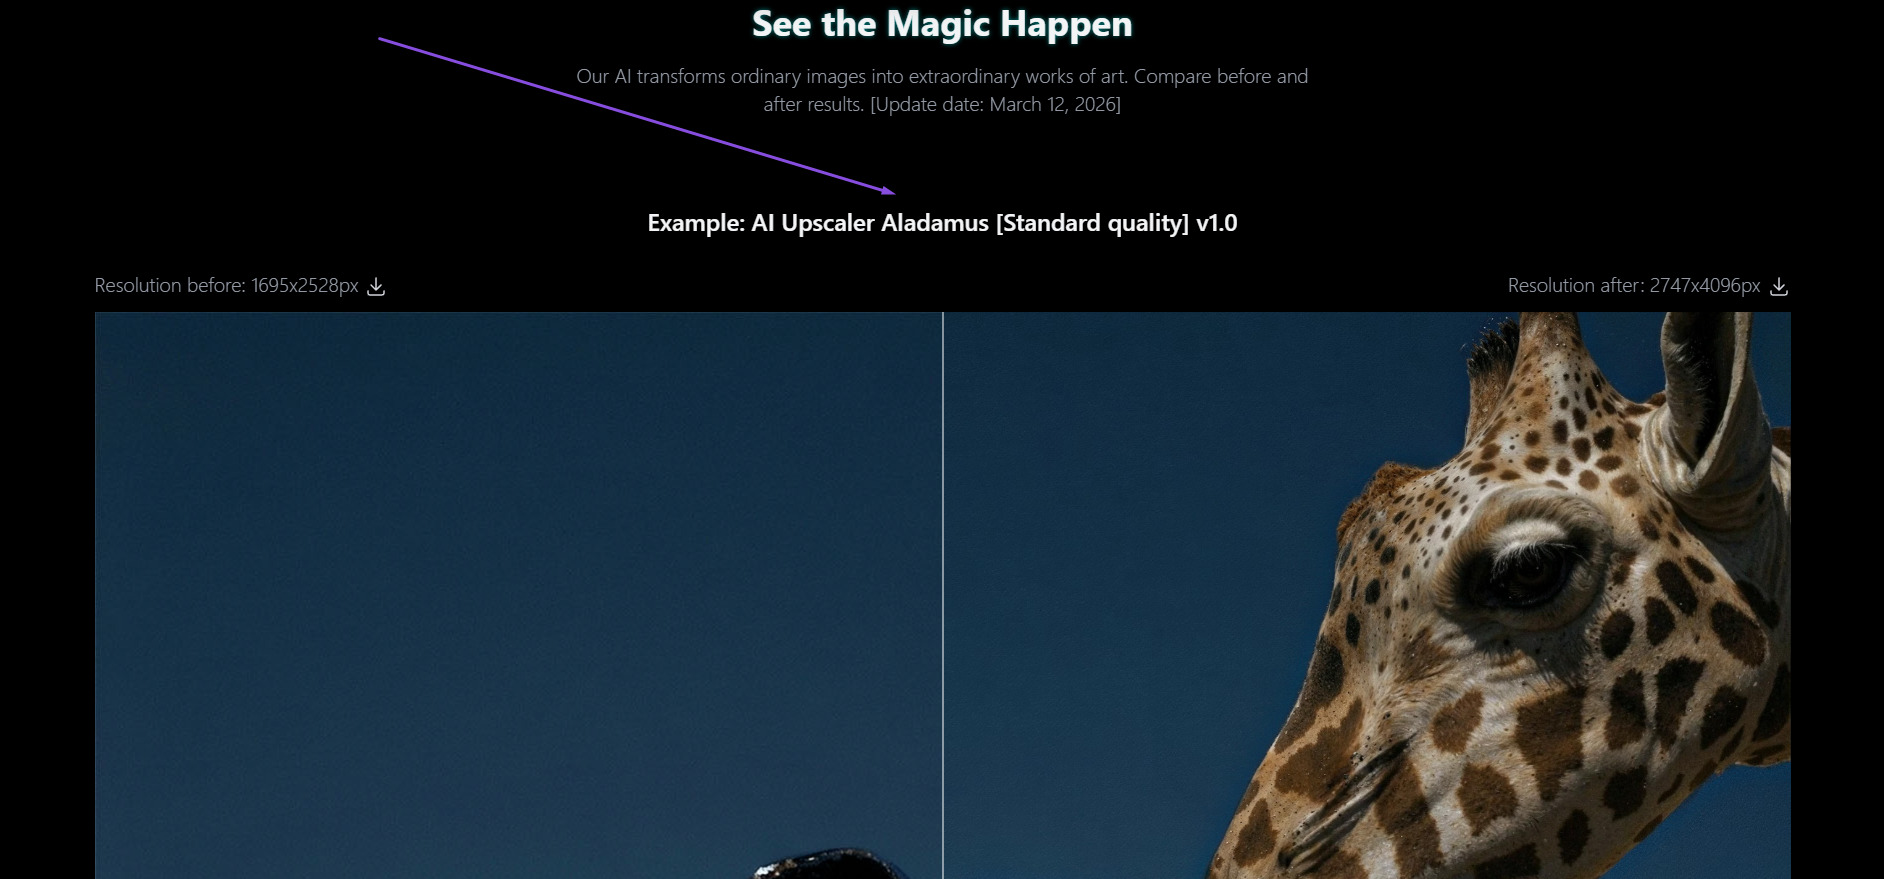
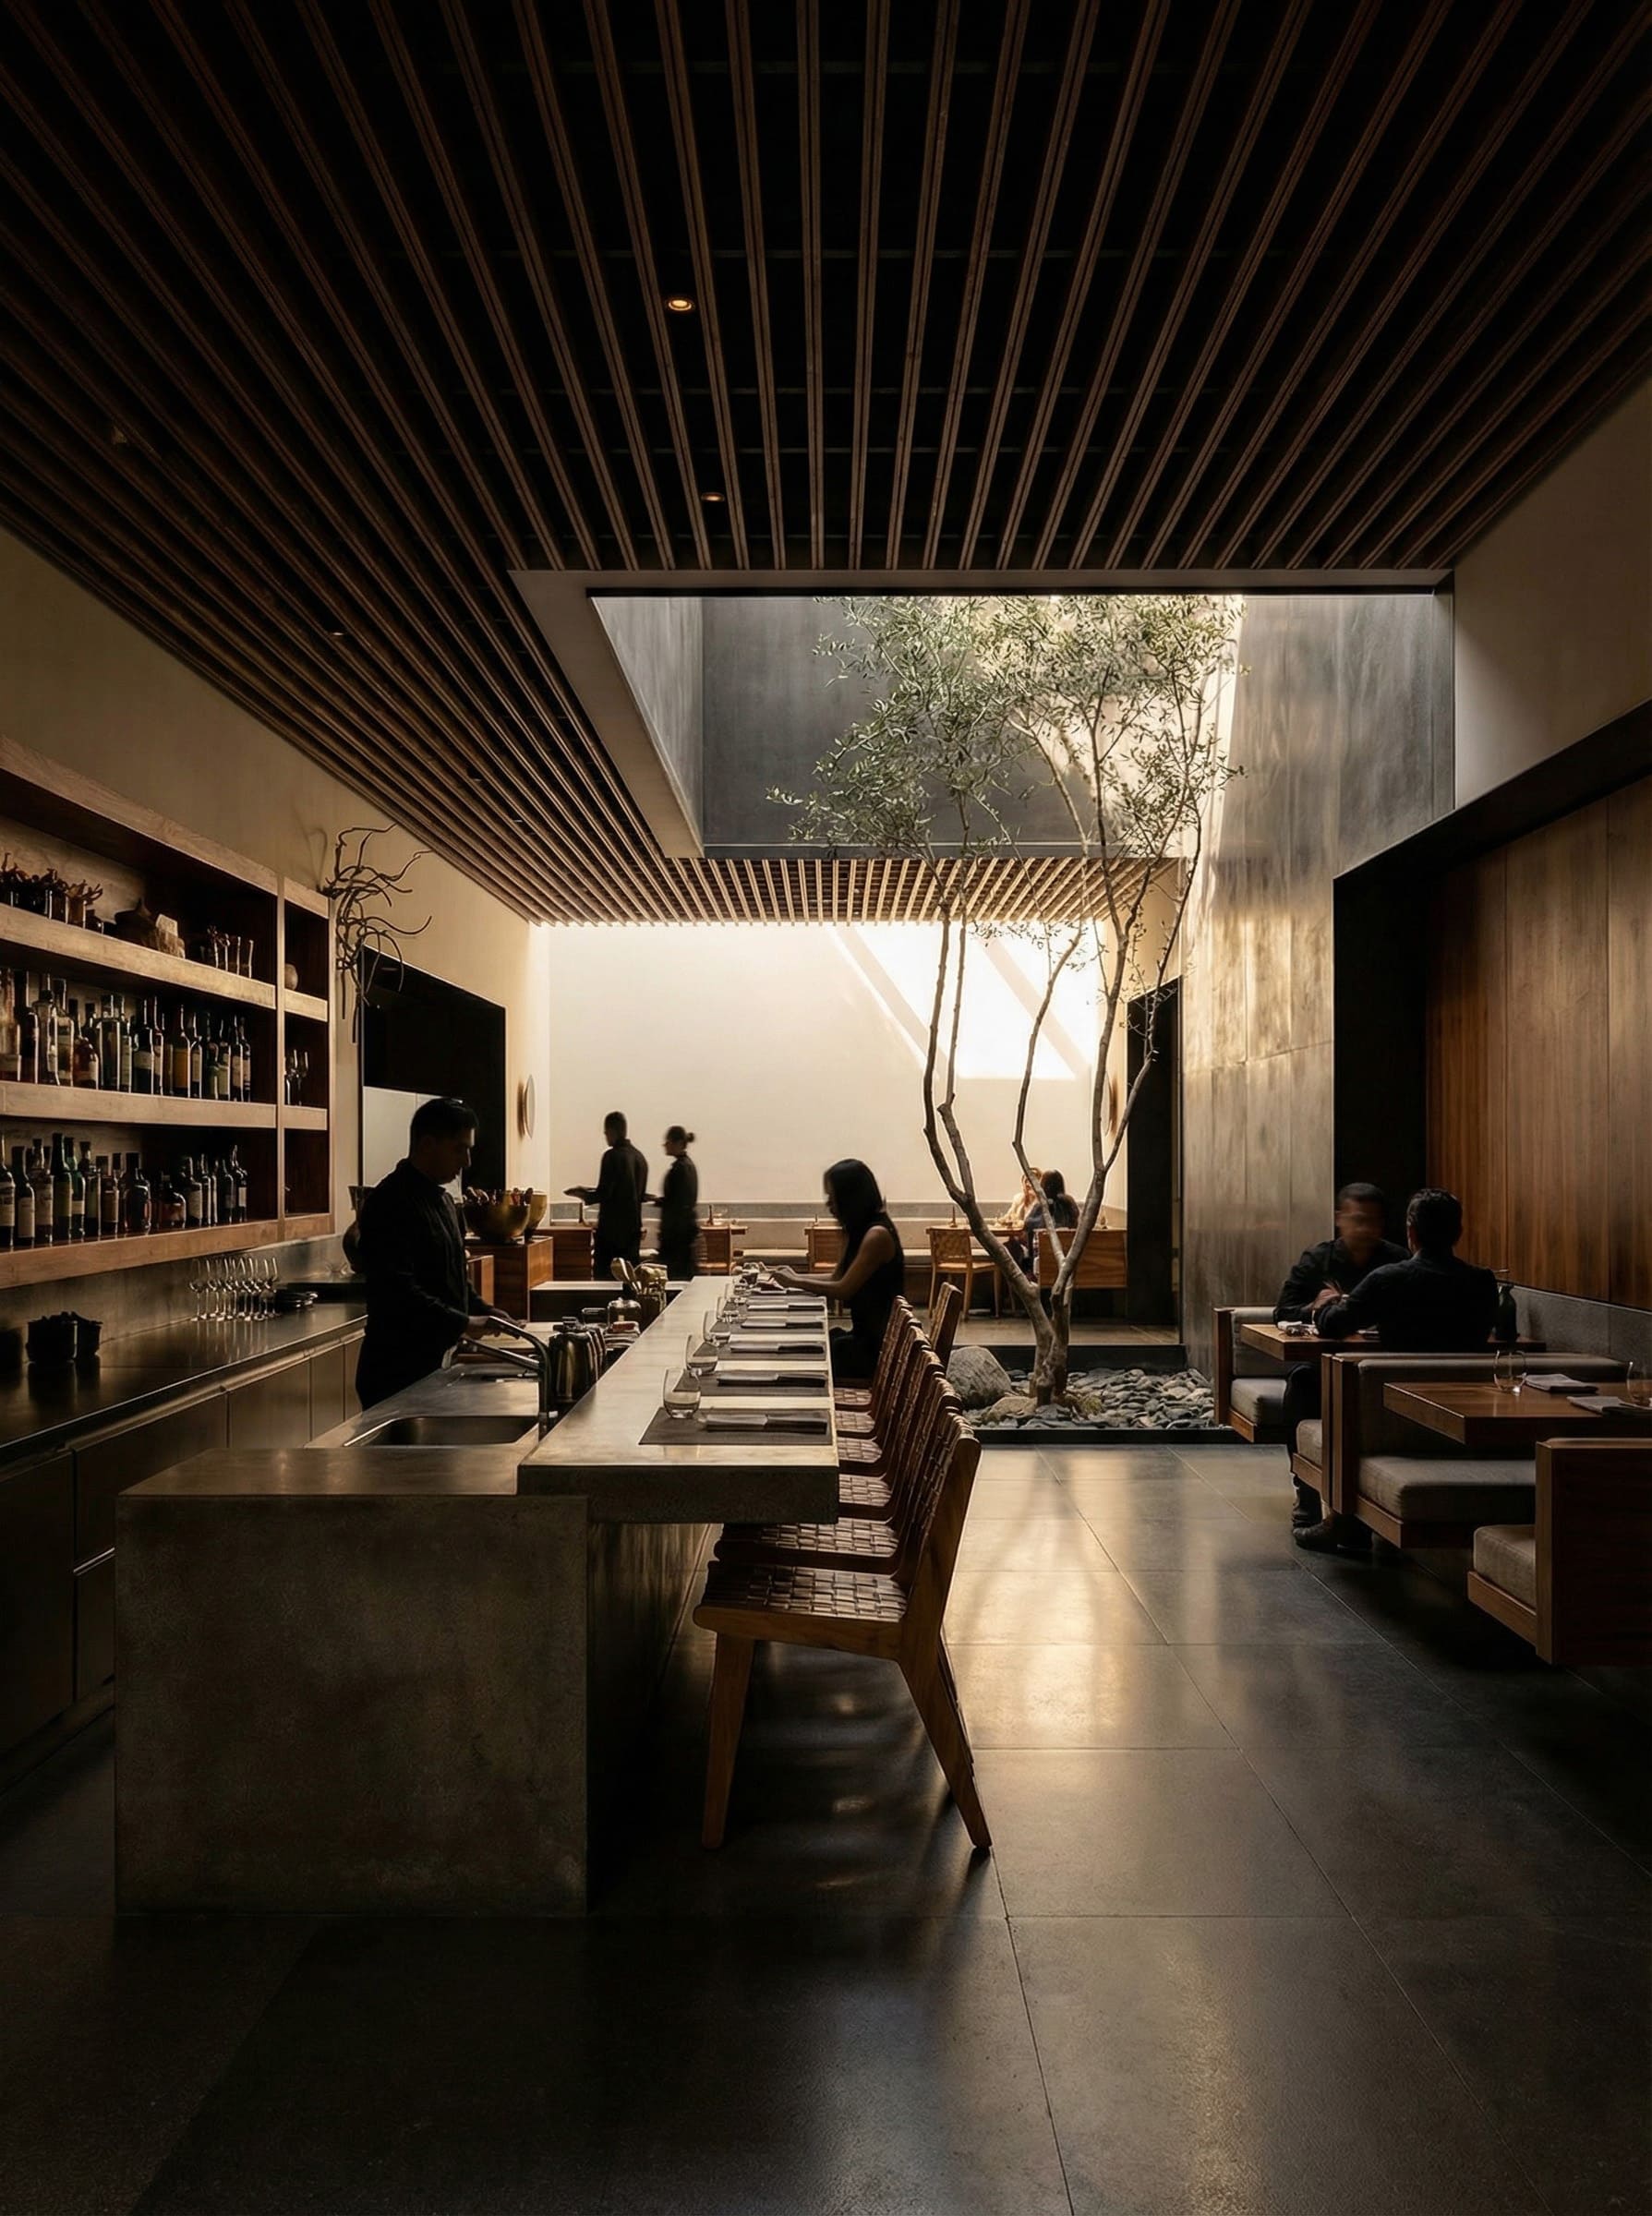
Let's provide an example of how the tool works Aladamus AI Upscaler [Standard quality] v1.0:
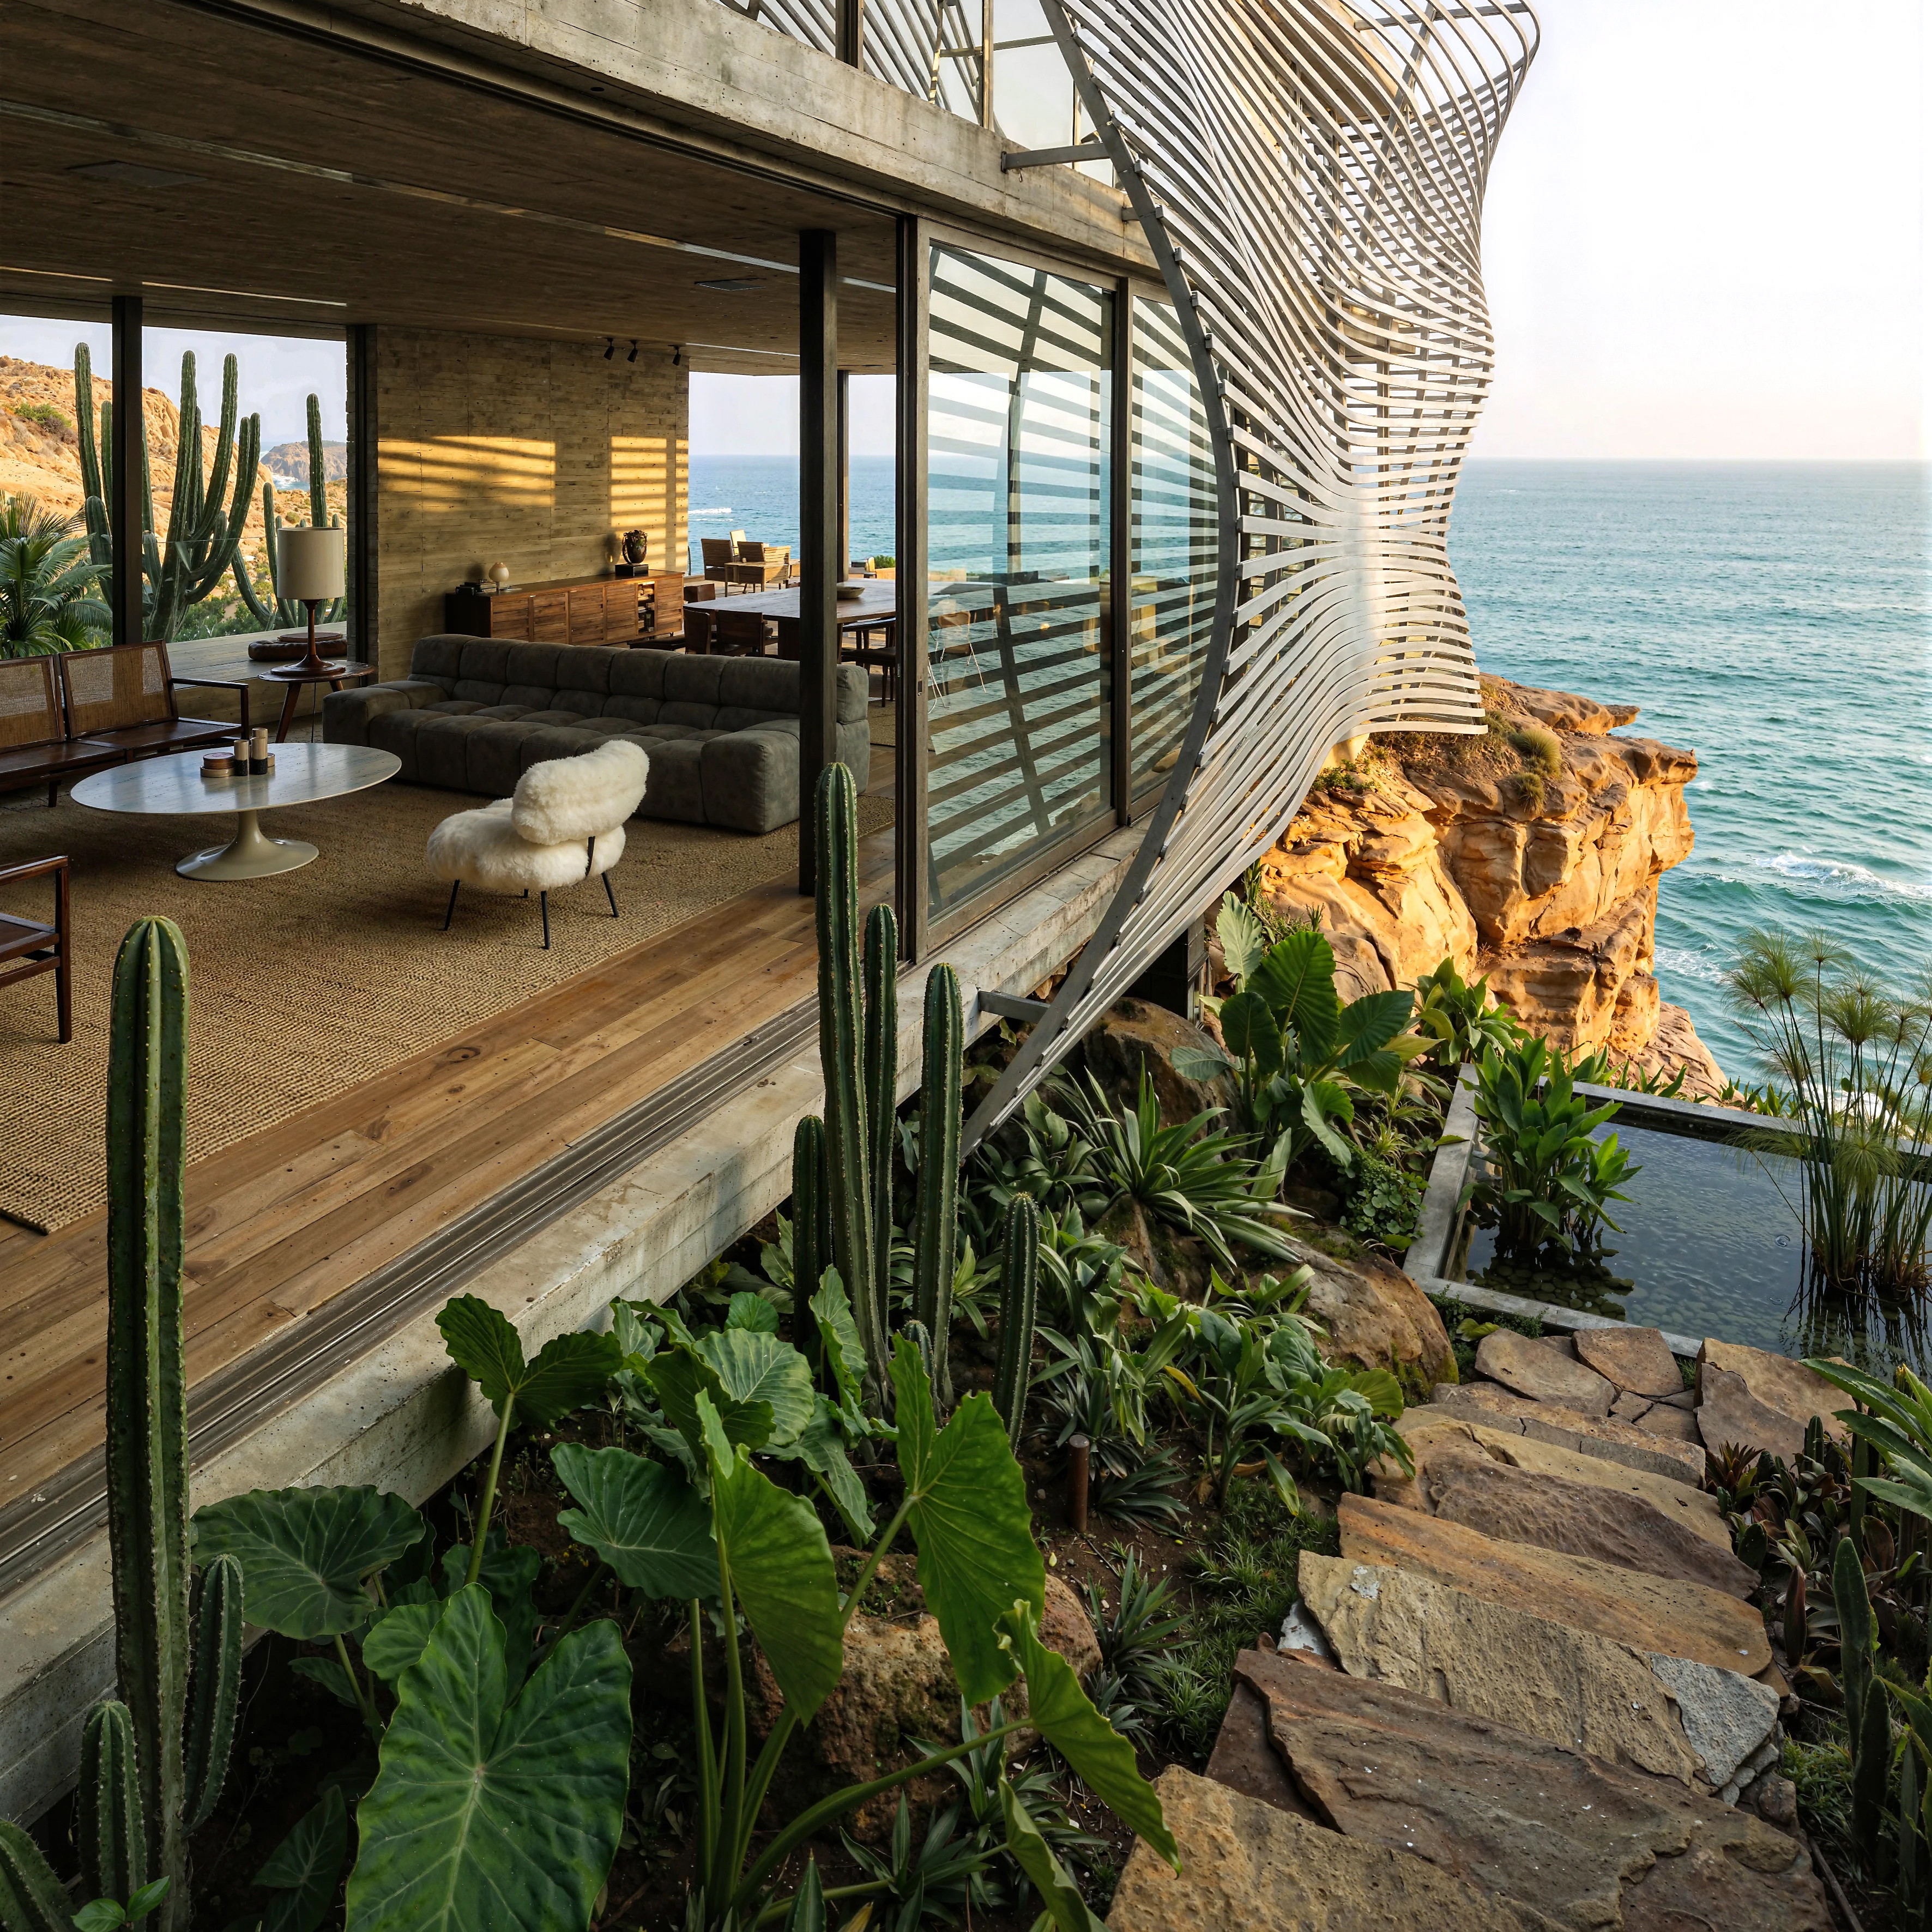
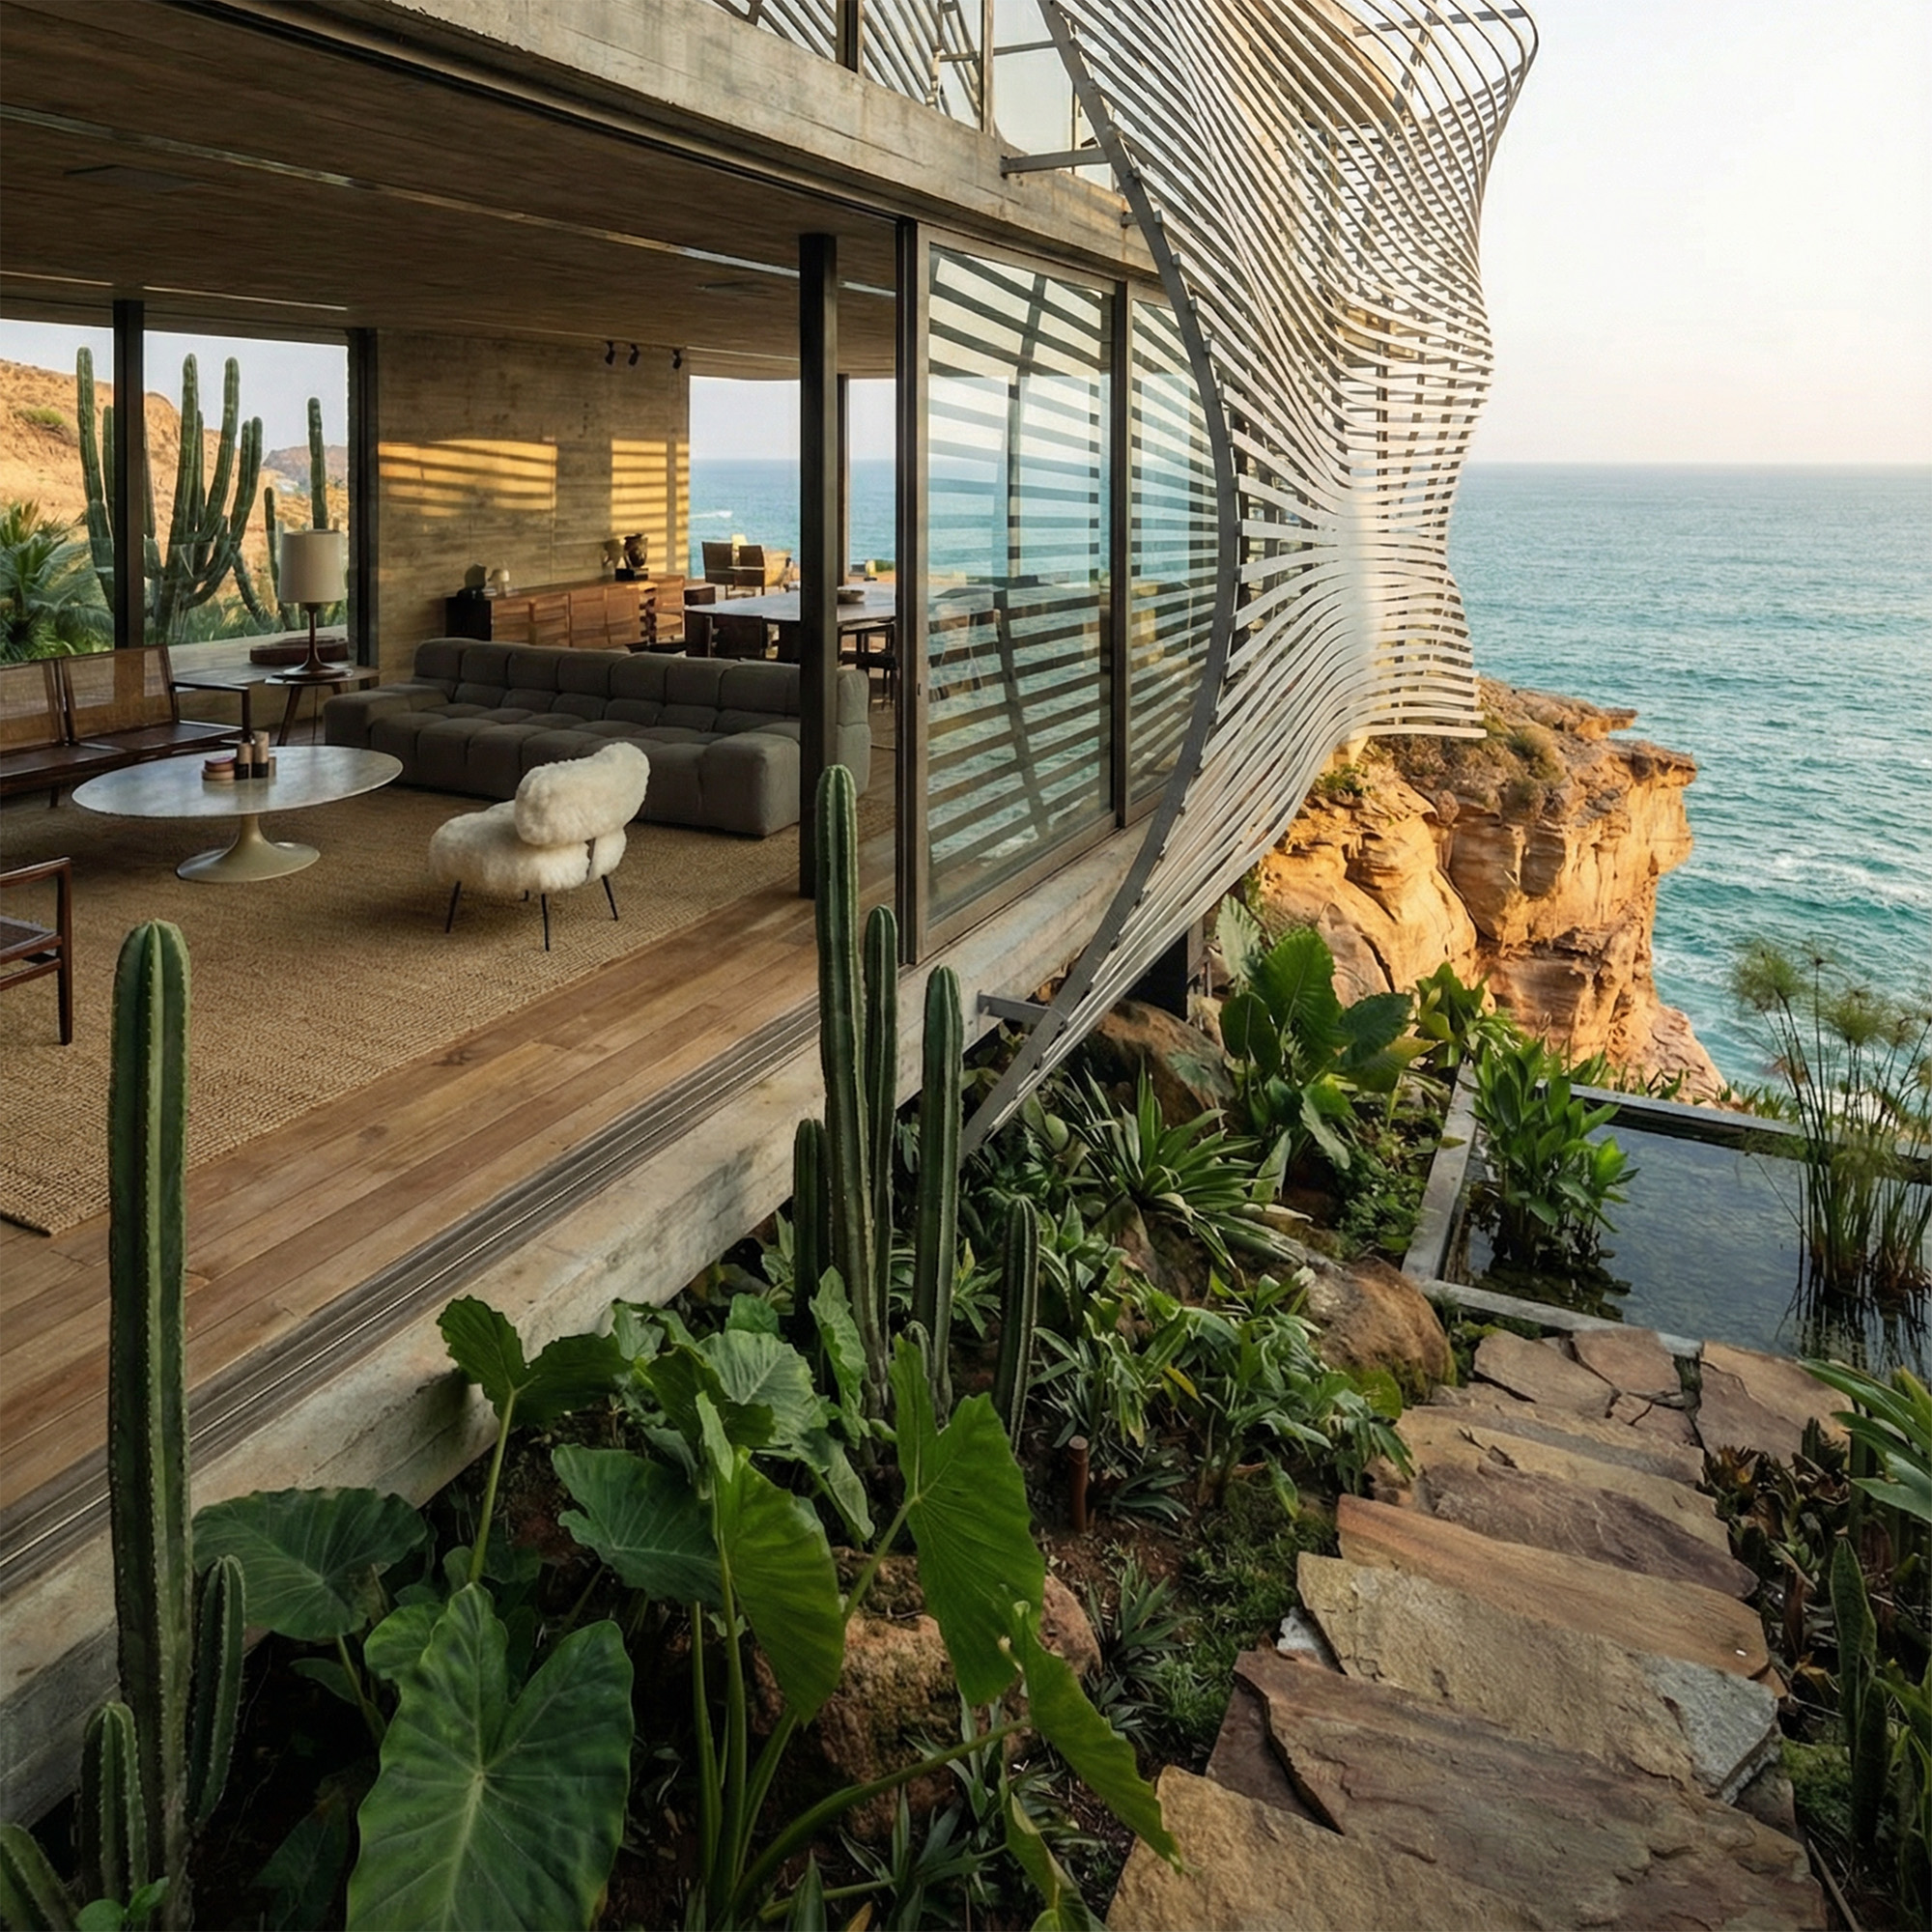
On the Explore page, you can find more examples of how this tool works.
Tool settings
1. Upload Image
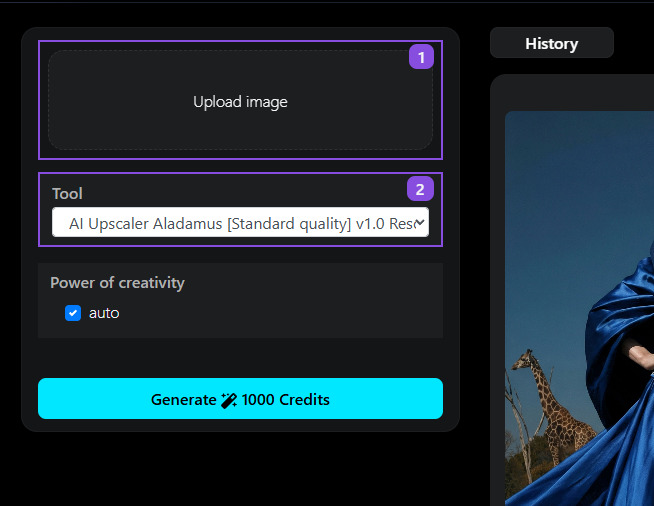
Upload your image that you want to improve.
Note: JPEG, WEBP, PNG formats are supported. Maximum image resolution up to 10000px
2. Tools
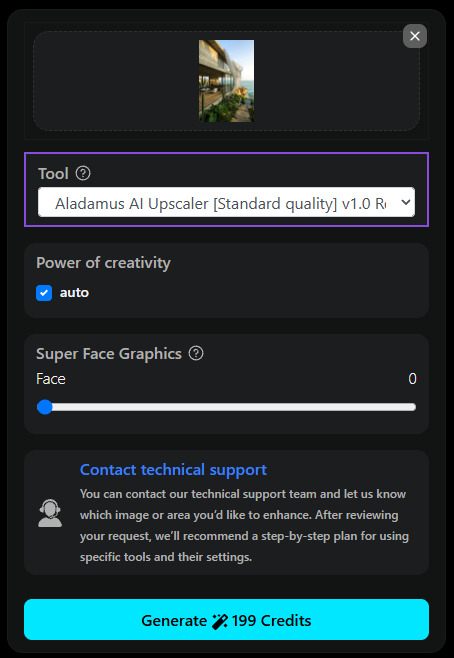
Select the tool Aladamus AI Upscaler [Standard quality] v1.0 or Aladamus AI Upscaler [Power of Creative All Light Creativity] v1.0.
3. Power of Creativity
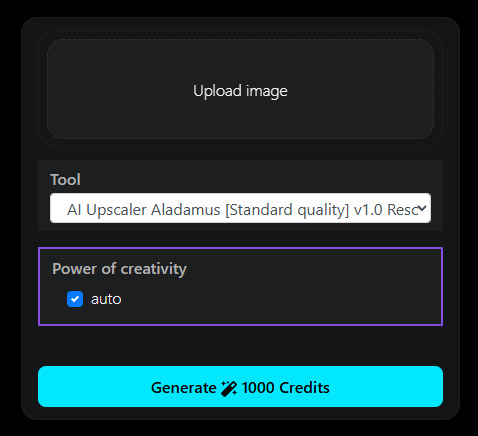
The greater the Power of Creativity, the more space for work is given to
the neural network; consequently, the
more it can improve your image, but at the same time the more it will change it.
Light Creativity - Low creativity strength (Blue outline color) – is used in the area of the
image where
you need the fewest changes and the greatest similarity to the original image.
Medium Creativity - Medium creativity strength (Green outline color) – the middle option.
Strong Creativity - High creativity strength (Red outline color) – is used in those areas
of the image where
you most need the neural network's creative freedom to improve and refine areas of the source
image.
Auto – Creativity strength is set automatically.
Areas in the image (Light Creativity) (Medium Creativity) (Strong Creativity) are configured automatically by default. By turning off Auto, you get the ability to set the creativity strength on your image yourself by outlining specific local areas with the color you want.
When you turn off Auto, the "Select areas" button appears for manually adjusting creativity strength.
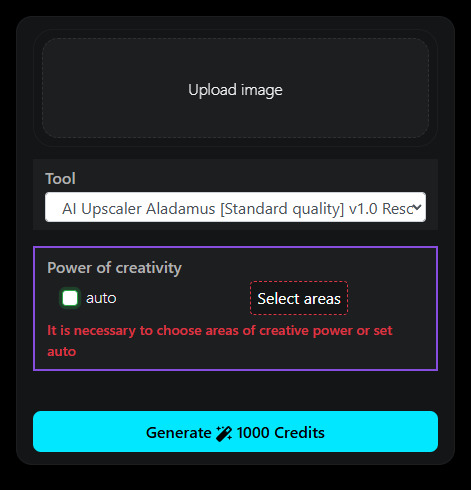
When you click the "Select areas" button, the window shown below opens; in it you can manually adjust the creativity strength and choose the area selection type:
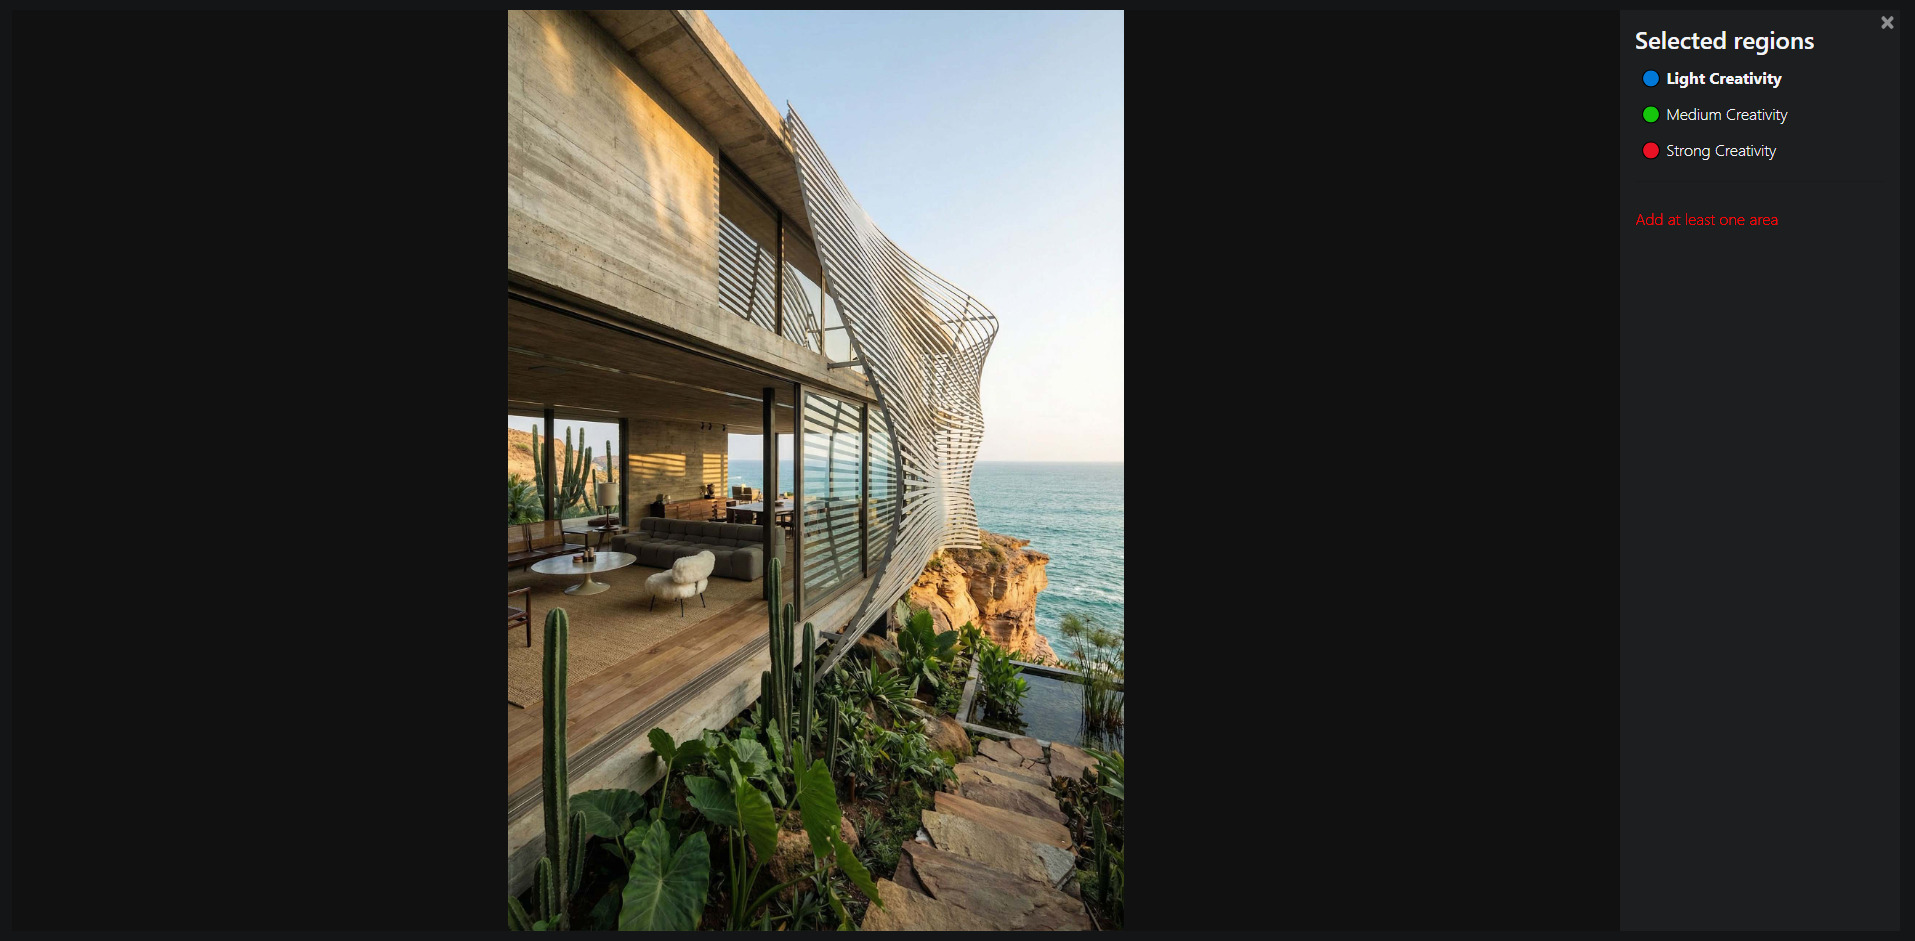
Let's provide an example of how to select areas. We recommend selecting objects, or elements within an object, as a whole without splitting a single object into two parts:
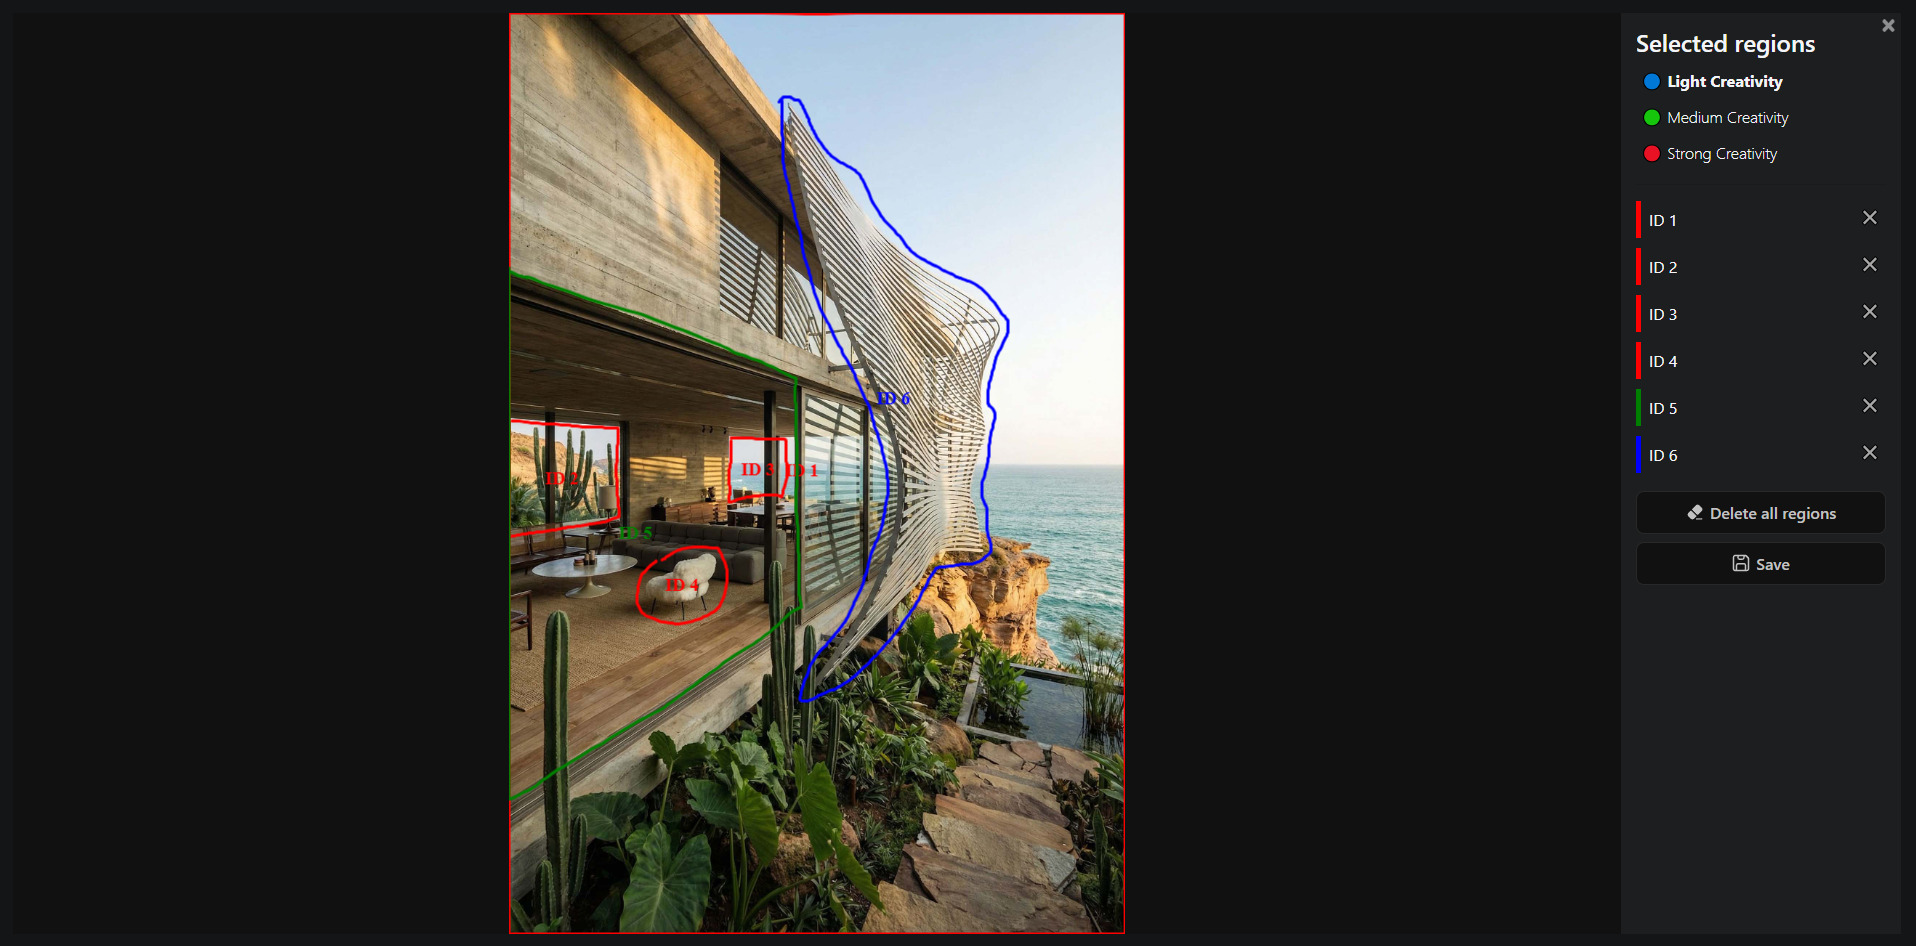
Working with areas:
- Hold down the left mouse button and outline an area (preferably along the contour of the silhouette/shapes). You can create multiple areas. Each area is displayed in the selected color.
- Each area can be deleted by clicking the cross on the specific area, or you can delete all areas at once — Delete all regions
- Save — save the result. If you close the window by clicking the cross (in the upper right corner), you will not save the selected areas. To save, click Save.
After saving the selected areas, the Select areas button changes appearance:
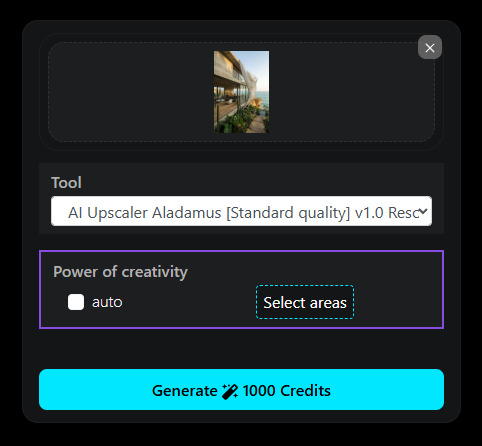
After you have saved the selected areas, you can open them again to check or edit them (if you do not click Save and close the window, your changes will not be saved).
When switching the tool to another one (for example, when moving from "Aladamus AI Upscaler [Standard quality] v1.0" to "Aladamus AI Upscaler [Power of Creative All Light Creativity] v1.0"), all previously selected and saved areas for adjusting Power of Creativity will be used for the selected tool.
4. Super face graphics
If there are no faces in the image, leave the Super Face Graphics value at 0.
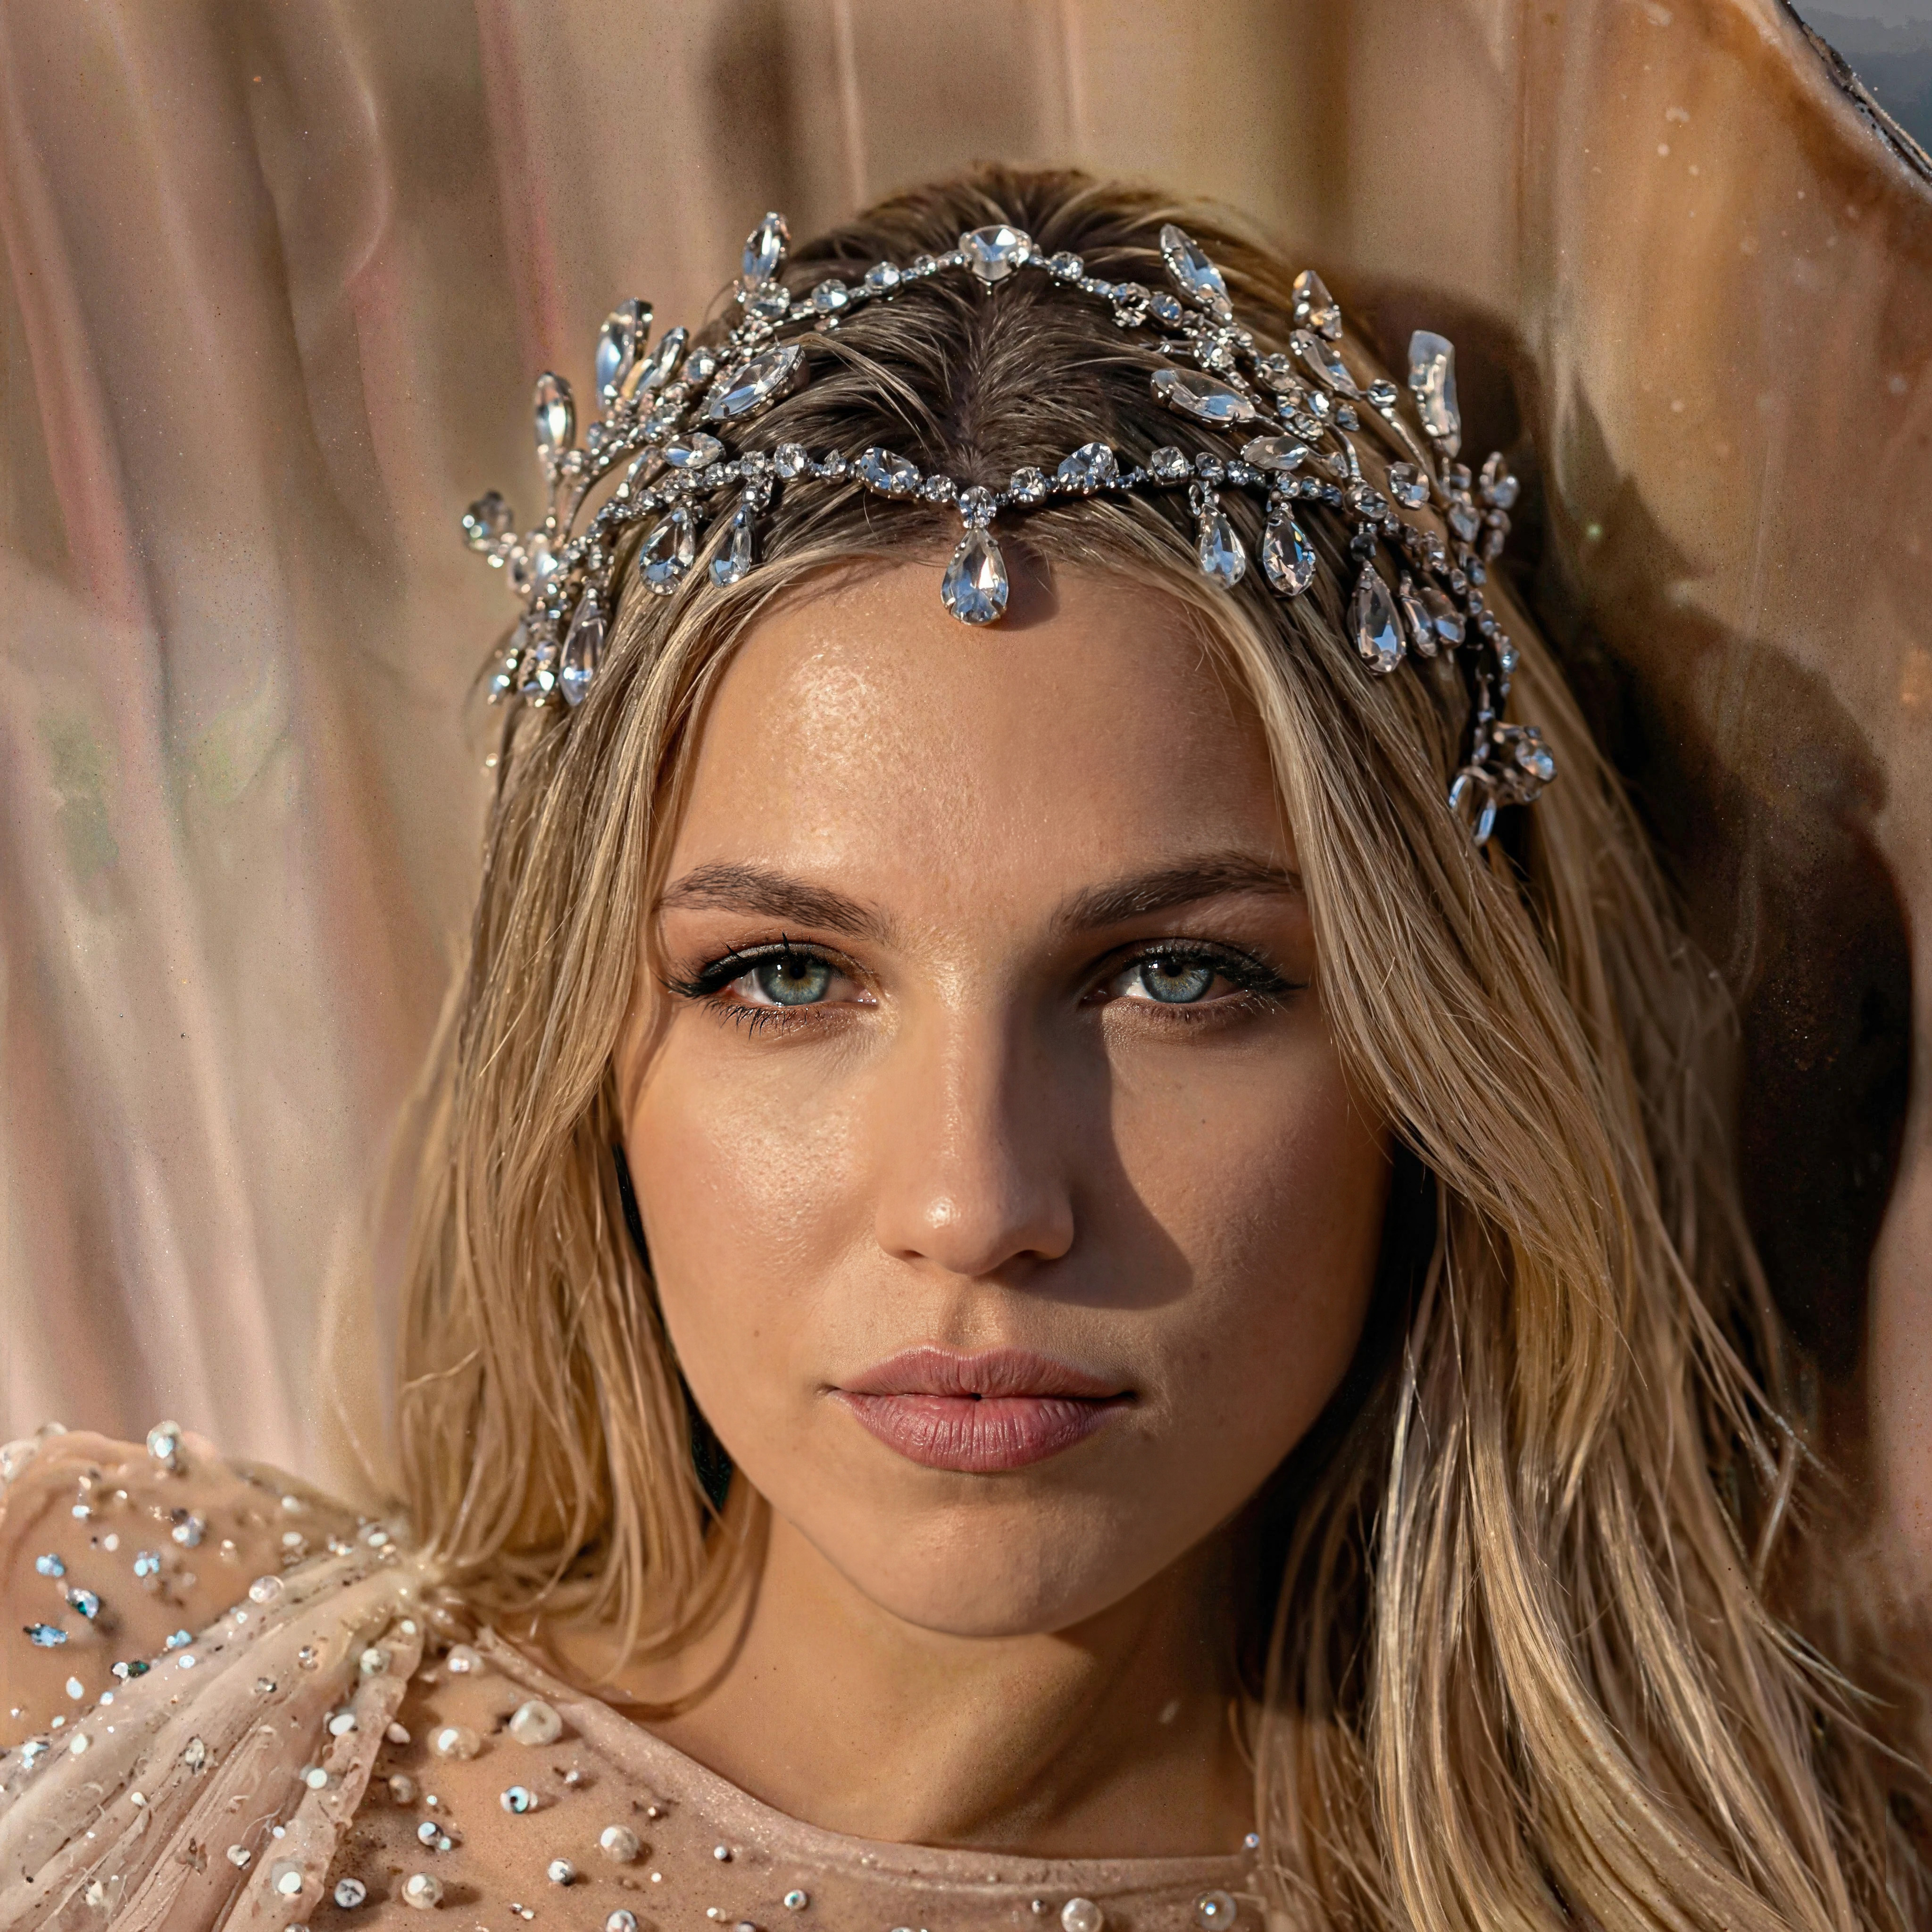
The Super Face Graphics setting is responsible for the operation of AI technology that allows the most detailed and elaborate work with image areas containing human faces. Super Face Graphics is a very resource-intensive process. Each face enhancement costs 200 Credits.
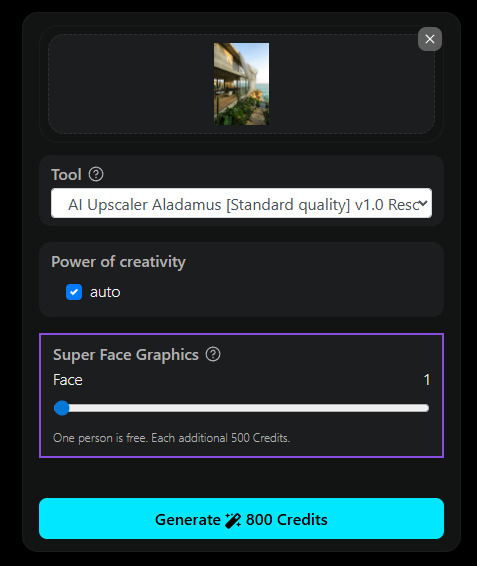
The slider sets how many faces in the image you want to apply the Super Face Graphics AI technology to.
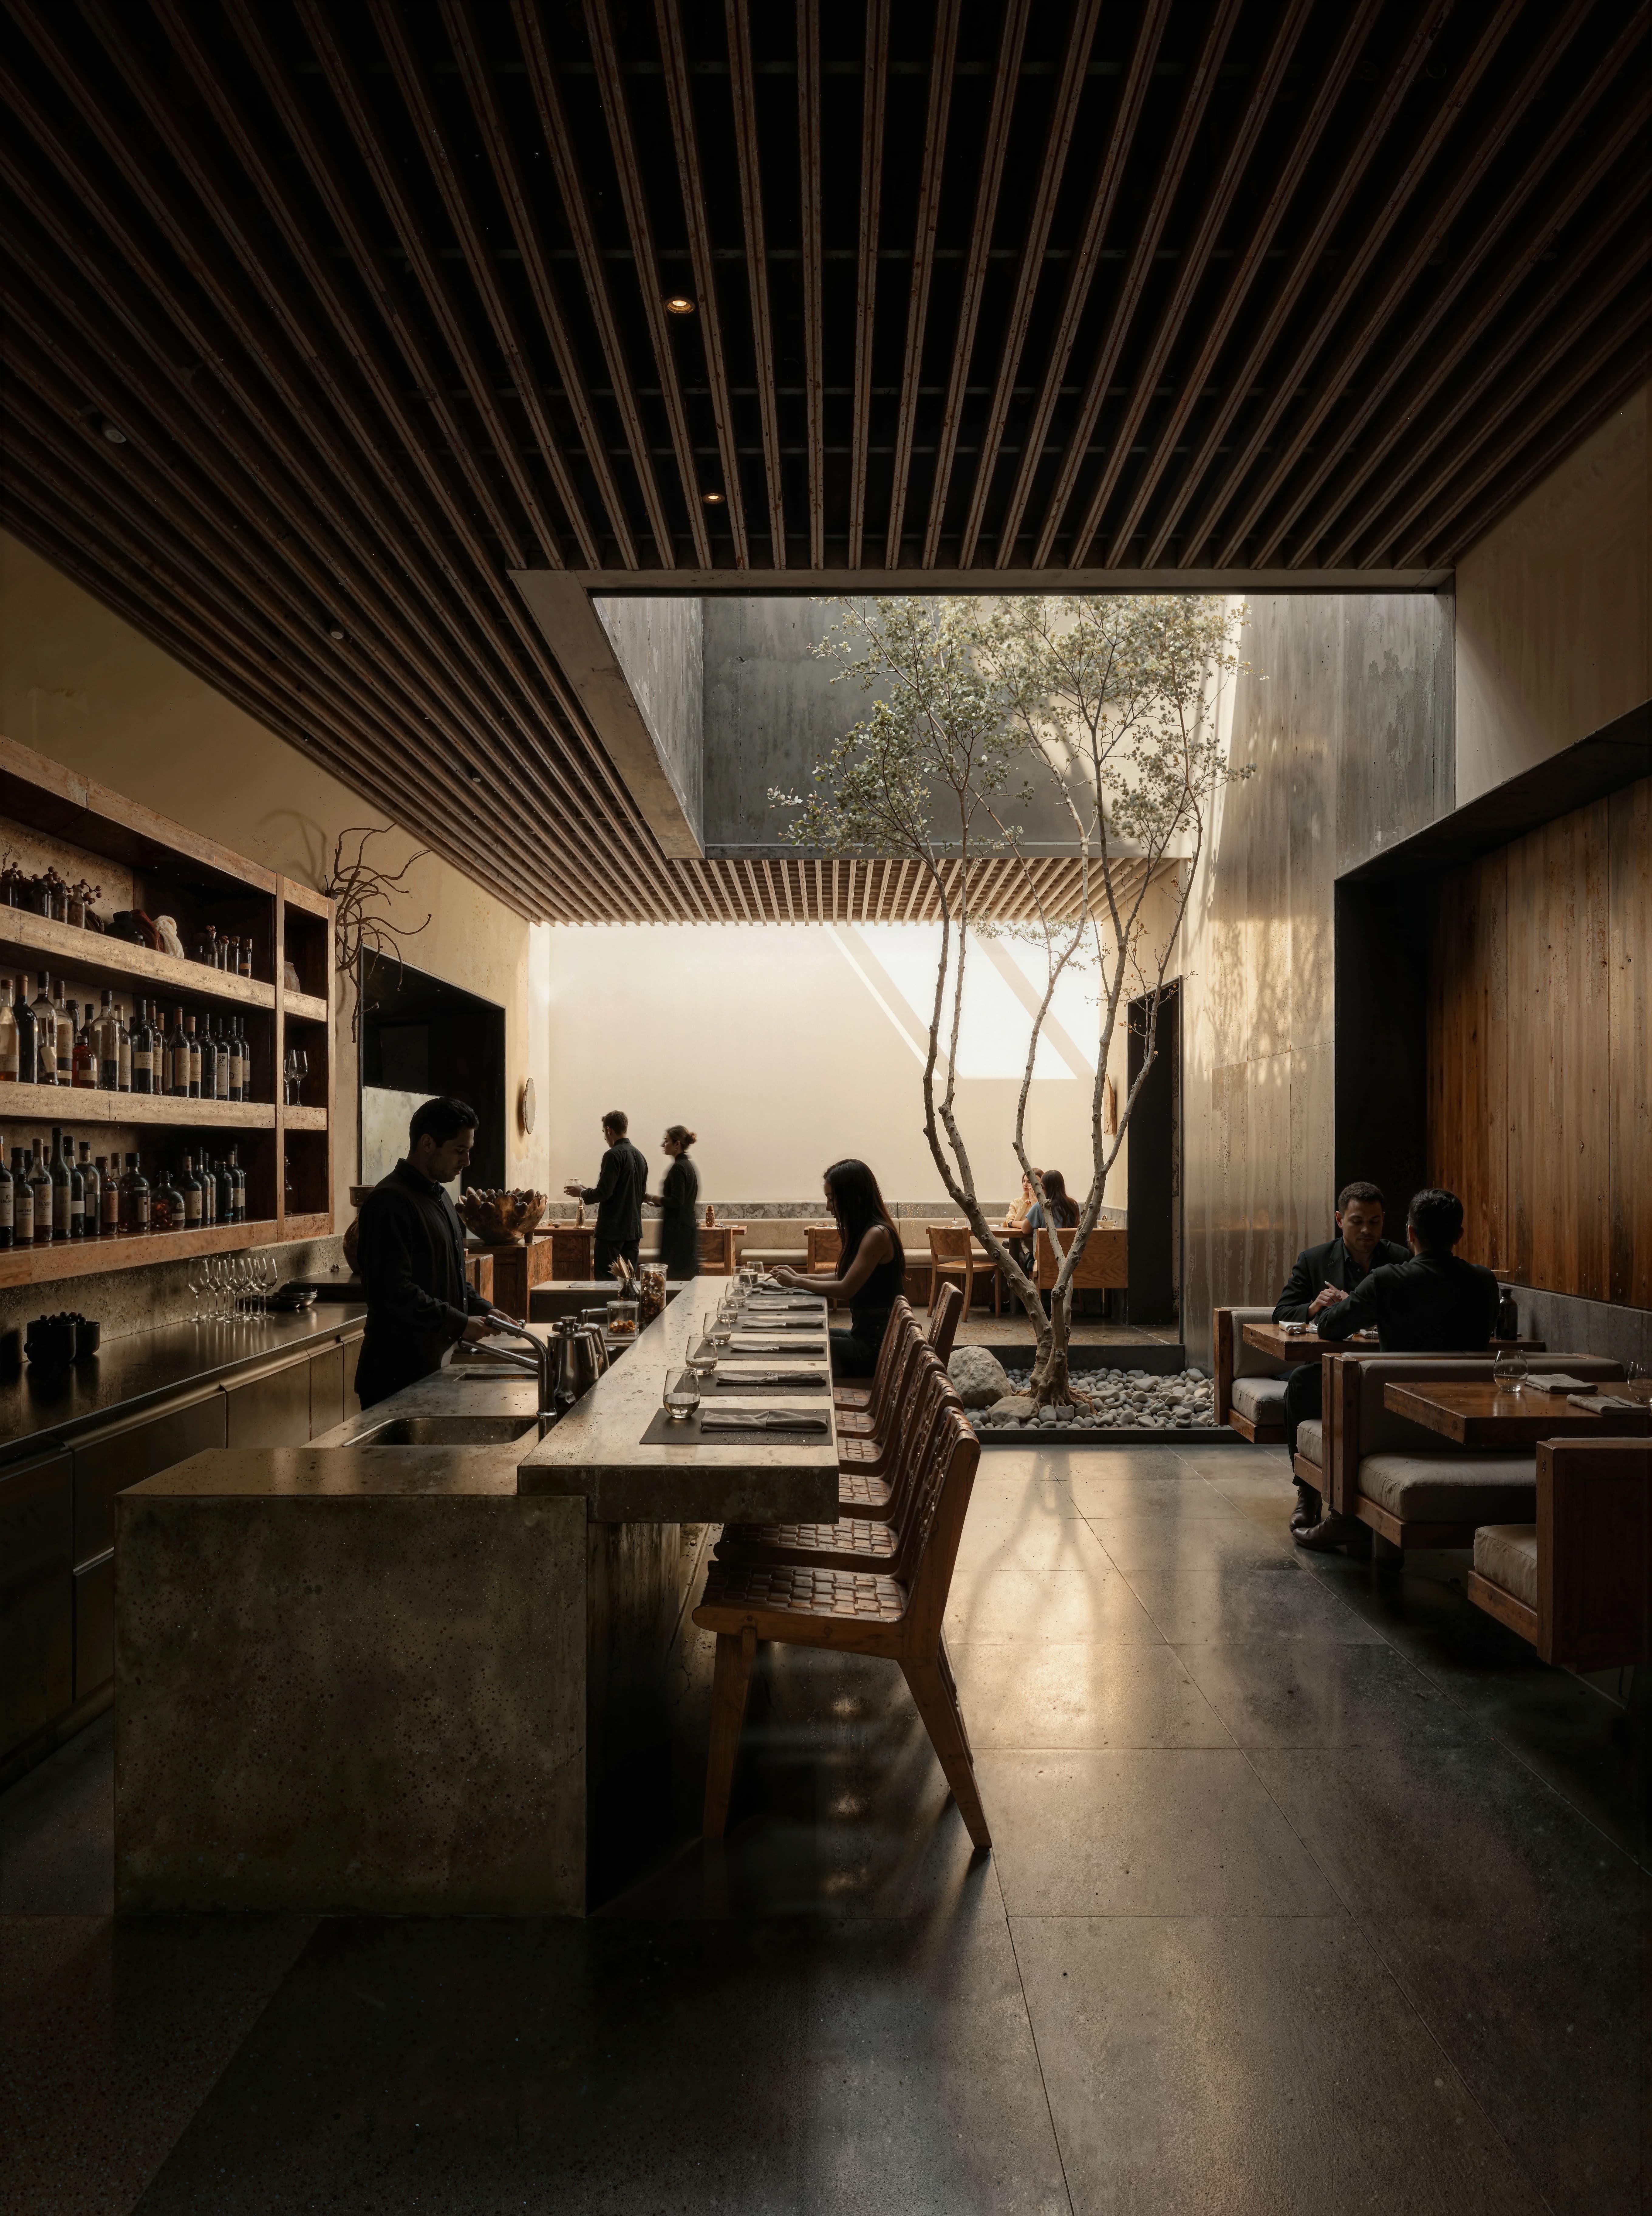
Let's provide an example of how the tool works without using Super Face Graphics:
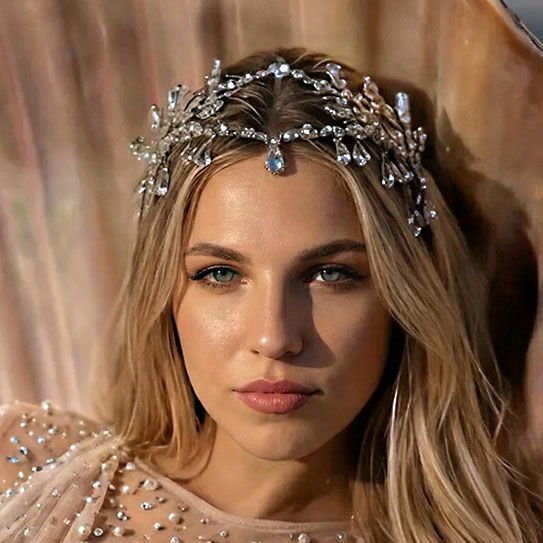
Let's provide an example of how the tool works on a portrait of a girl, using Super Face Graphics:
5. Generation
After completing the settings, start the process with the "Generation" button. The finished result will appear in your History section.