Instructions for the correct algorithm for using AI Upscaler & Enhancer on Aladamus
In order to get the highest possible level of graphics from Aladamus, impressive micro-architecture of details, and quality of refined, improved images, you need to know the method and correct sequence of using the tools located in the section: AI Upscaler & Enhancer.
Stage 1
Processing the entire image area.
First of all, when working on improving image quality, you need to start with the tools located in the section: "Tools that work with the entire image area". In order to immediately improve the entire image, the best tool (at the moment) that works with the entire image area is Aladamus AI Upscaler [Standard quality] v1.0 (we recommend starting with it), it produces premium image quality, at the level of covers of glossy fashion and architectural magazines, and allows you to:
- Improve the quality of elaboration of image details.
- Increase the impact and visual appeal of the image.
- Increase image resolution (≈ 4096-5300px) on the longer side.
- Restore low-quality or damaged areas of the image, transform the original image into an improved version.
Cheaper alternative to Aladamus AI Upscaler [Standard quality] v1.0:
- If your budget is limited, you can use the same tool but in a lightweight and cheaper version Aladamus AI Upscaler [Power of Creative All Light Creativity] v1.0. Detailed information about the features of this model and the important difference from the flagship model Aladamus AI Upscaler [Standard quality] v1.0.
The strategy of initially using the reference flagship model Aladamus AI Upscaler [Standard quality] v1.0 is due to the fact that it is so powerful that there is a high probability that there will be no further need to use local tools to refine certain areas of the image. In this regard, it is better to start with it and then, if necessary, carry out refinement with tools located in the section "Tools that work with a local image area"
Stage 2
Improvement and refinement of generation results after the first stage.
Images that have passed Stage 1 are the best and necessary basis for applying tools that work on local refinement of certain areas of the image. These tools are located in the section "Tools that work with a local image area".
Follow the link and learn how each of the local tools can further improve your image after Stage 1:
- Aladamus Local Micro-Detail Clarity Improver v1.0
- Aladamus Enhancer CGB Mir [Creative Medium + Saving geometry] v1.0
- Aladamus Enhancer CGB Mir [Creative Strong] v1.0
Tip. When working with any tools from the section "Tools that work with a local image area", as uploaded images use images that have already been processed through any tool from the section "Tools that work with the entire image area".
Illustrative example of the workflow for improving an image
Let's look at an illustrative example of the correct use of tools from the section "AI Upscaler & Enhancer".
We have an image generated with Nano Banana Pro 2K. Our task is to increase its visual and aesthetic appeal, raise the level of graphics to premium quality corresponding to the covers of glossy fashion and architectural magazines, enhance the wow effect that influences the formation of the viewer's first impression, and also increase the image resolution. In the first stage, we will apply the tool Aladamus AI Upscaler [Standard quality] v1.0. If the budget is limited, you can use: Aladamus AI Upscaler [Power of Creative All Light Creativity] v1.0
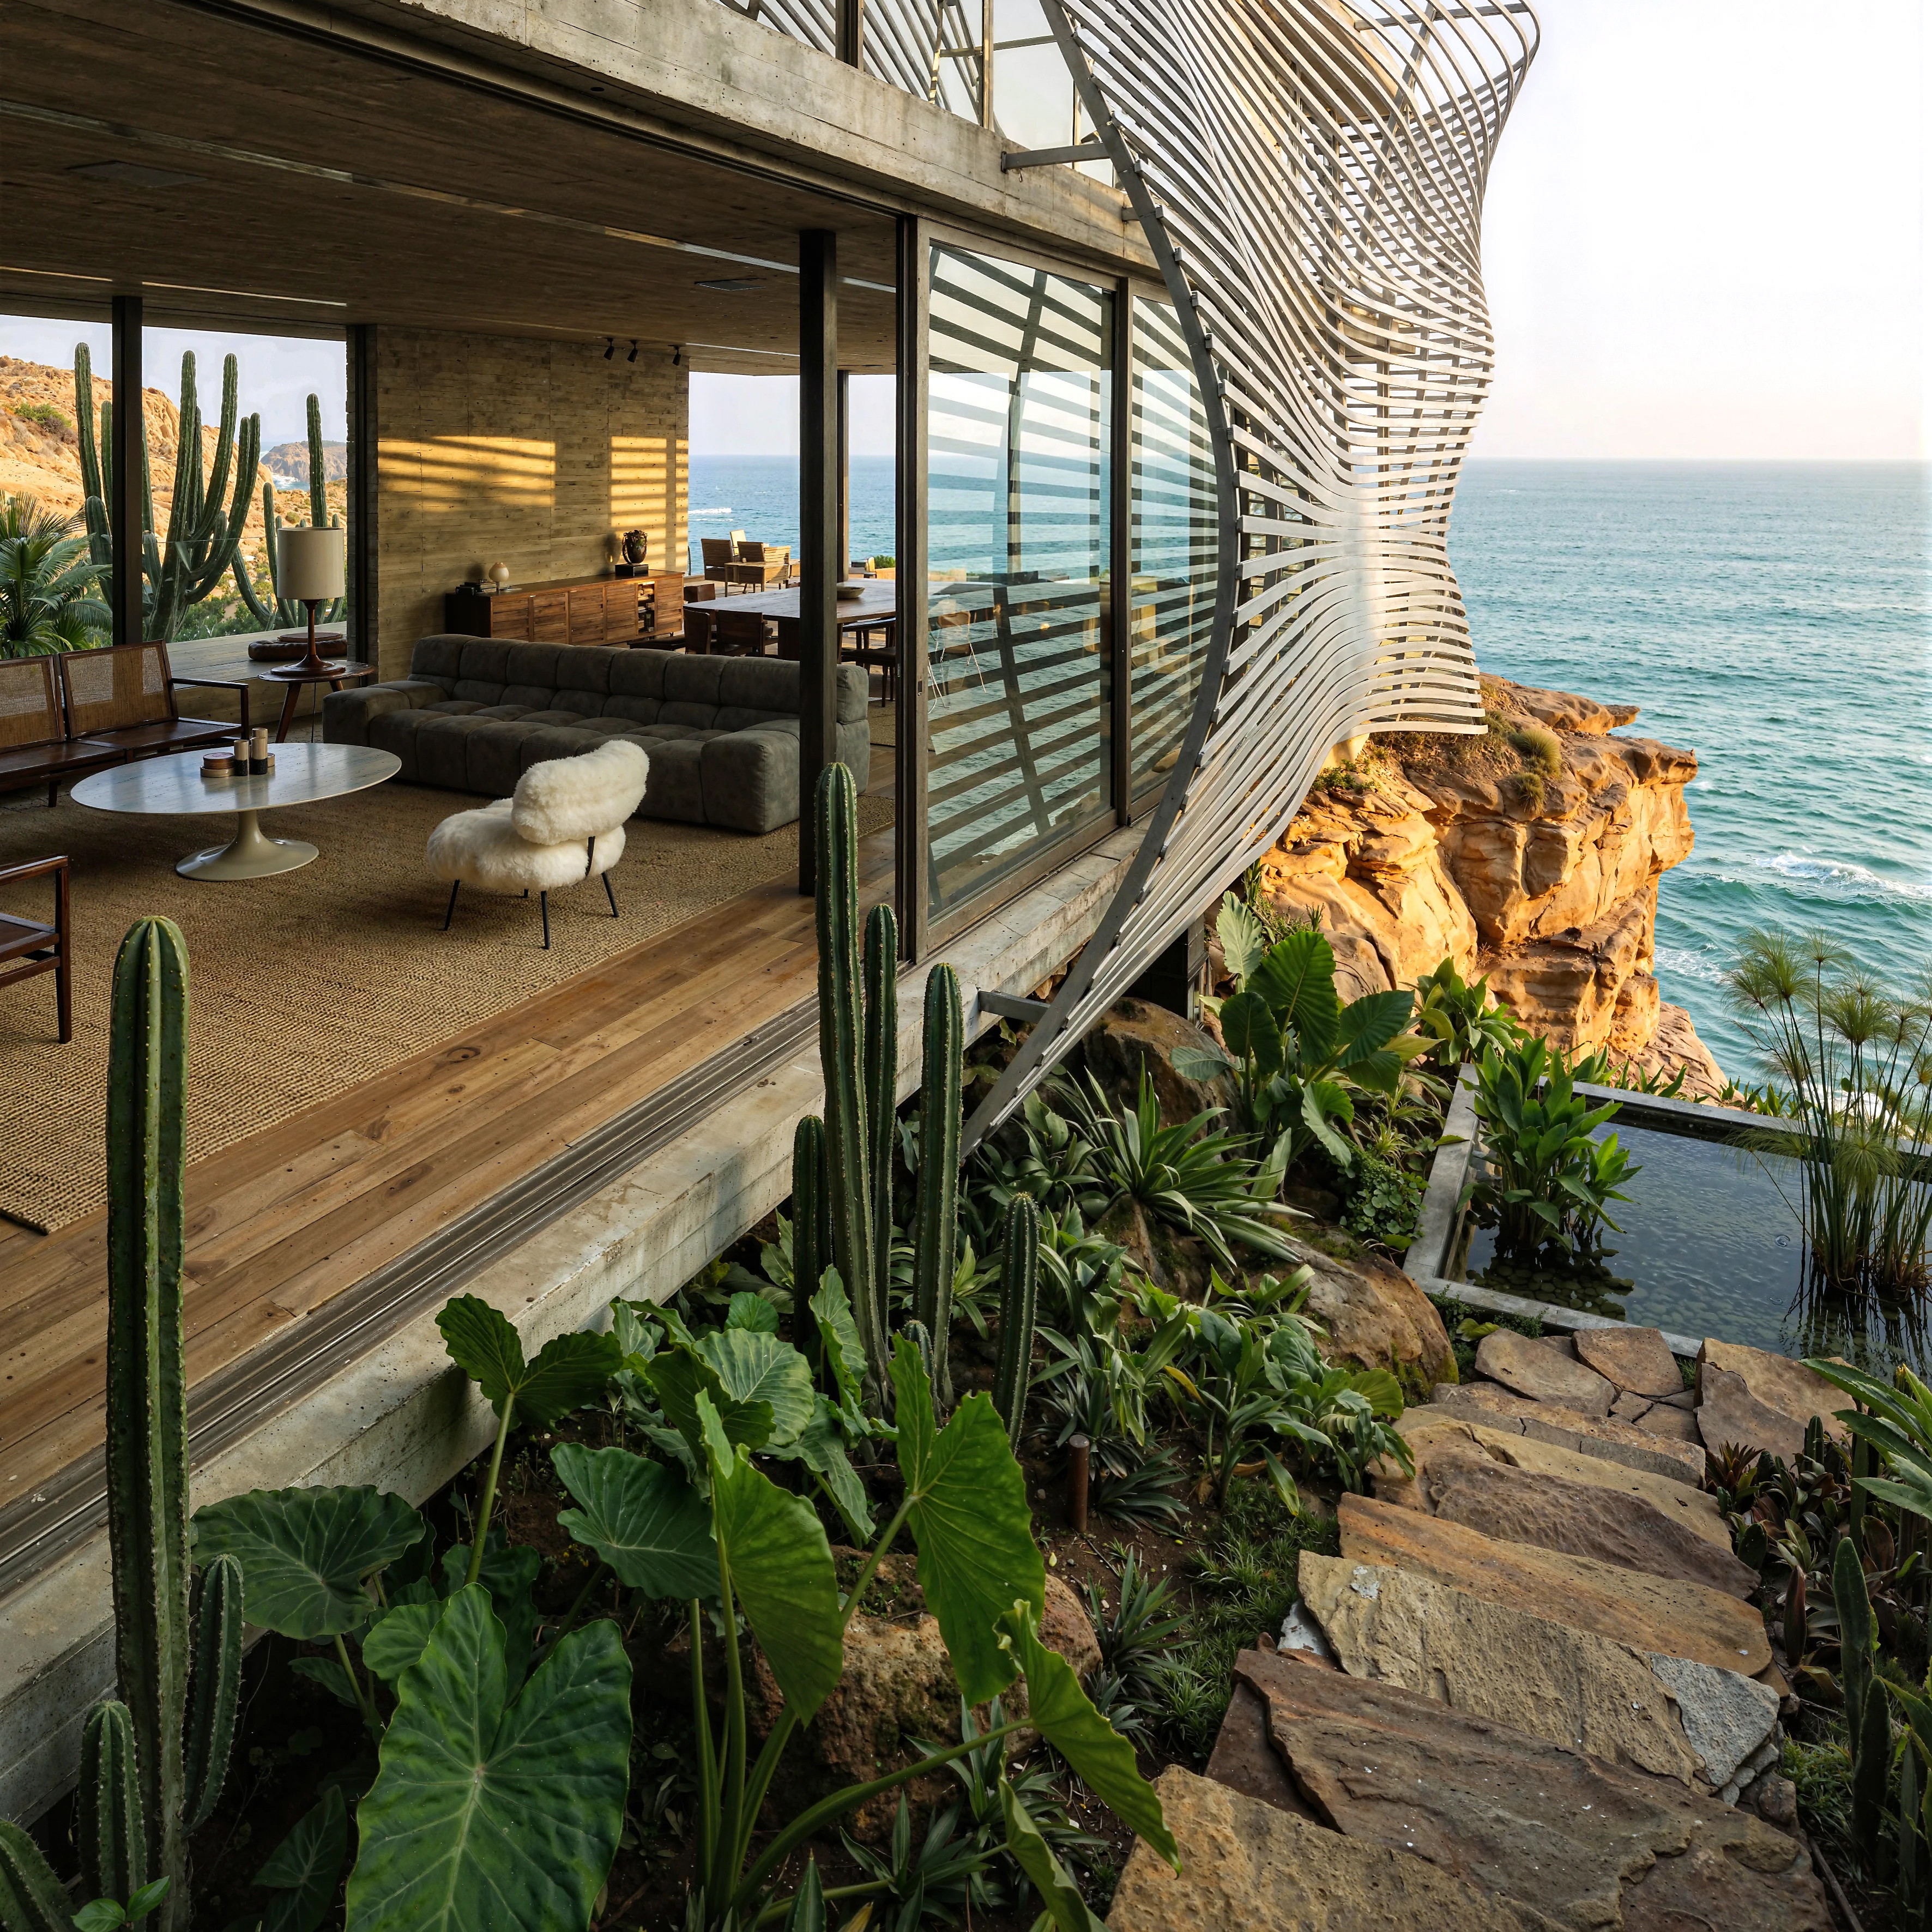
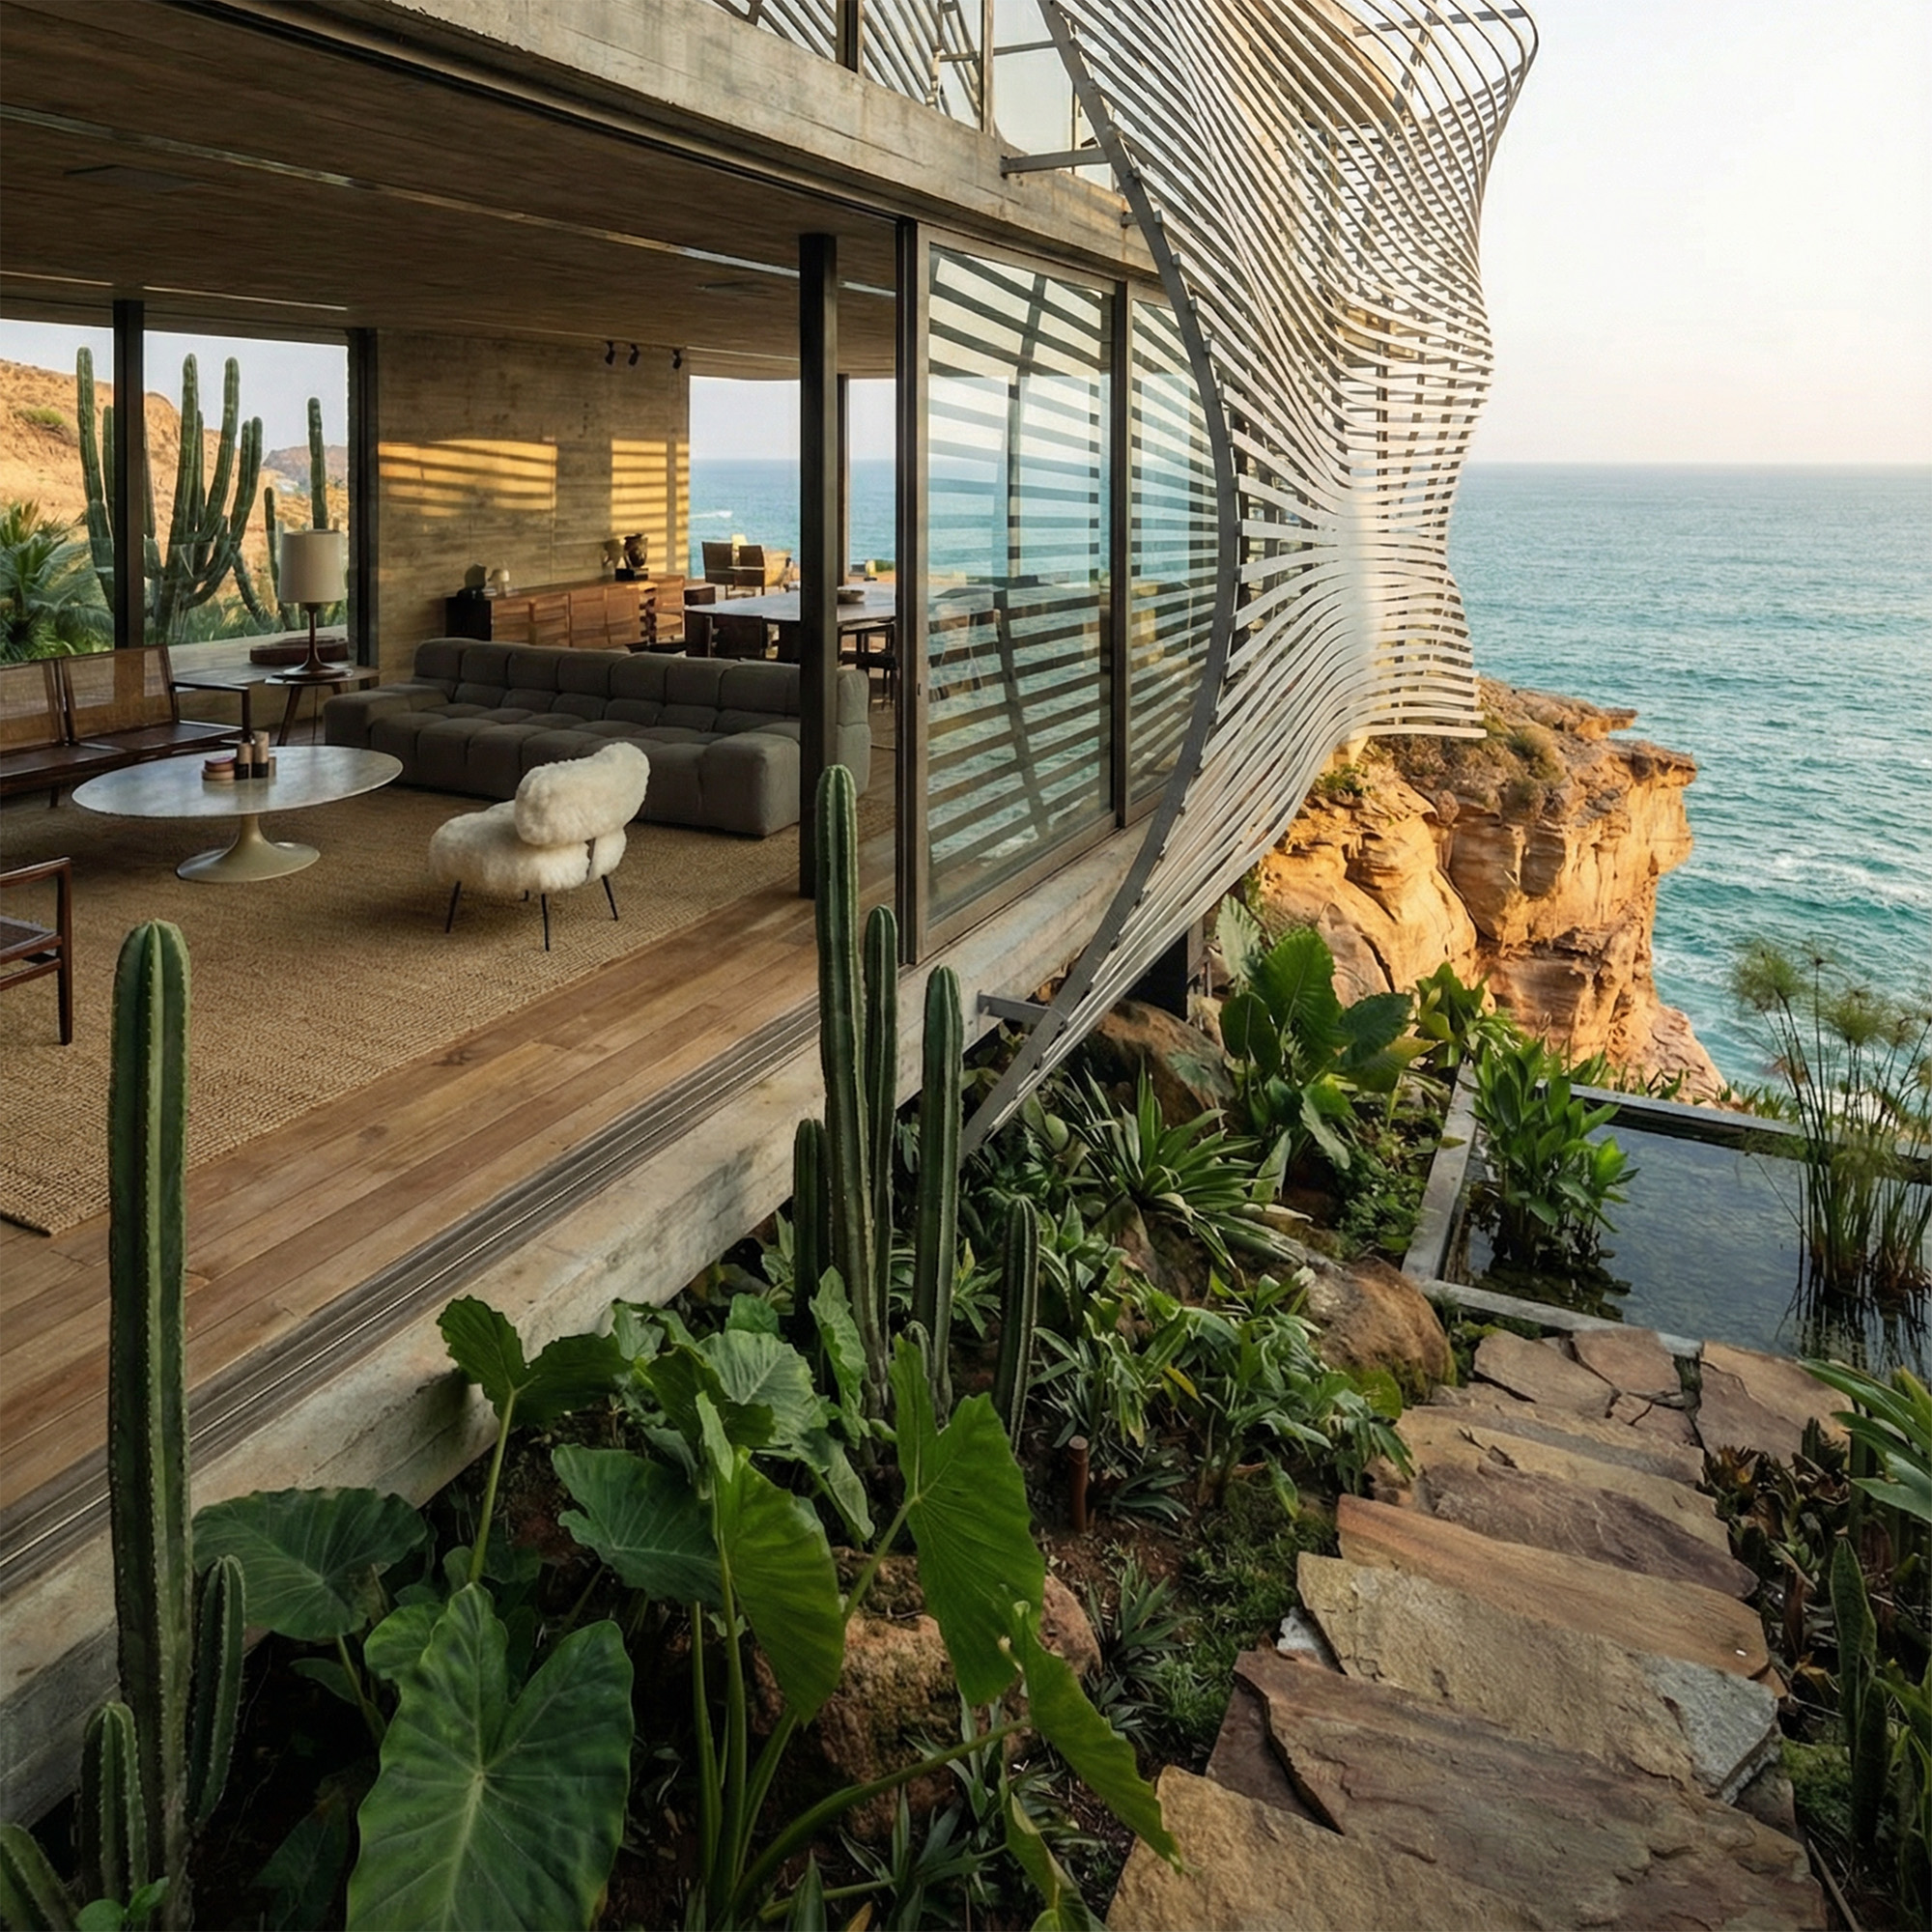
As we can see, the micro-architecture of the image details has become more elaborated, more voluminous, and clearer. The sharpness and clarity of the materials of the objects in the image have been improved. For most users, this result will be sufficient, but we will not stop there and will continue to improve the graphics with the help of the tool Aladamus Enhancer CGB Mir [Creative Medium + Saving geometry] v1.0.
- Take the finished image after Aladamus AI Upscaler [Standard quality] v1.0 and apply to it the local tool for improving and refining the image: Aladamus Enhancer CGB Mir [Creative Medium + Saving geometry] v1.0.
- Select the area with plants that we want to improve:
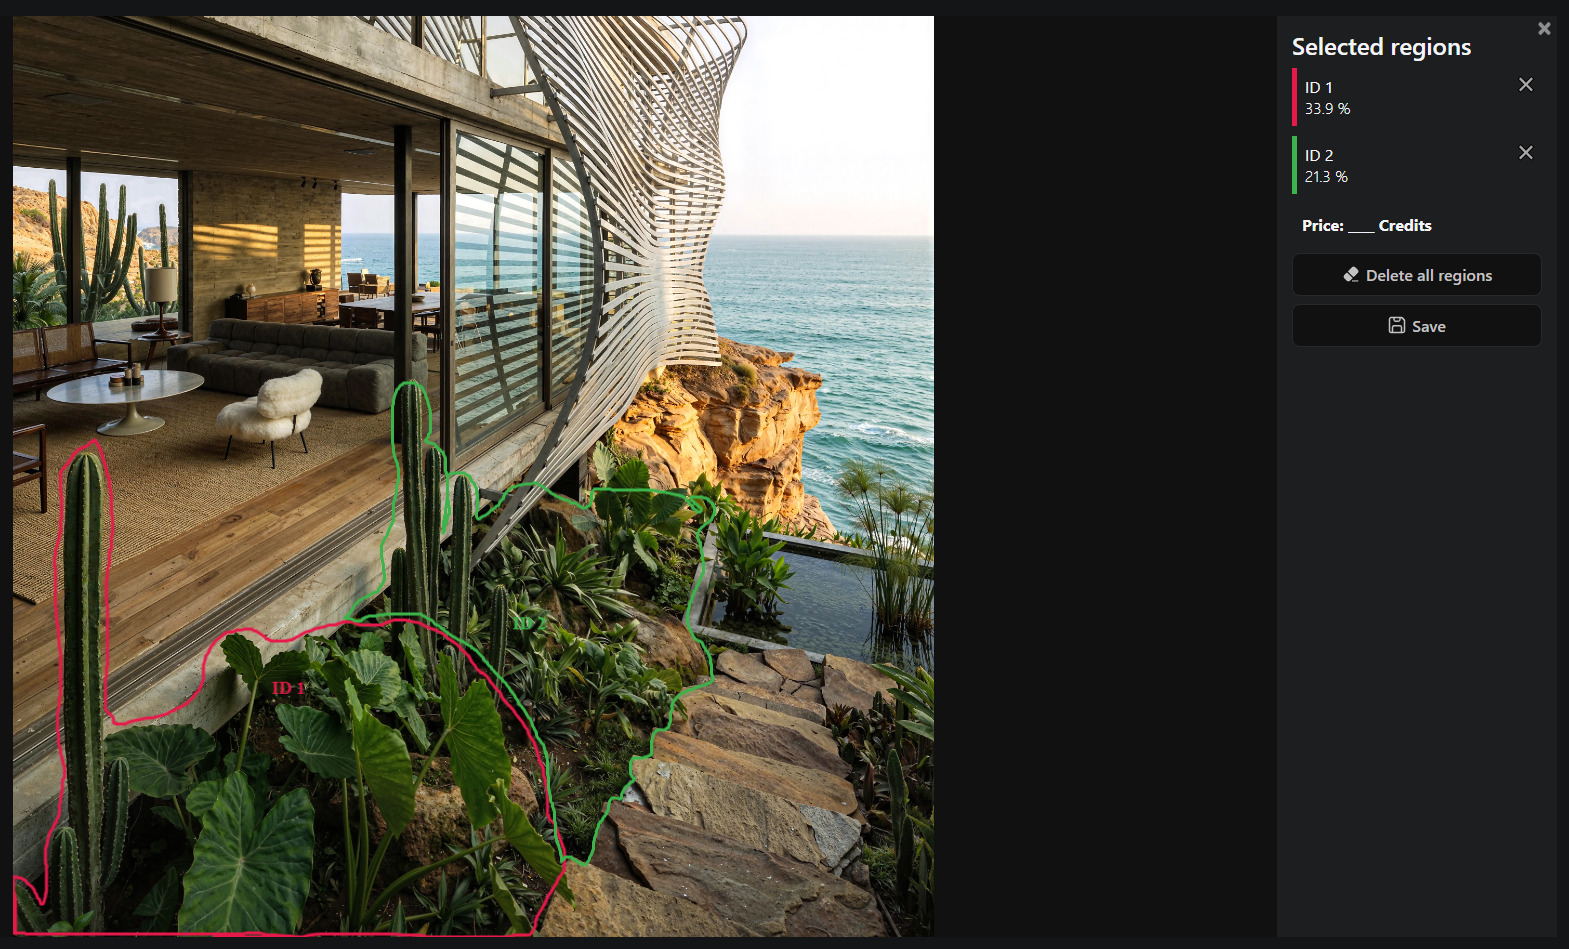
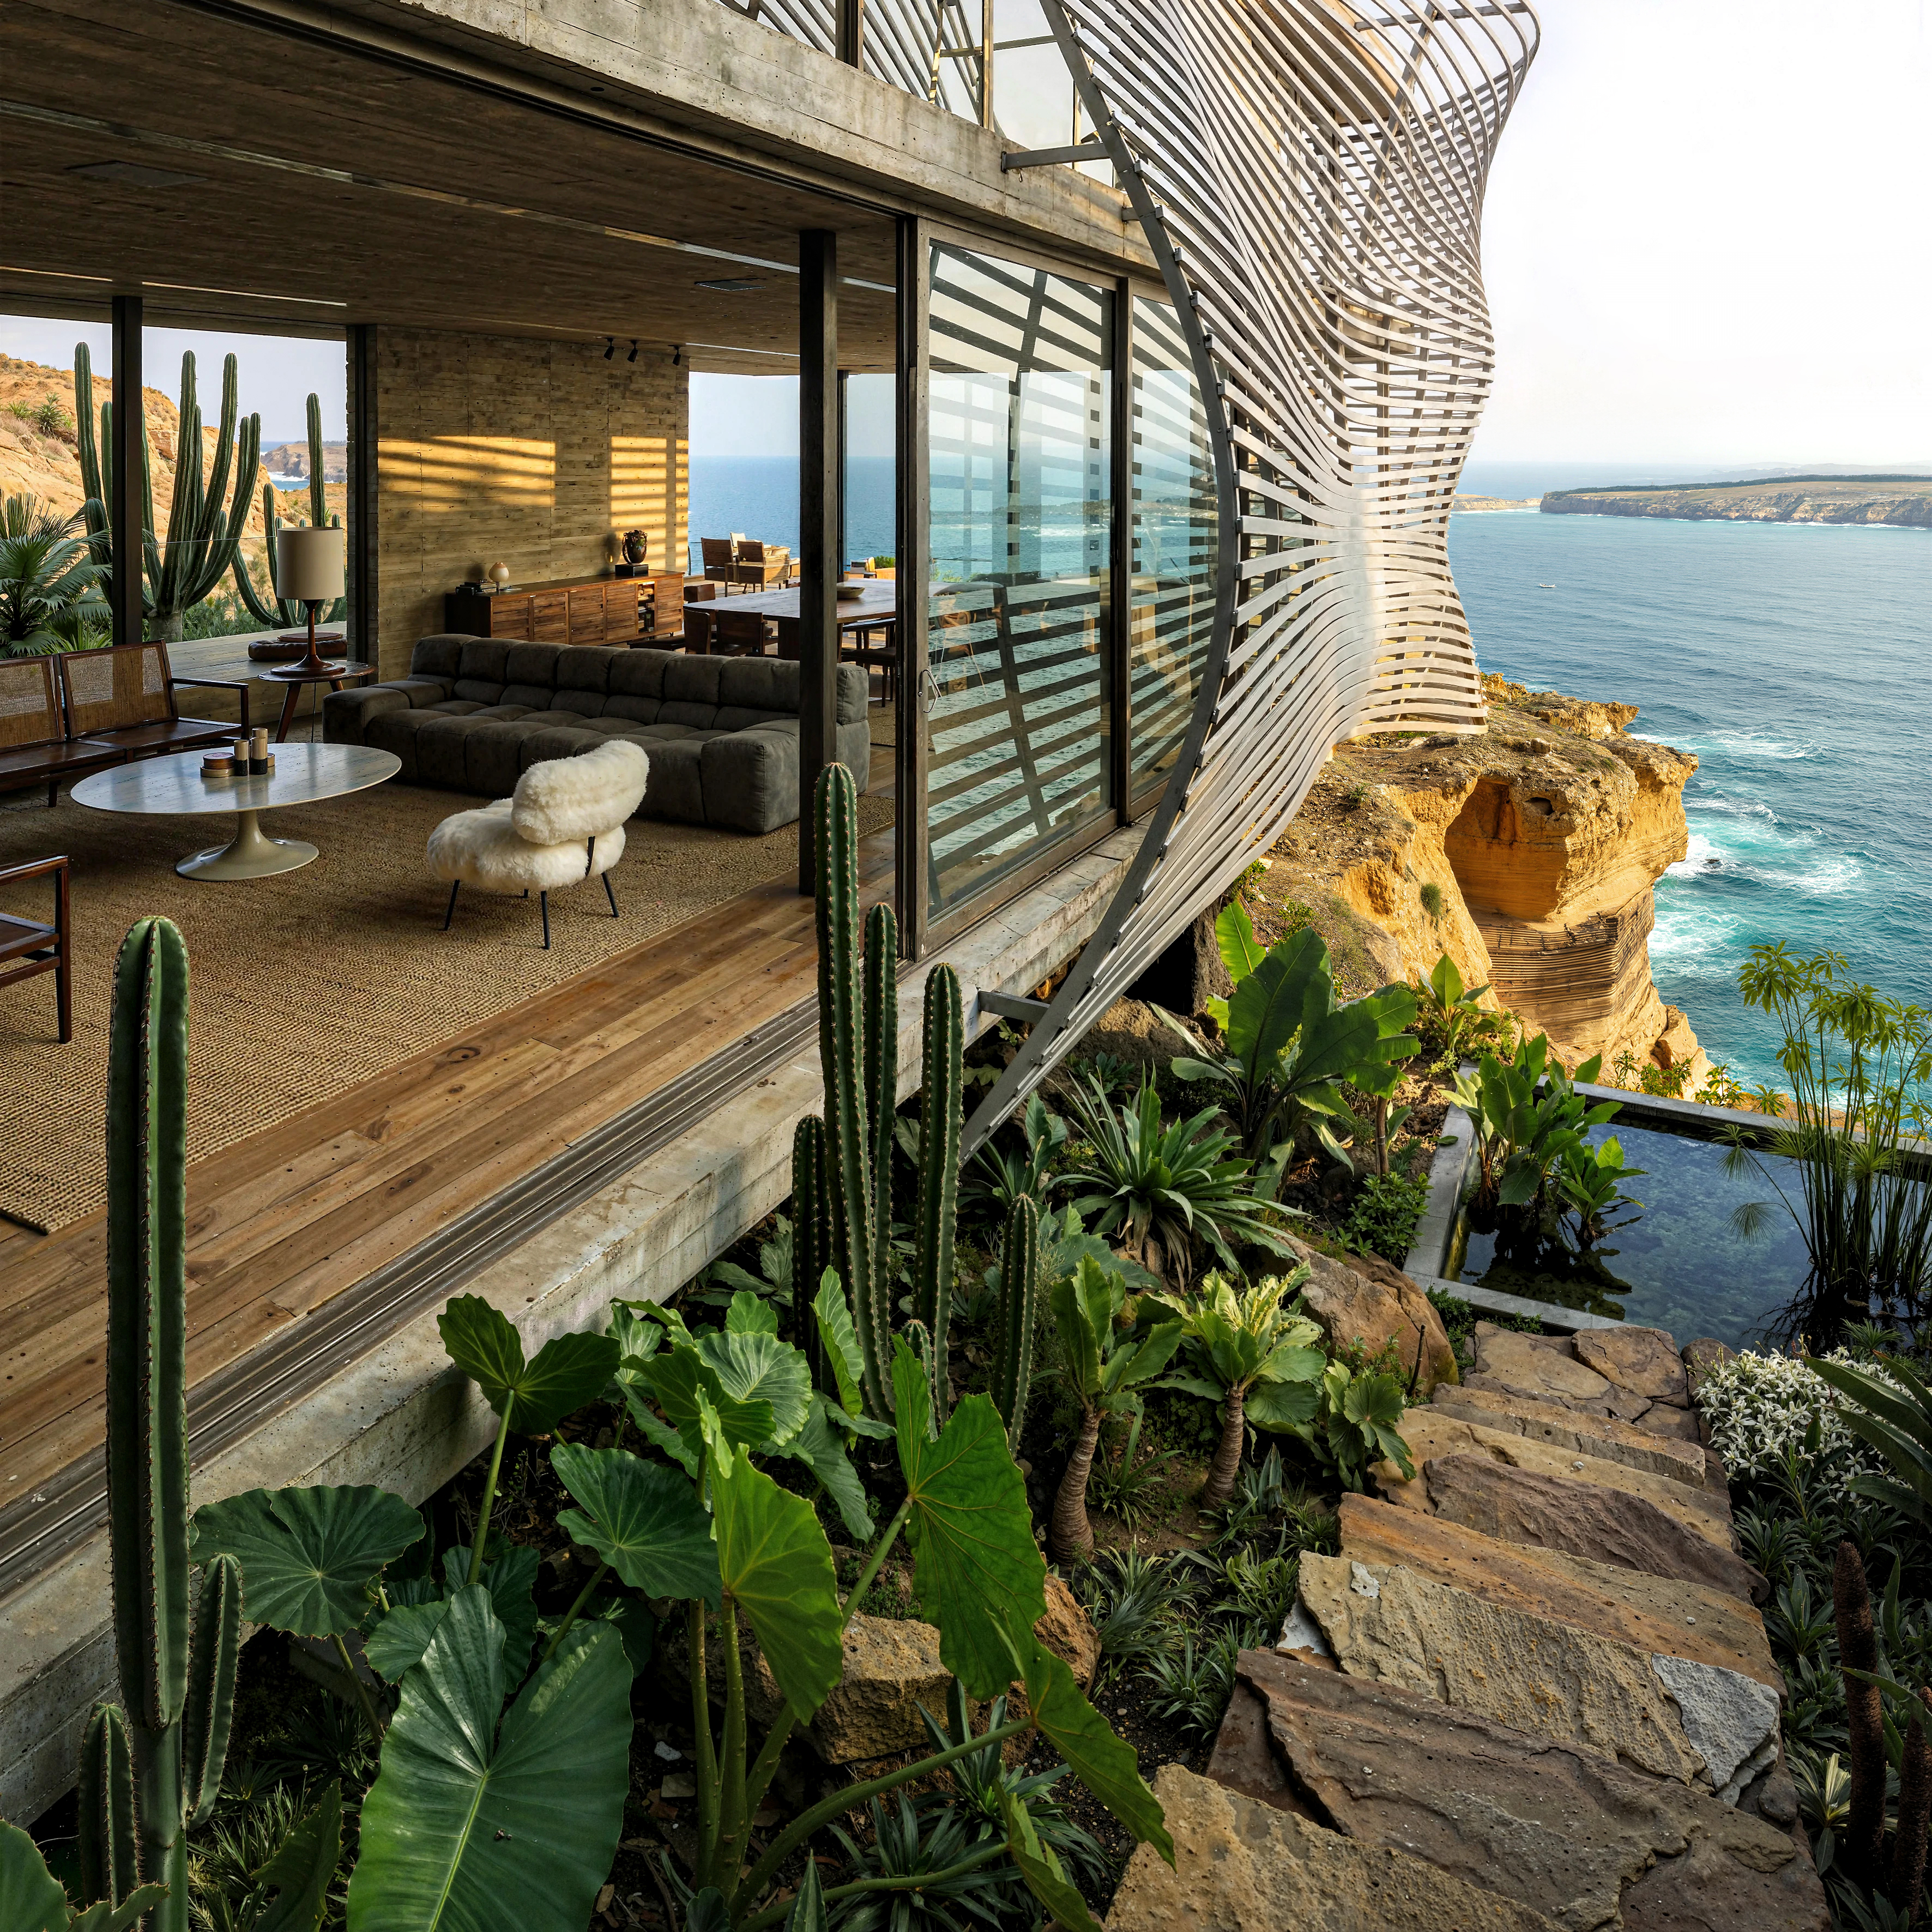
Done! As we can see, the impact and photorealism are impressive. You can experiment and apply other local tools instead of the one shown here in the example Aladamus Enhancer CGB Mir [Creative Medium + Saving geometry] v1.0